Lemon Curd
Hello everyone! It’s been a minute, but I am back in the kitchen. 🙂 Today I am dedicating this post to my Grandma Vanda, who passed away.
Recently, my Mom and Nana went to Arizona to stay with my Papa Don and Grandma Vanda. My Grandma was very sick and thankfully they got there in time to be with her so that they were able to say goodbye.
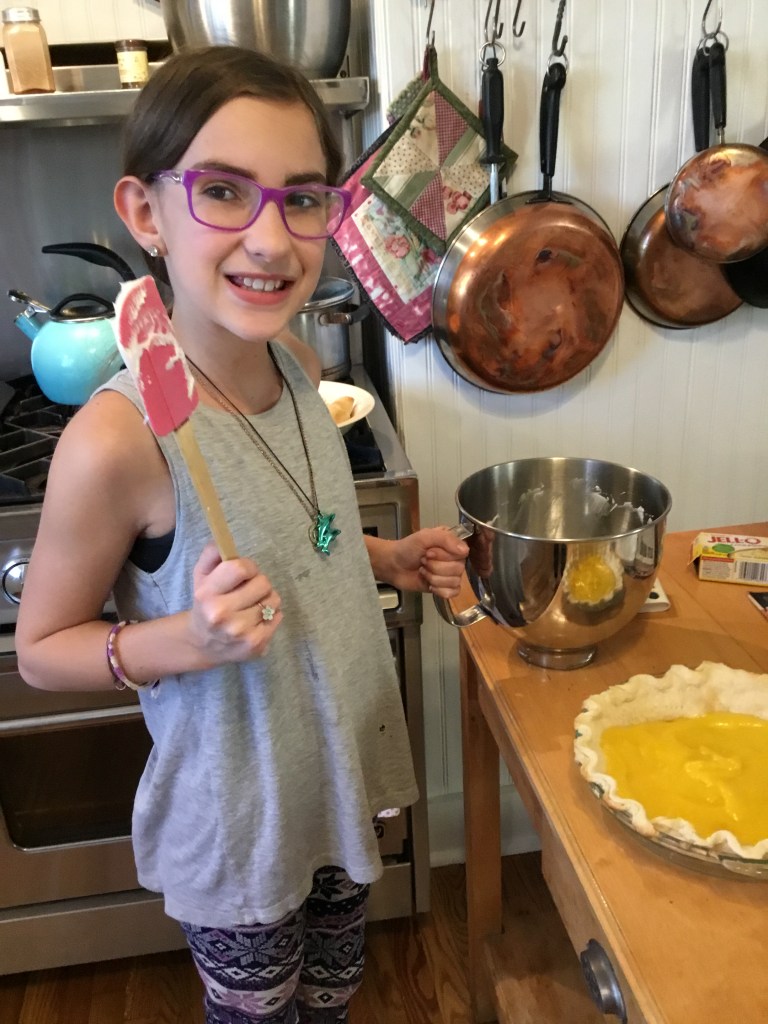
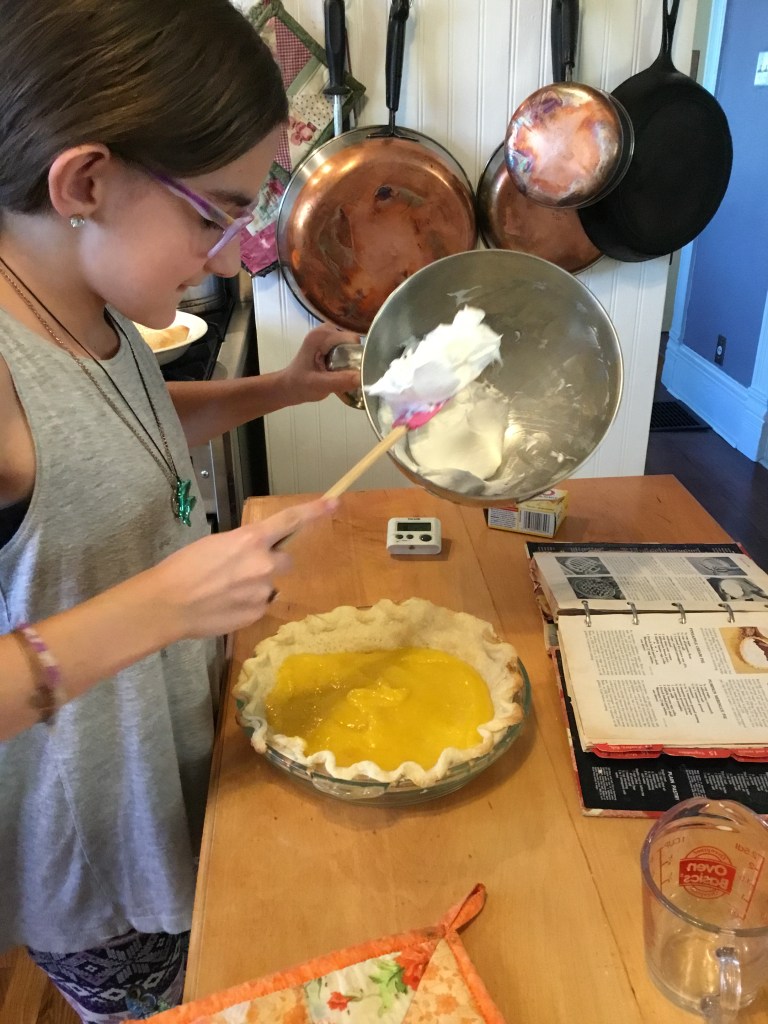
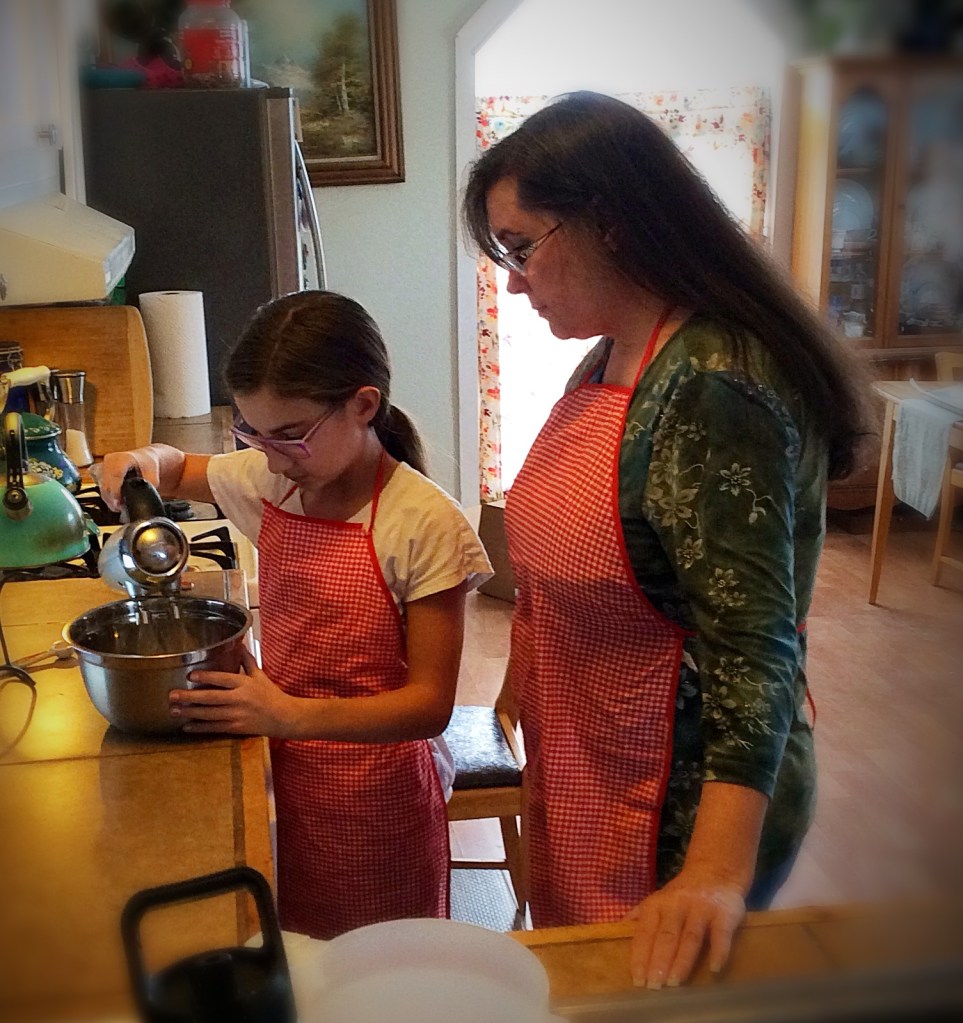
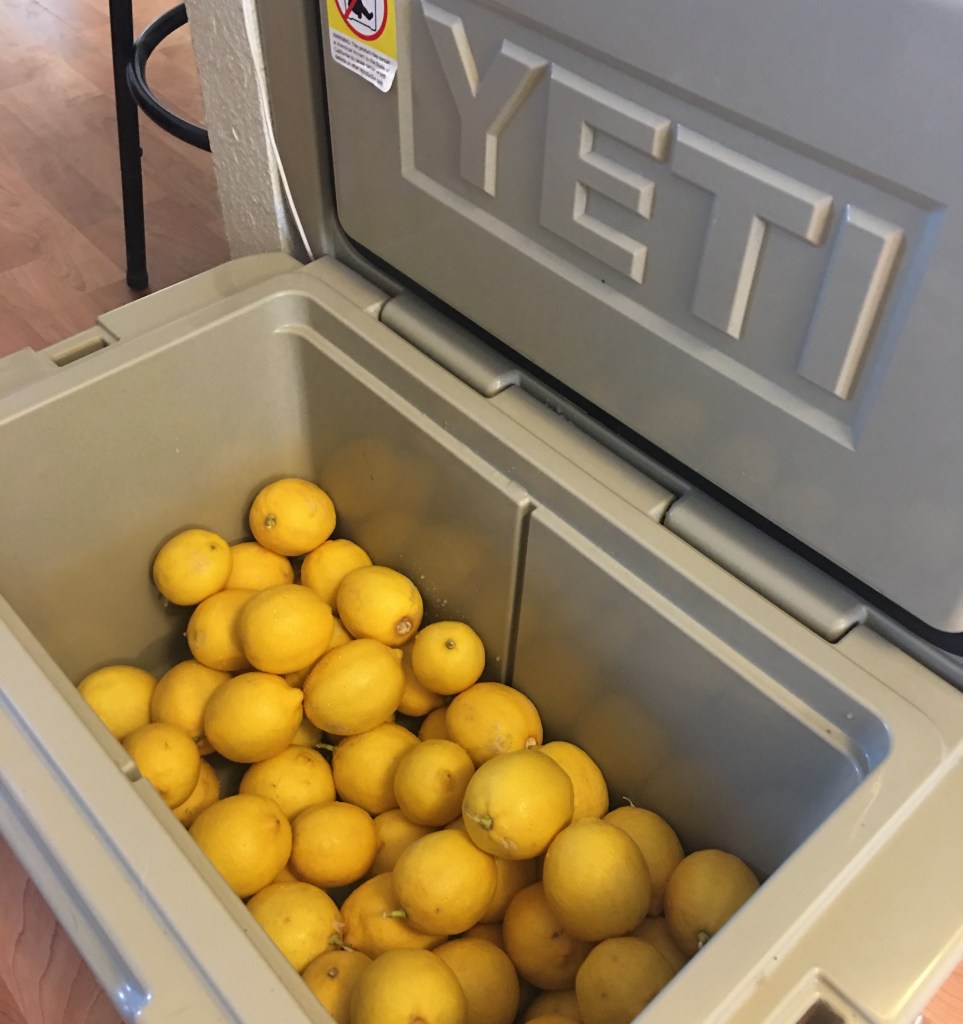
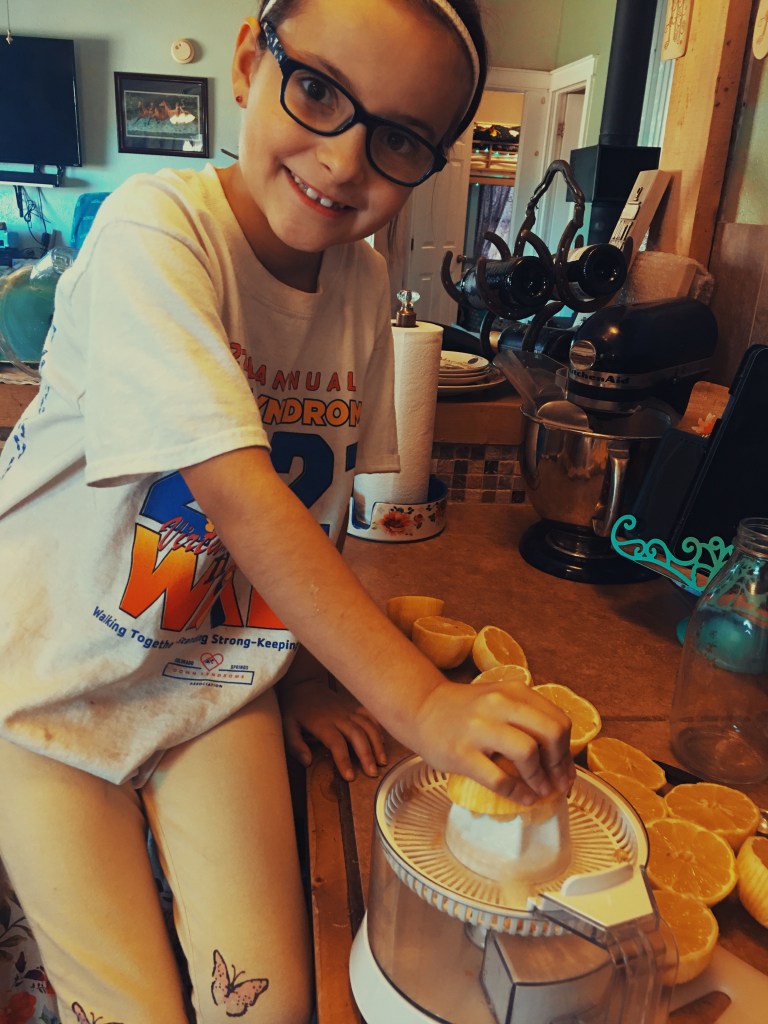
In Grandma and Papa’s back yard they have a lemon tree so Papa told my mom to take some home with them. We got an entire Yeti cooler full of lemons from Papa Don’s lemon tree! I was pretty excited, because getting a whole bunch of lemons means 2 things; lemon curd and another special treat (which will be in my next post)! Today I get to make lemon curd with my sister Kalani and my Mom. I’m very exited for this, especially because this is naturally gluten free, so I don’t have to experiment and make sure if works with GF flour or anything. So lets go ahead and start making this delicious sweet treat!
Btw, this is fine to make with limes if that’s what you prefer, but I’ve never tried to do it with limes so i’m not sure if you’ll have to do something different. If you do end up using limes, please comment and tell me how it went.
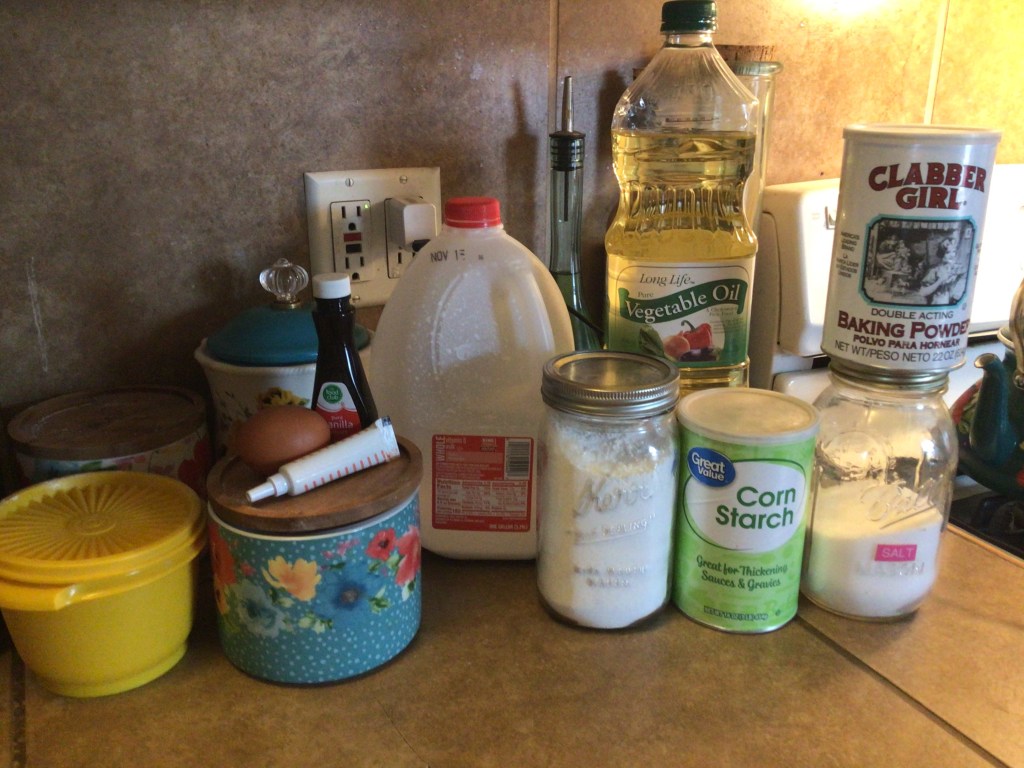
Ingredients
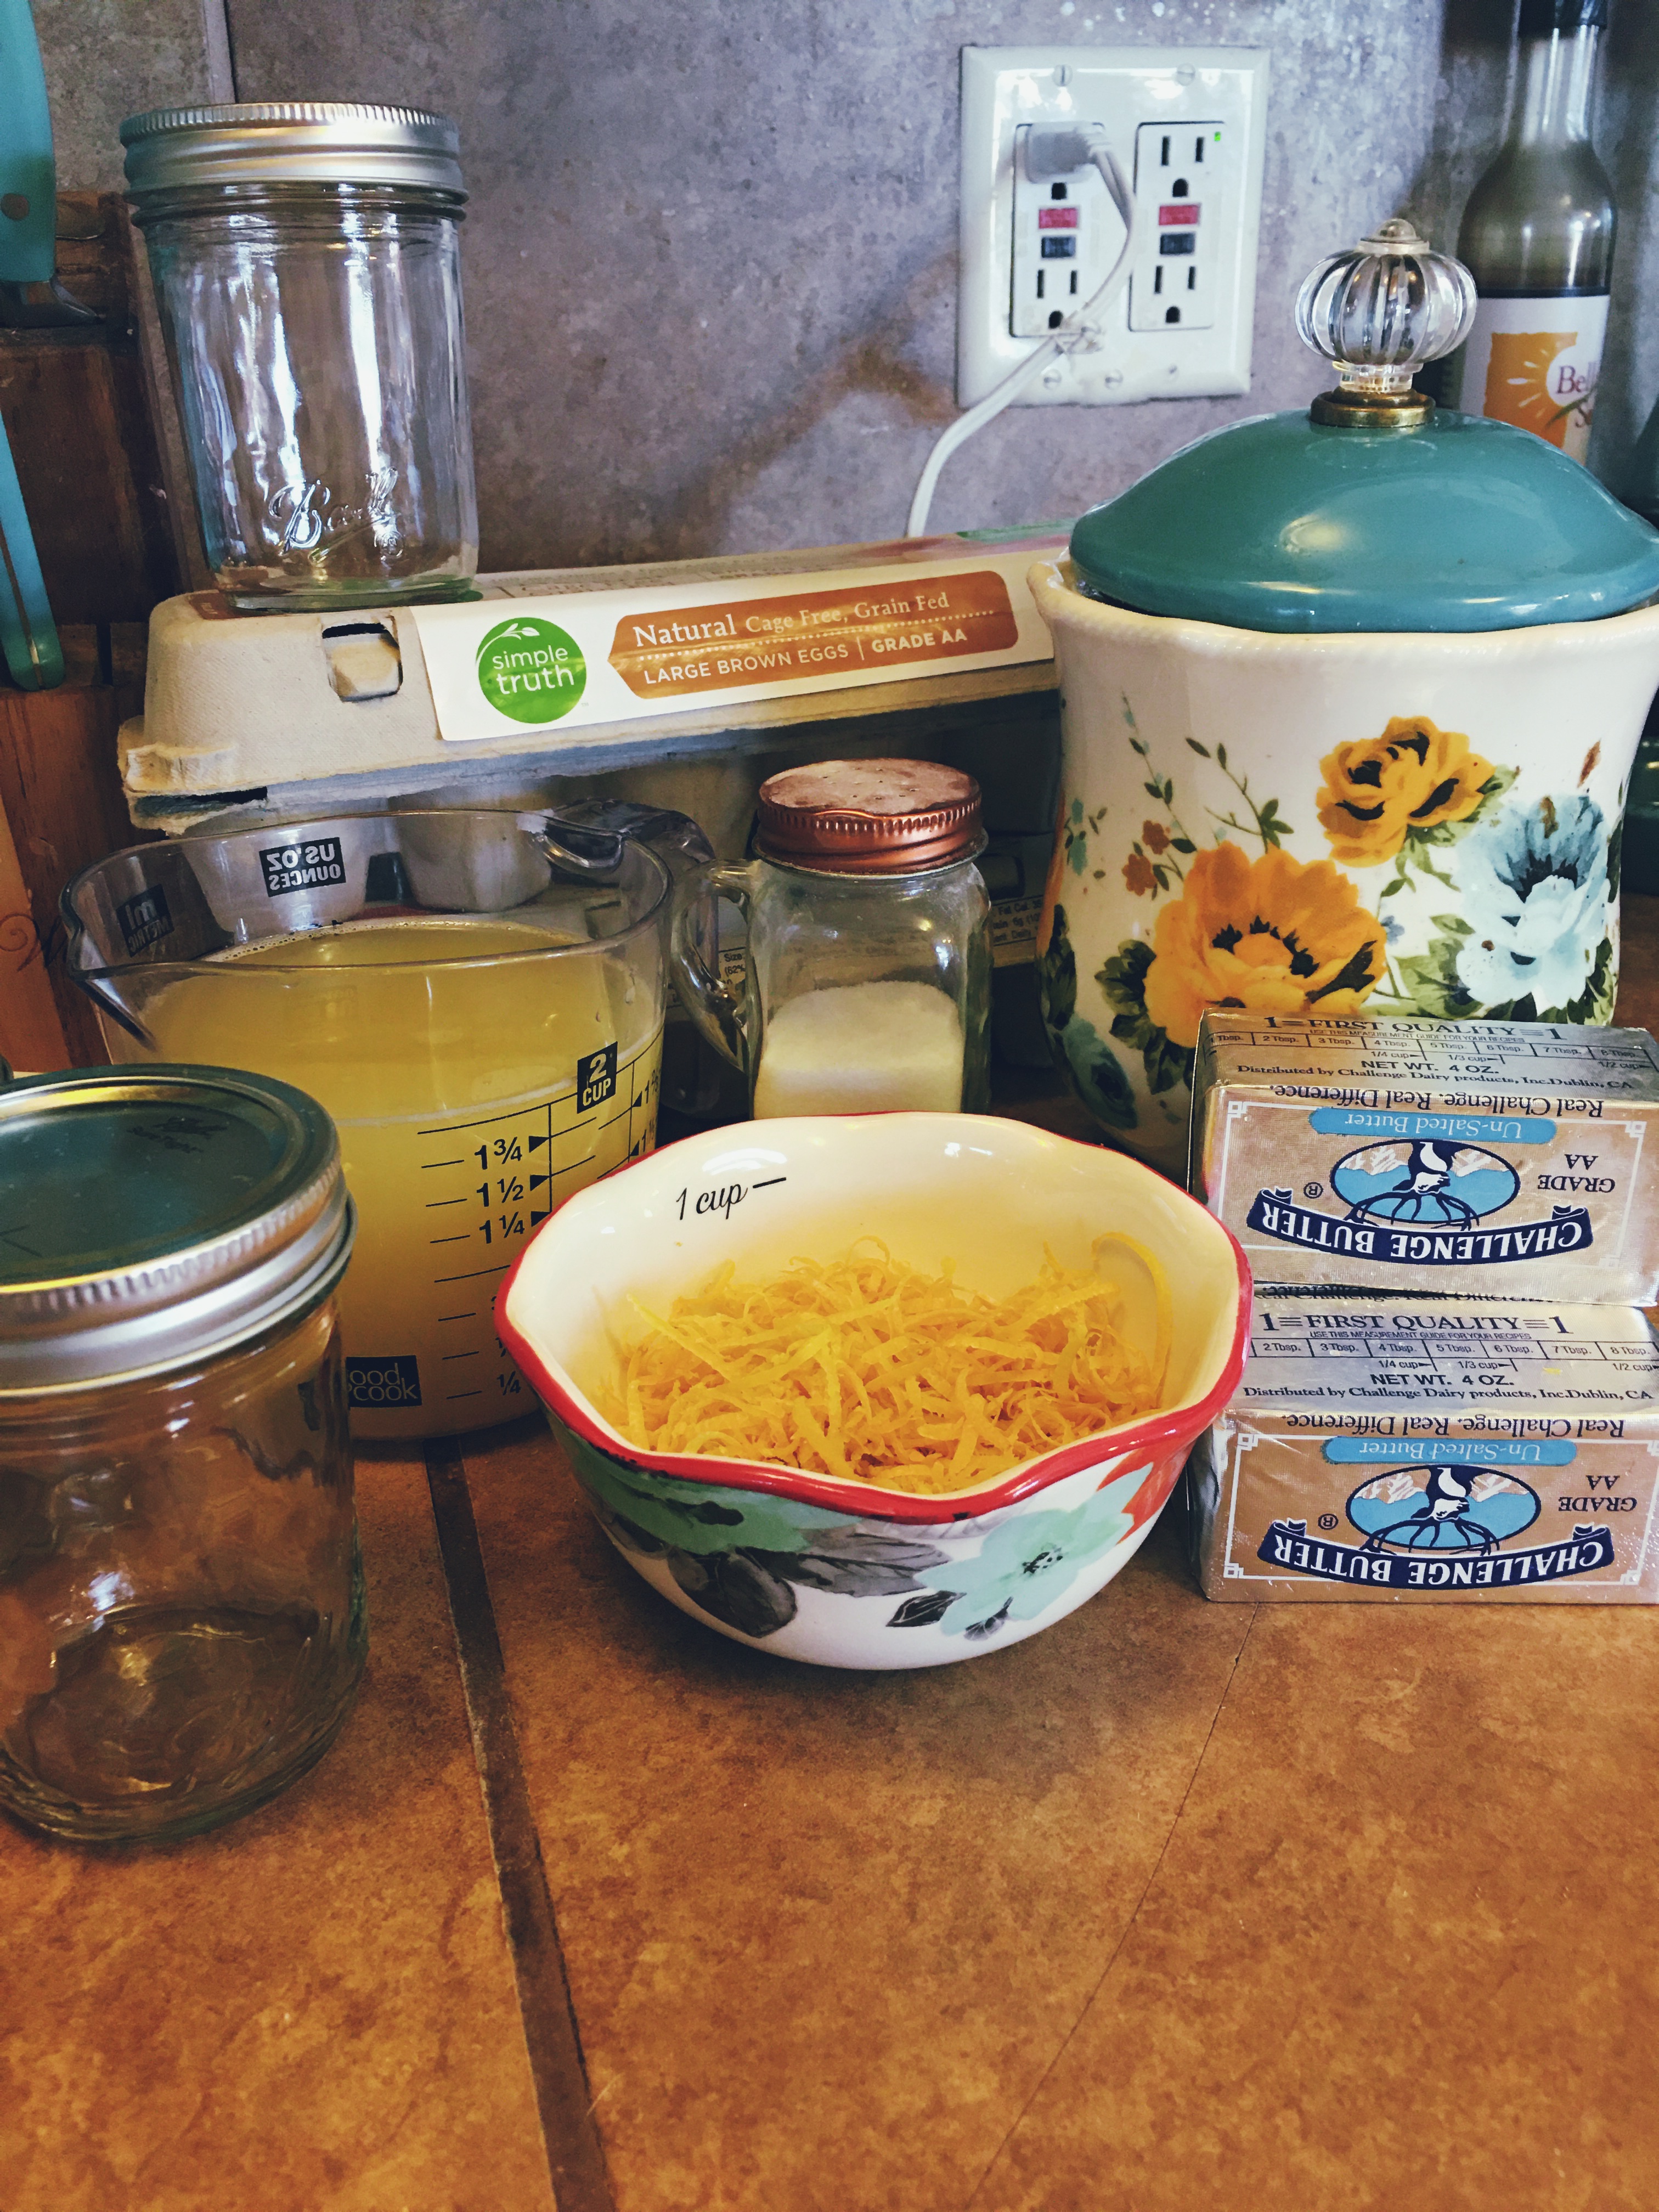
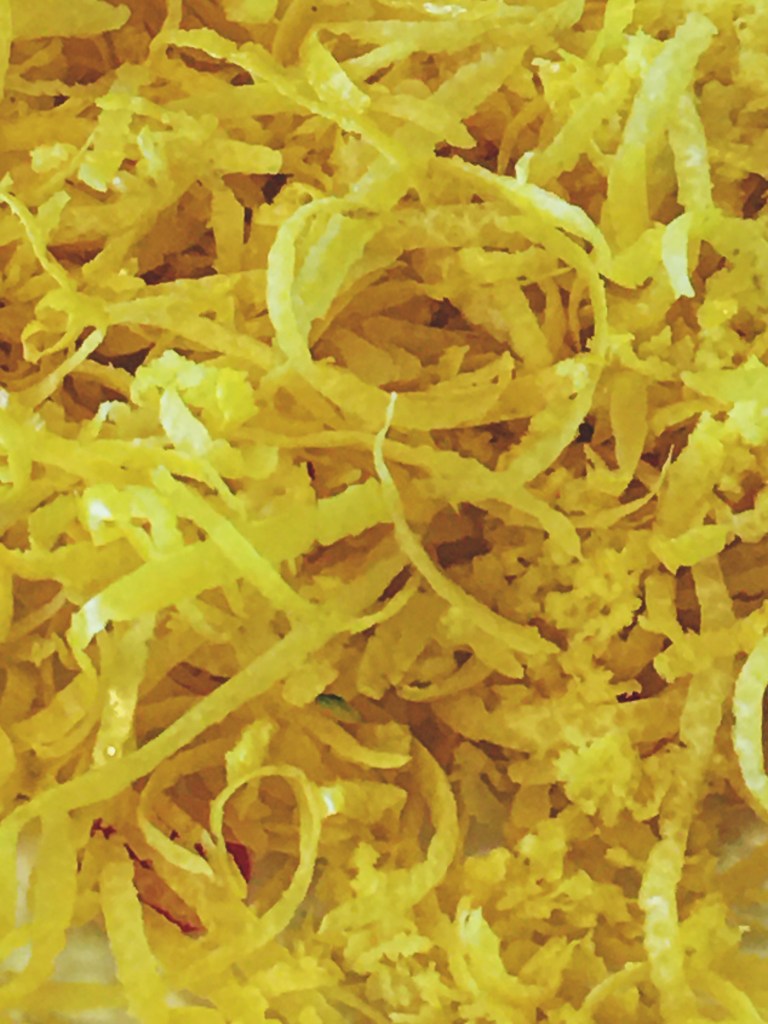
- Zest of 10 lemons
- 2 cups of lemon juice (the juice of about 10 lemons.)
- 8 whole eggs
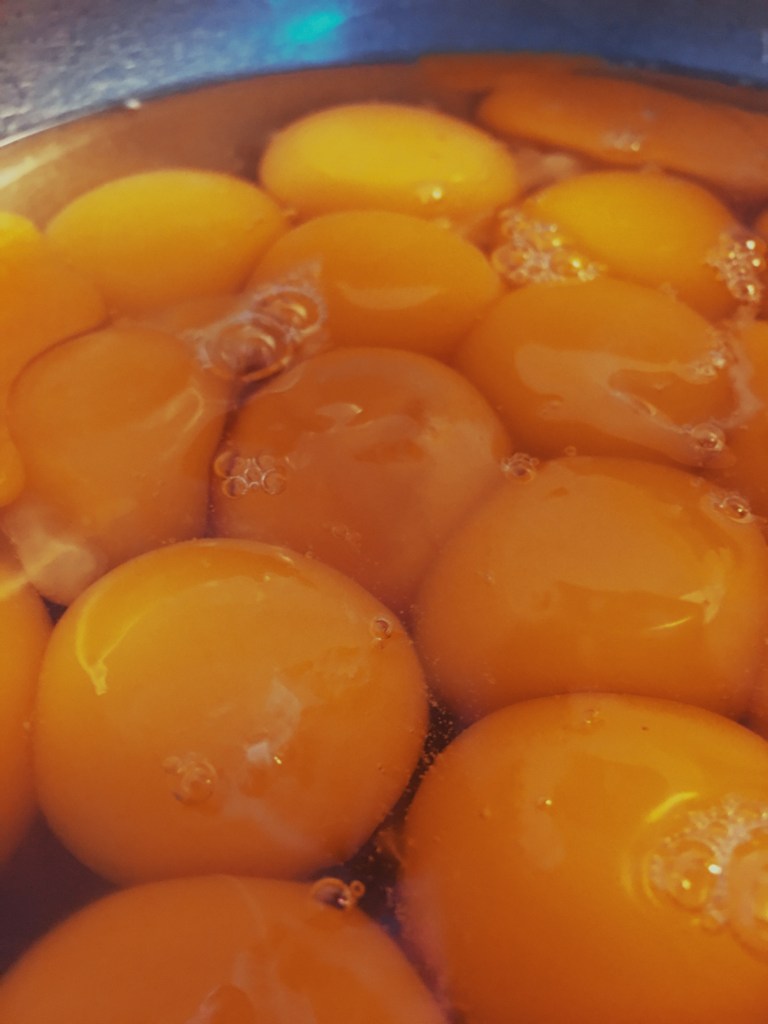
- 14 egg yolks
- 2 tsp salt
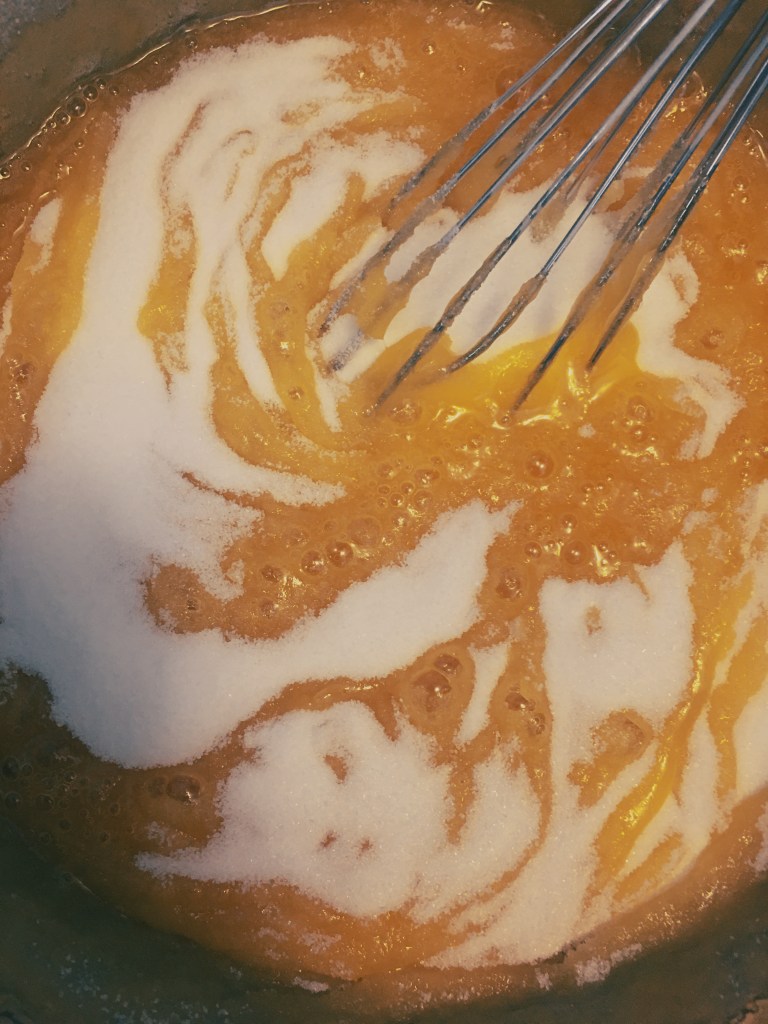
- 5 cups sugar
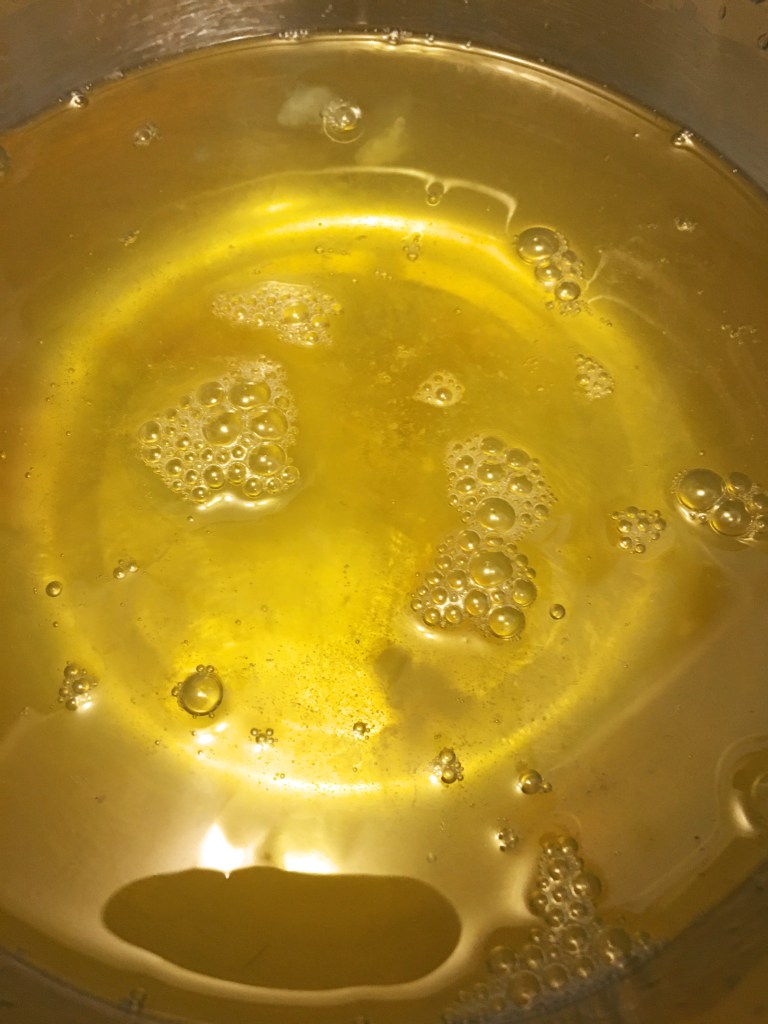
- 1 1/2 cups butter (or three sticks)

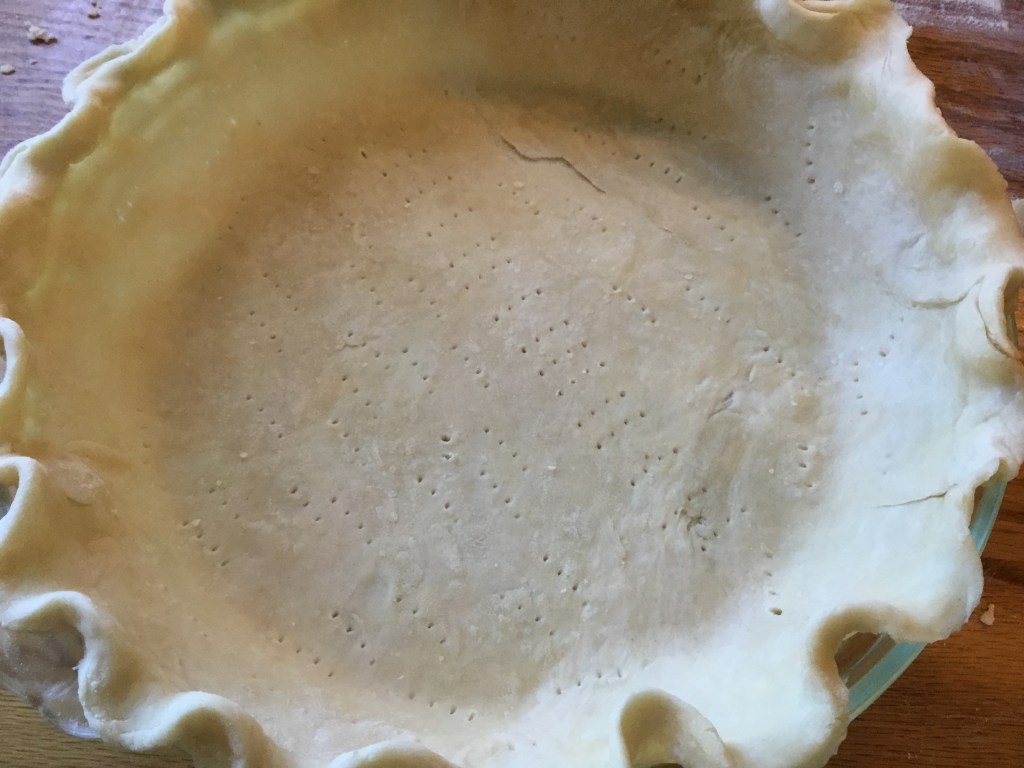
Instructions
- Wash & dry the lemons. Then zest them.
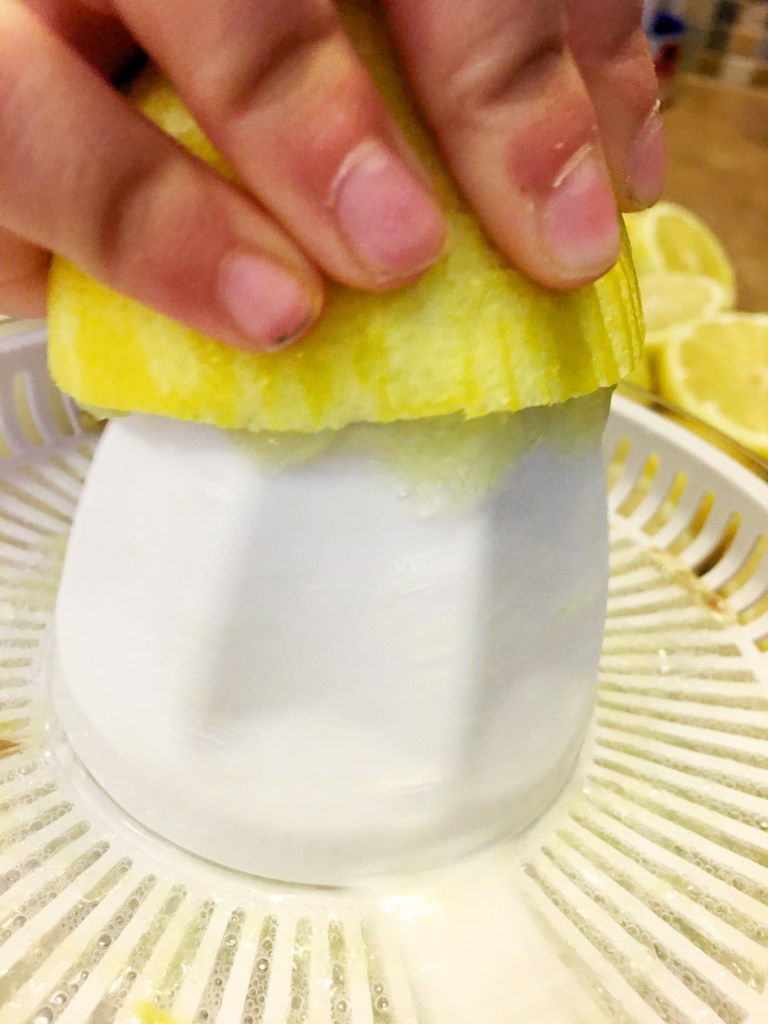
- Cut the lemons in half and juice them.
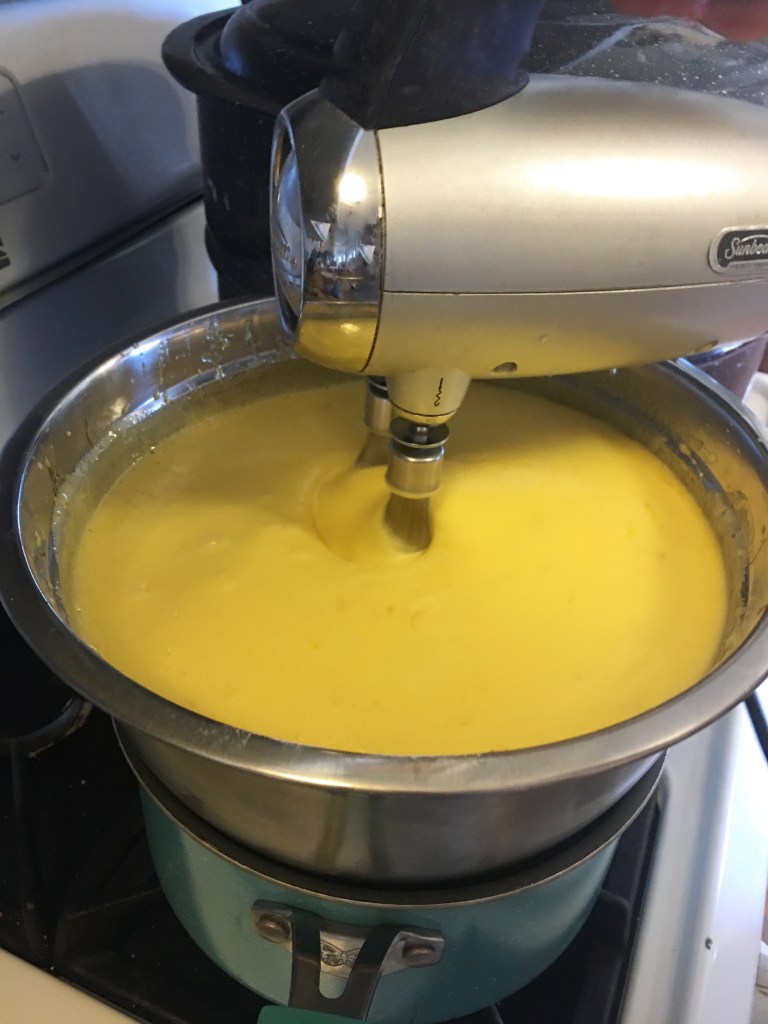
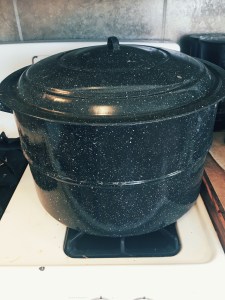
- Heat up your double boiler.
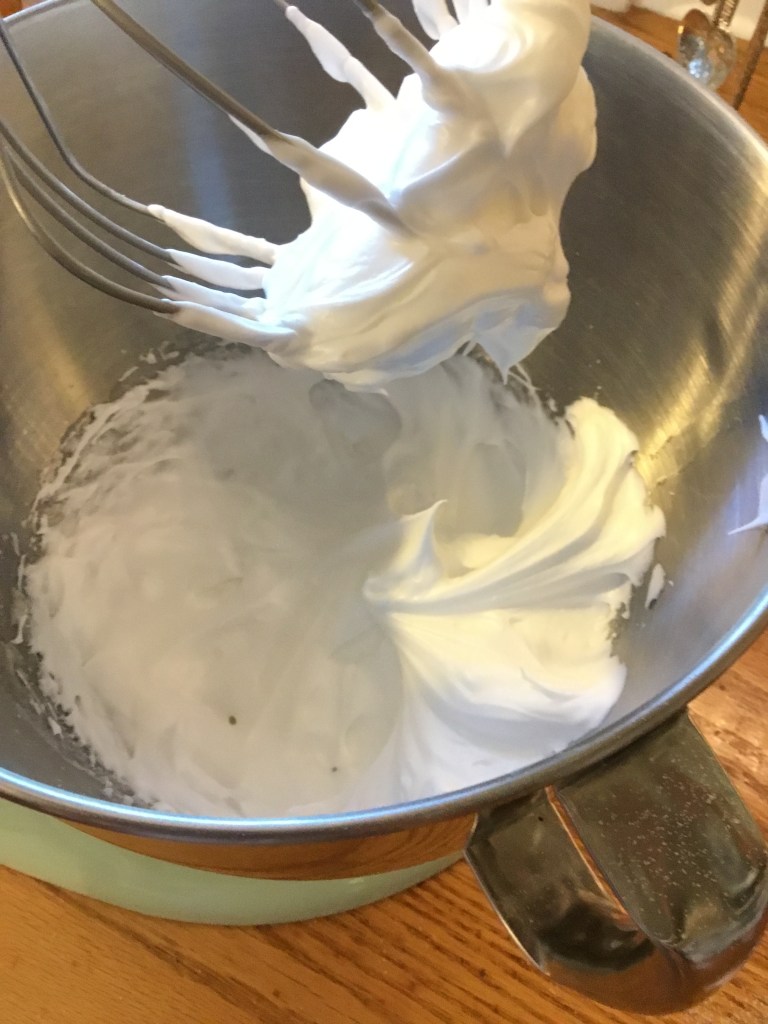
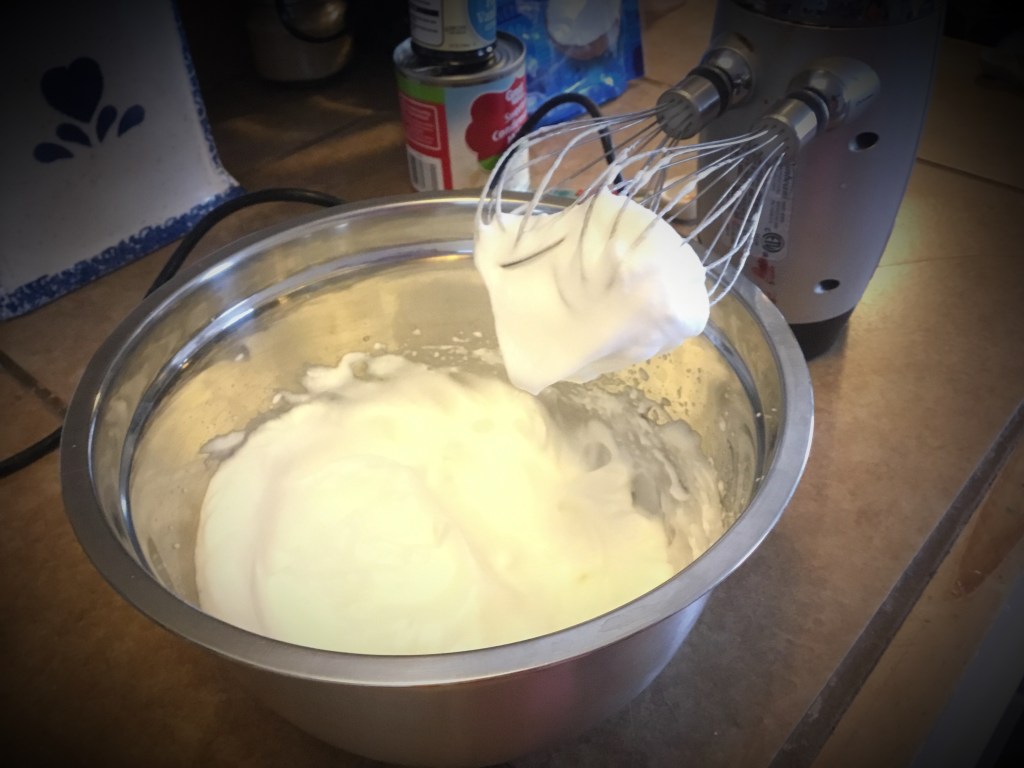
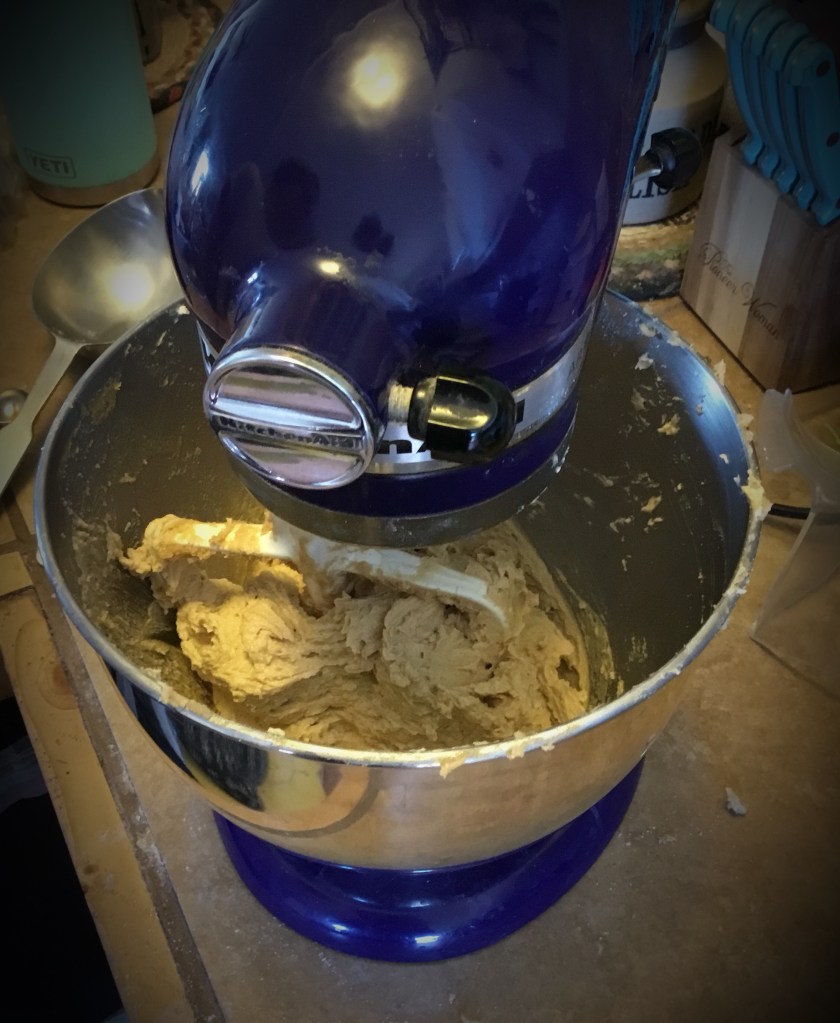
- Add the sugar, whole eggs, egg yolks, salt and lime zest to your double boiler bowl. Whisk ingredients thoroughly. When fully mixed put bowl onto your double boiler to start cooking.
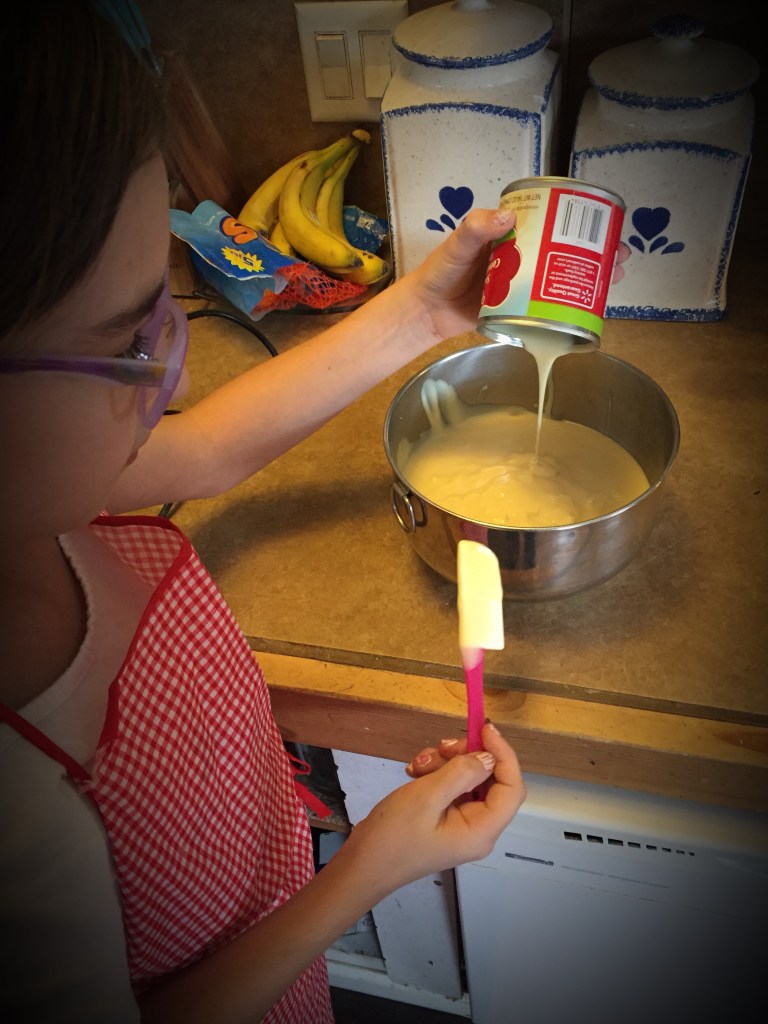
- Over a medium heat, keep whisking egg mixture as you add the juice. When the juice is fully incorporated add the melted butter.
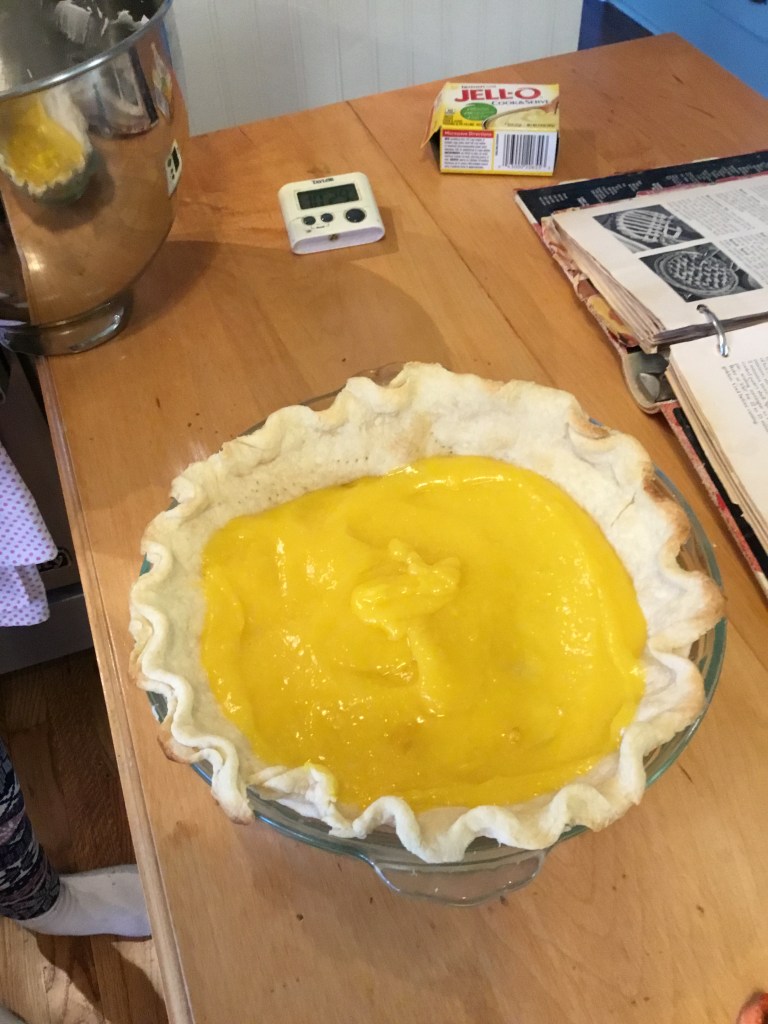
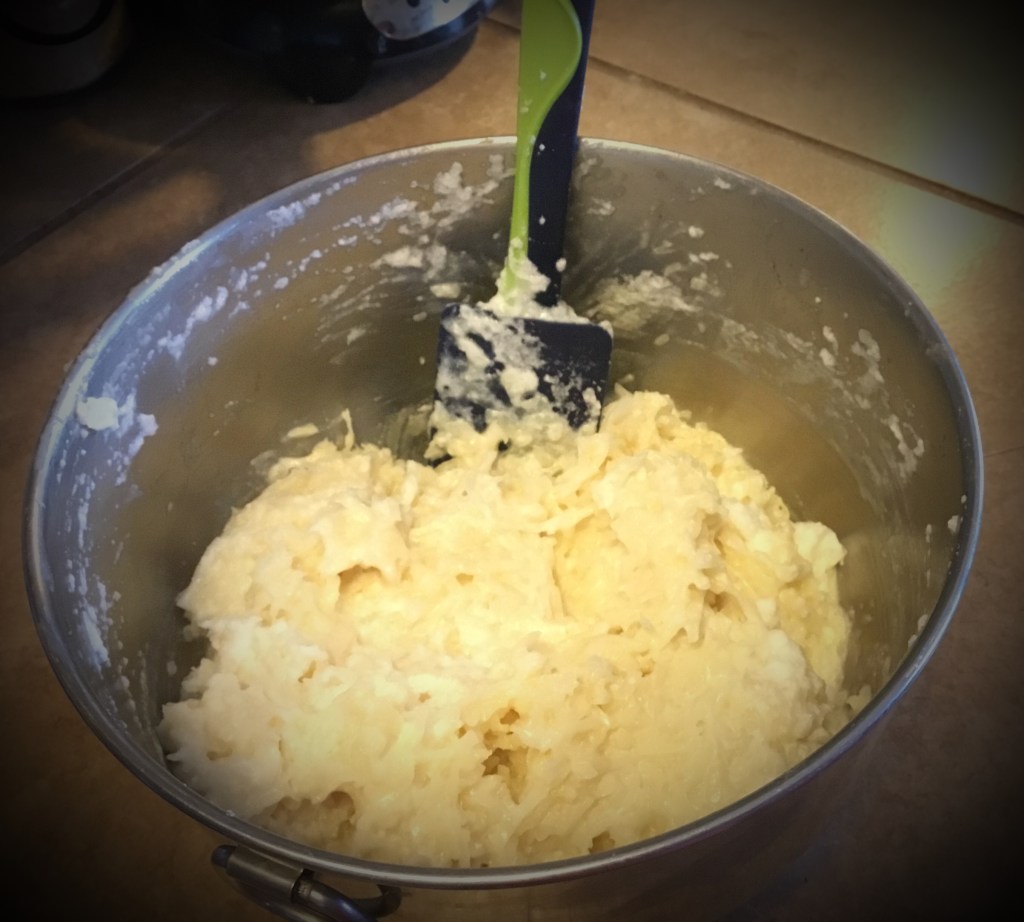
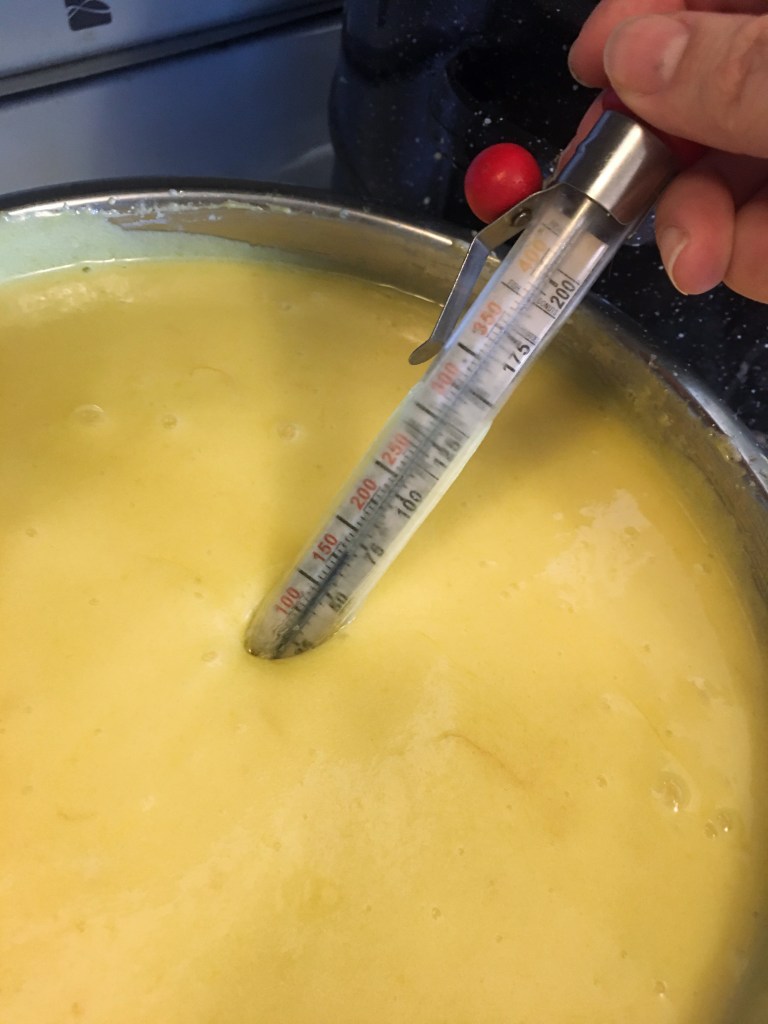
- Continue cooking the mixture slowly while whisking and checking the thermometer regularly. Once it starts to thicken up and it reaches 170*F turn off the heat and remove the pan from the stove.
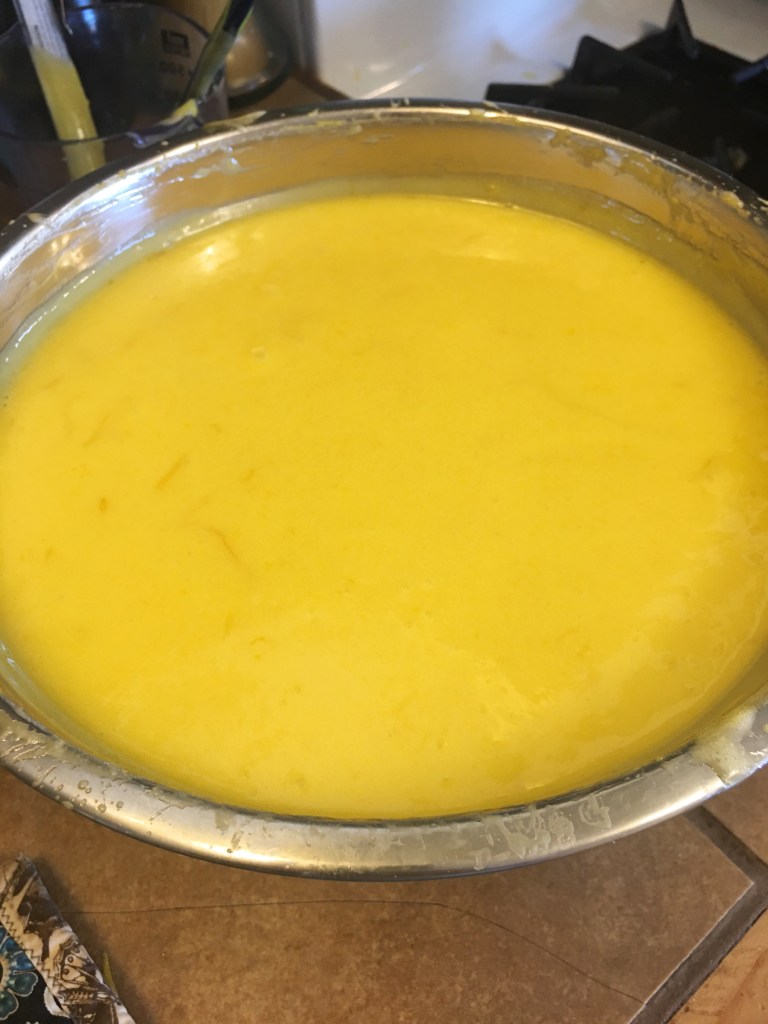
- Strain the curd into a clean bowl. We used a fine mesh strainer.
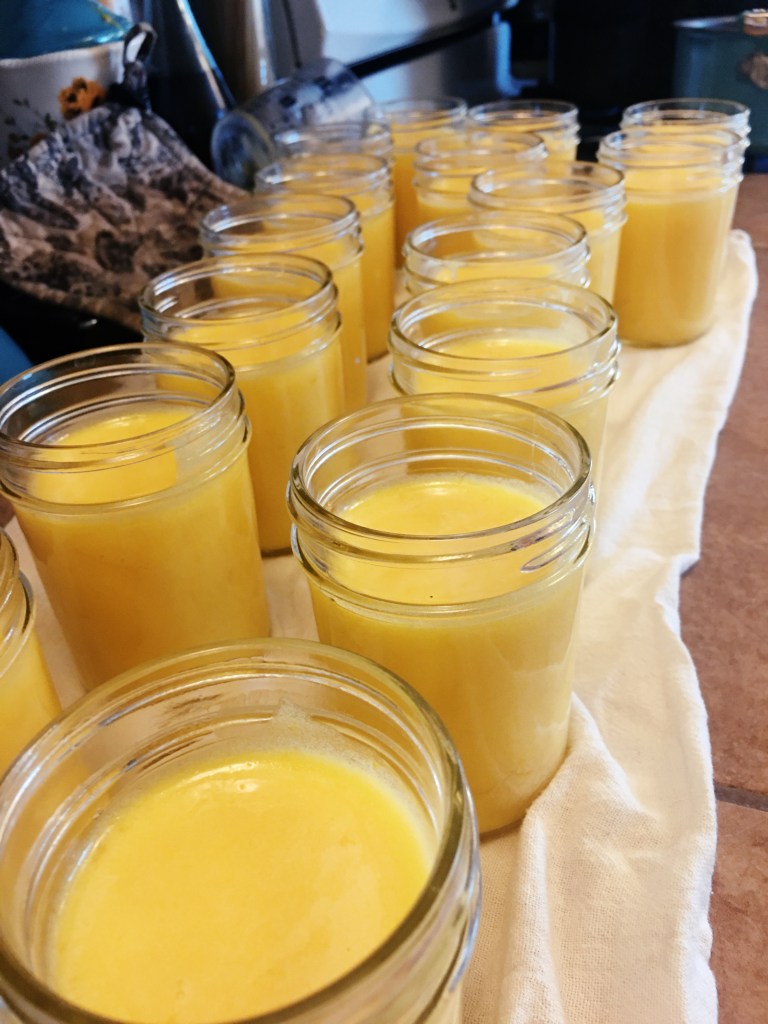
- Now you are ready to can your curd! With this big of a batch its great to can it and have it preserved for any time you want a treat.
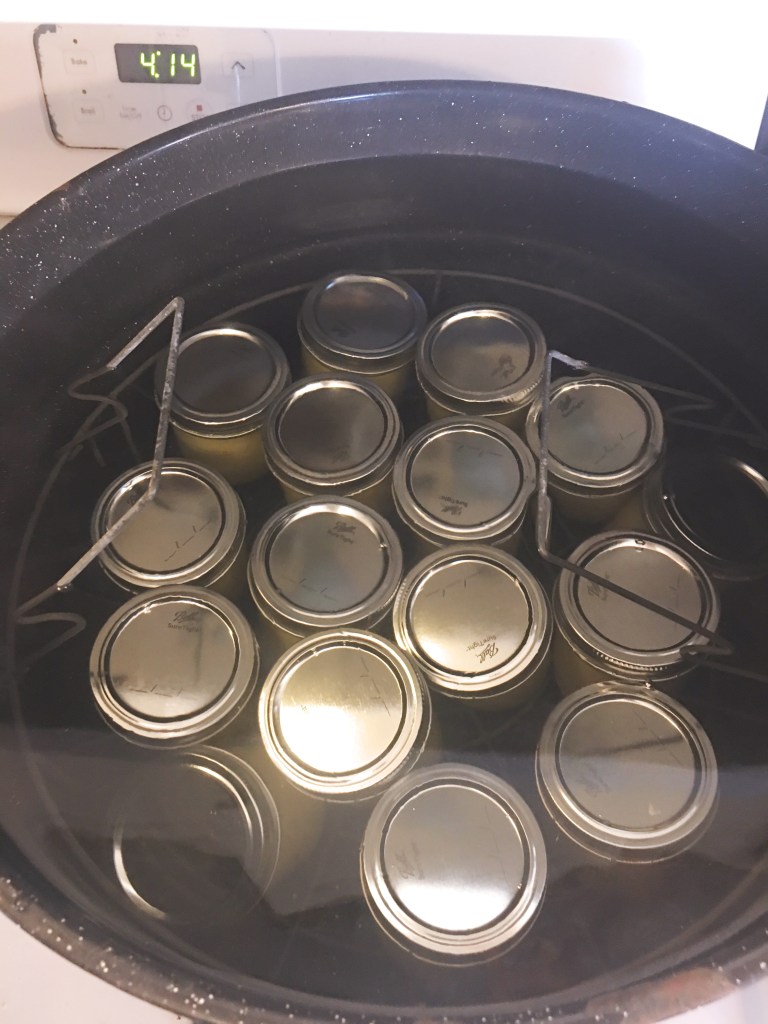
- Sterilize your canning jars and lids in boiling water for 10 minutes.
- Remove the jars, and fill with the lemon curd. Leave a 1/2″ head space.
- Put the lids on TIGHT! make sure the water is no hotter than 180*F. Add the jars into the water and bring to a boil. Once boiling let the jars process for 15 minutes.
- Take the jars out and let them cool on a towel at room temperature. Don’t disturb them, after maybe half an hour you hear this popping, that is the jars sealing themselves. So don’t mess with them or think their about to explode, because its actually a good thing. 🙂
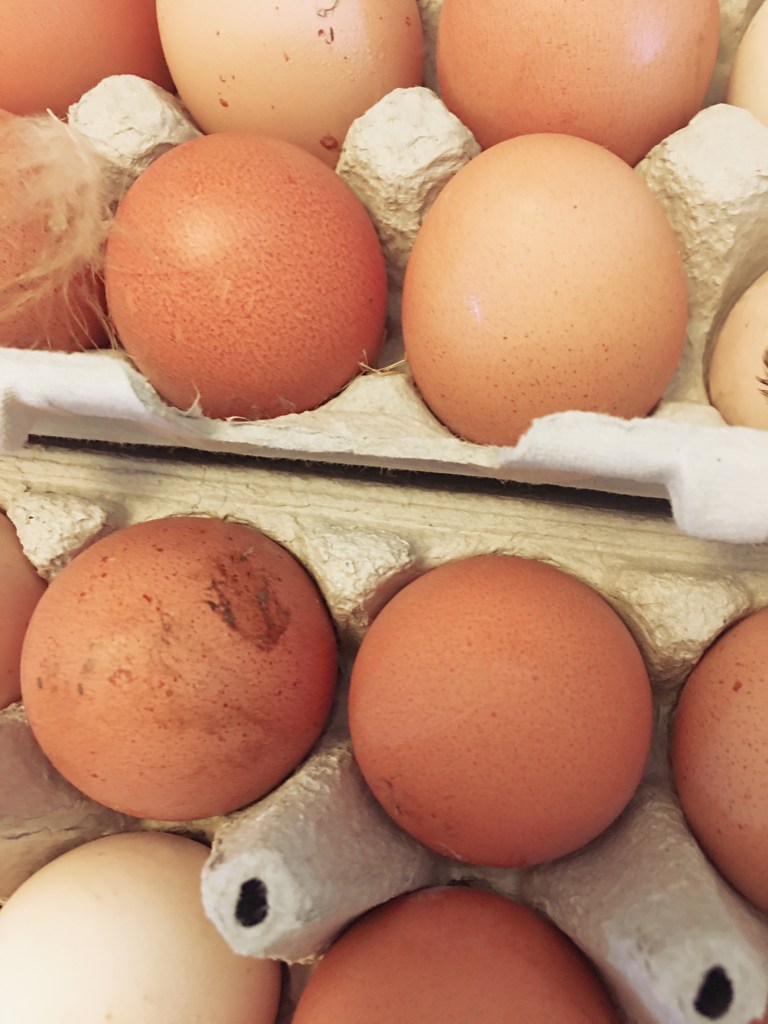
If you use fresh eggs, remember to wash them first.
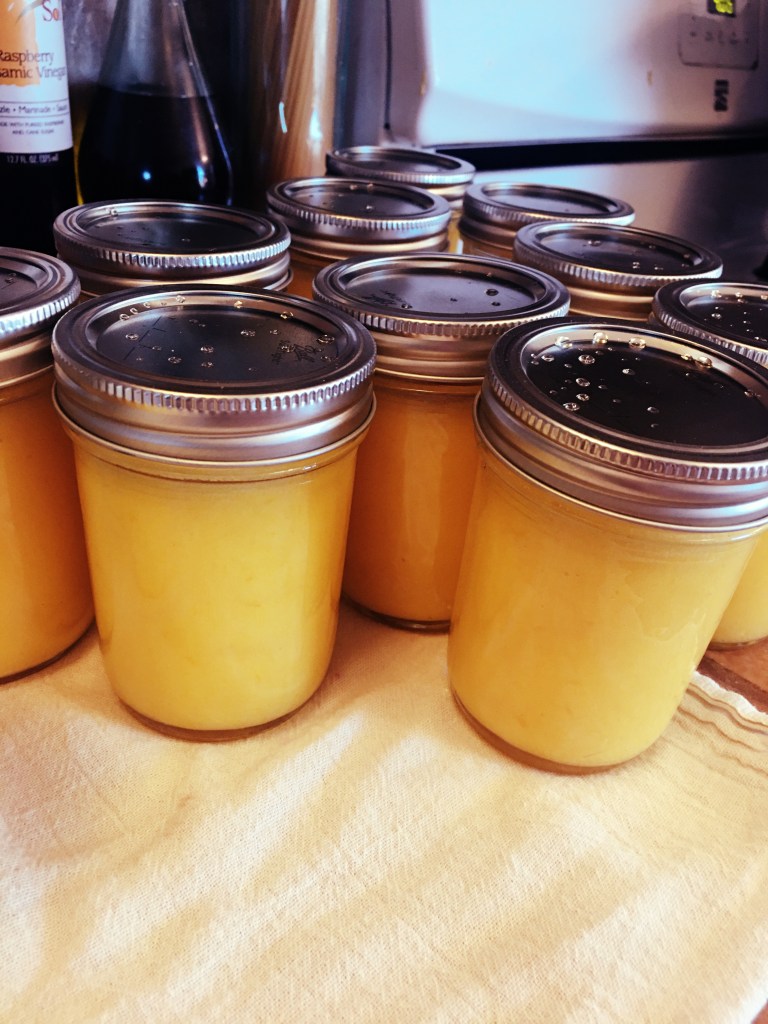
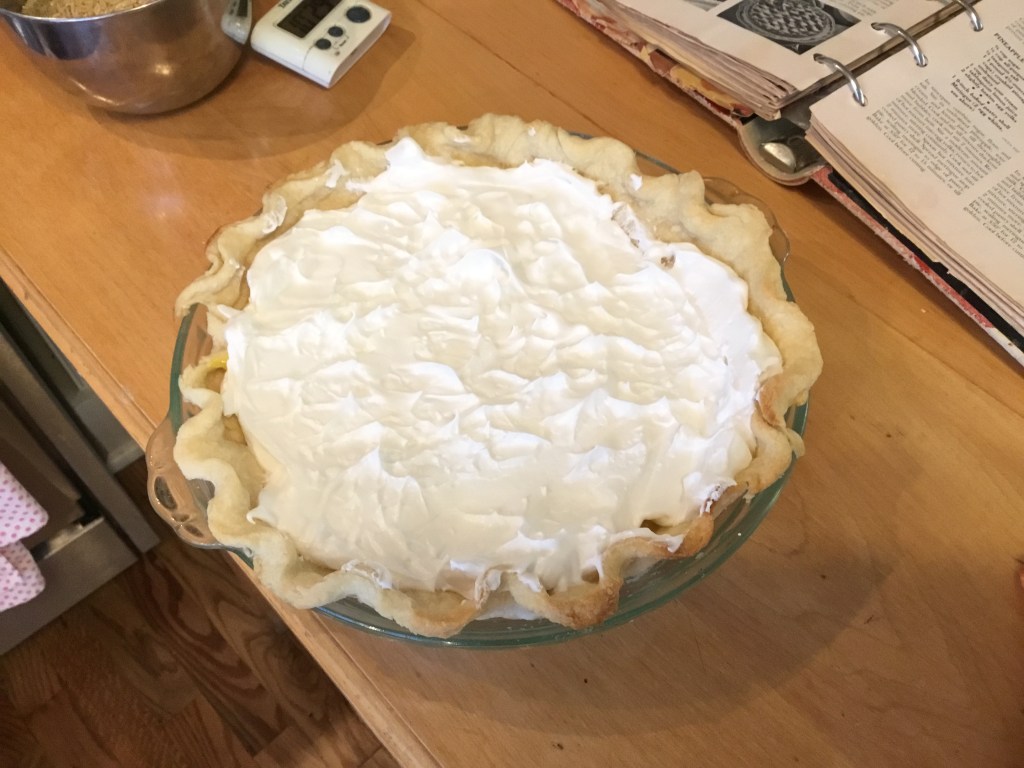
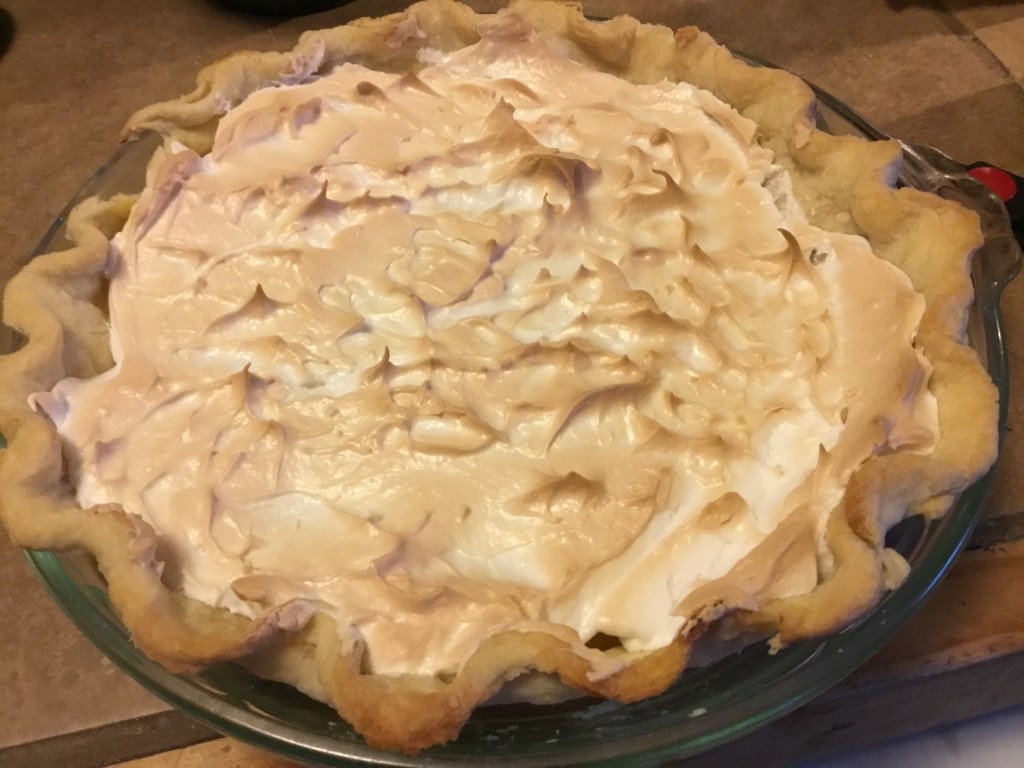
So there it is! This delicious treat is amazing to put on toast or even get a spoon full of it. 😉 (which, if you know me by now, was the very first thing I did once they were cool!)
These can be frozen and stay good for a year but otherwise as long as their sealed they stay good for 3-4 months.
I had a great time making these and hope you do to! Have a great day!