Surprise Cake

Hey guys, I am so sorry I haven’t been able to write in a while, I have been pretty busy. I’m in fifth grade so I have my school work and even though I do it from home I get tired and just want to take a break sometimes. I also help my mom around the house and like to cook dinner once a week so I am not always able to do my blog. So I have decided to write as much as I can but not necessarily every week, that way its not too much pressure. So make sure to follow my blog so you get notifications when I post a new recipe. Now let’s talk about this new recipe. Today I’m going to make a surprise cake. I saw a video for it on Pinterest and it was for a New Year’s Cake, I decided to put my own special twist on it though to make it girly and fashionable. If you want to make this cake for a party or something you will want to make this a day or two in advance because this takes quite a while. I’m super excited so lets get started!

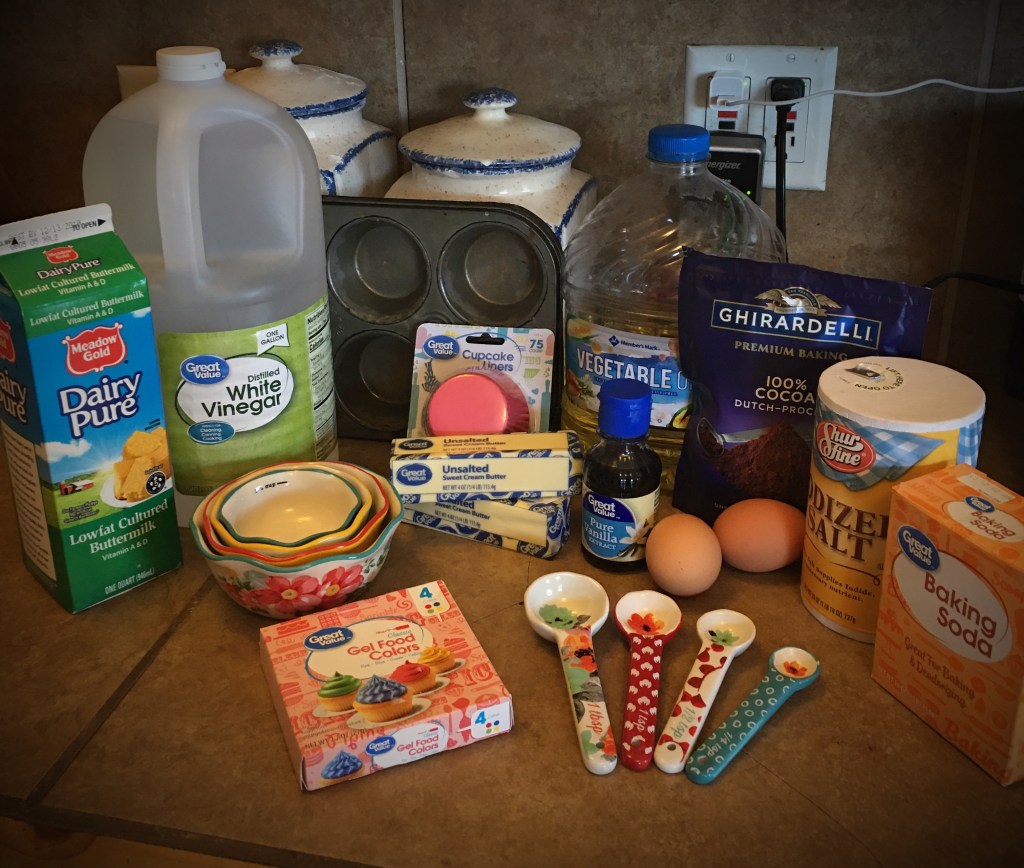
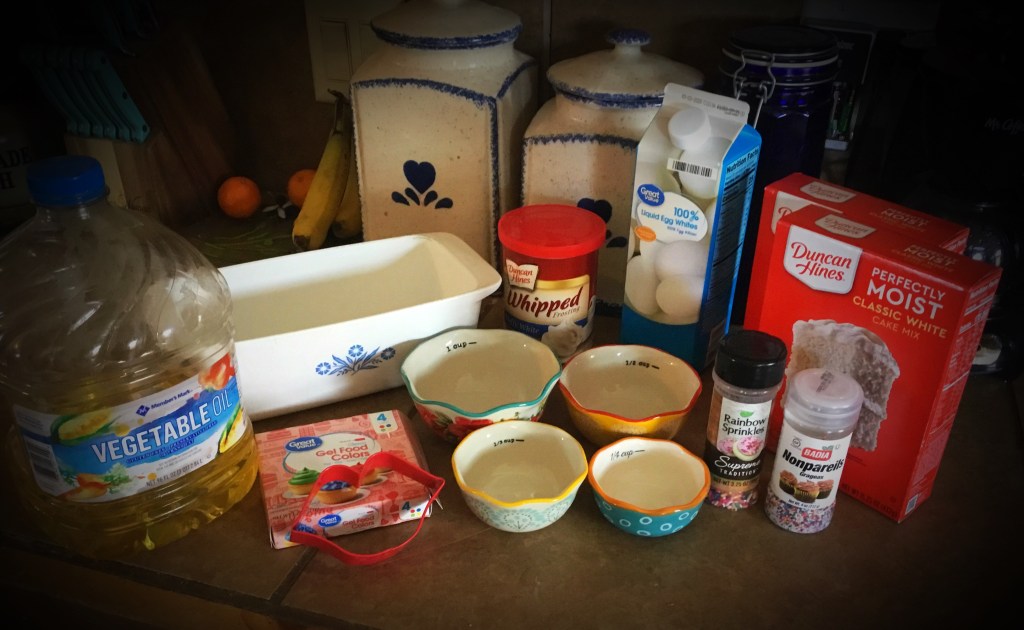
Ingredients (For First Cake)

  • 3/4 cup water
  • 1/3 cup oil
  • 3 egg whites
  • 1/2 cup flour
  • 1 box white cake mix (16.25 oz)
  • gel food coloring (I used red)
  • Cookie cutter of your choice

Ingredients (For Second Cake)

  • 3 egg whites
  • 1 cup water
  • 1/3 cup oil
  • 1 box white cake mix (16.25 oz)
  • 1/2 cup rainbow sprinkles
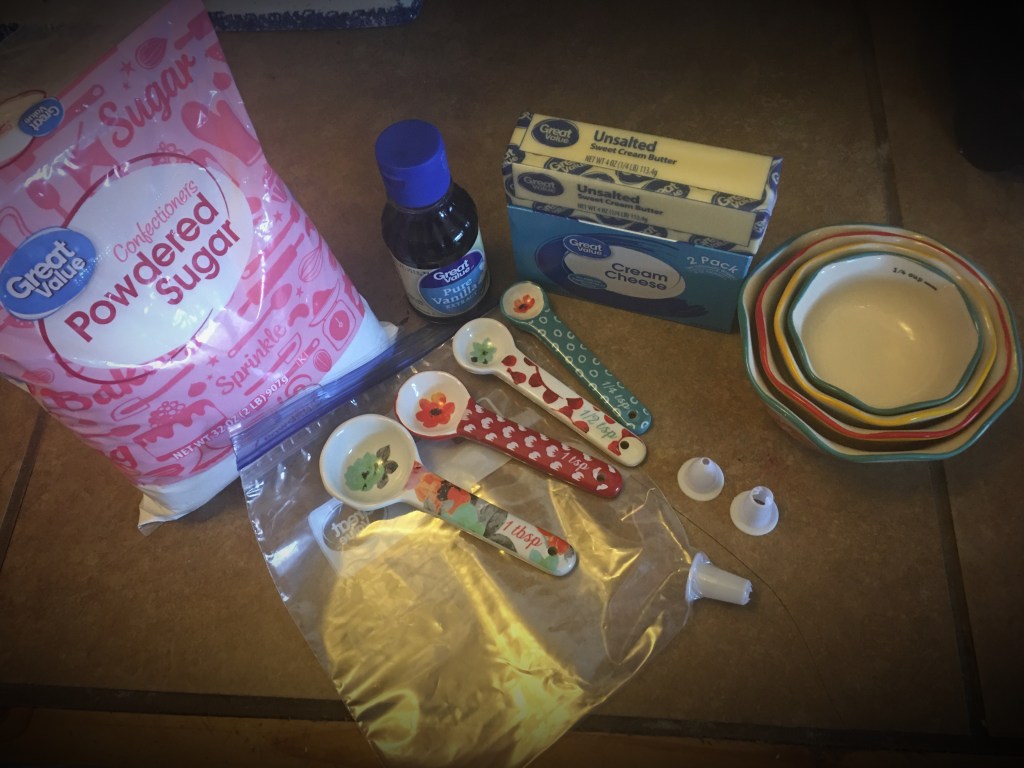
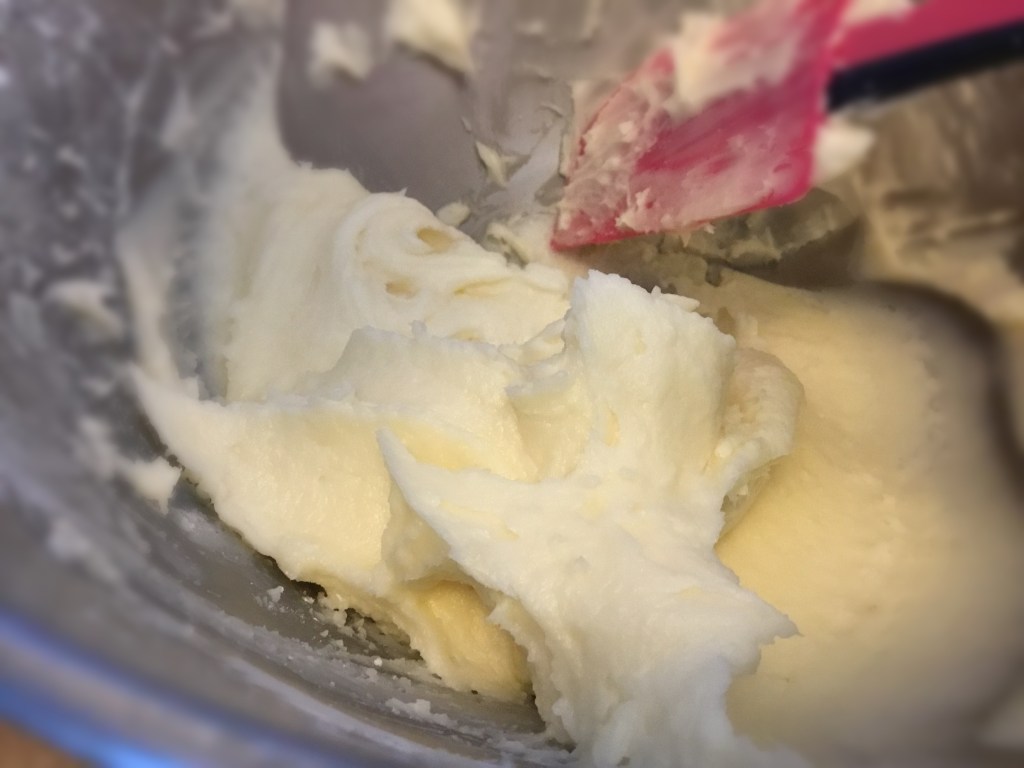
  • 1 16oz jar of Frosting

Instructions (For First Cake)

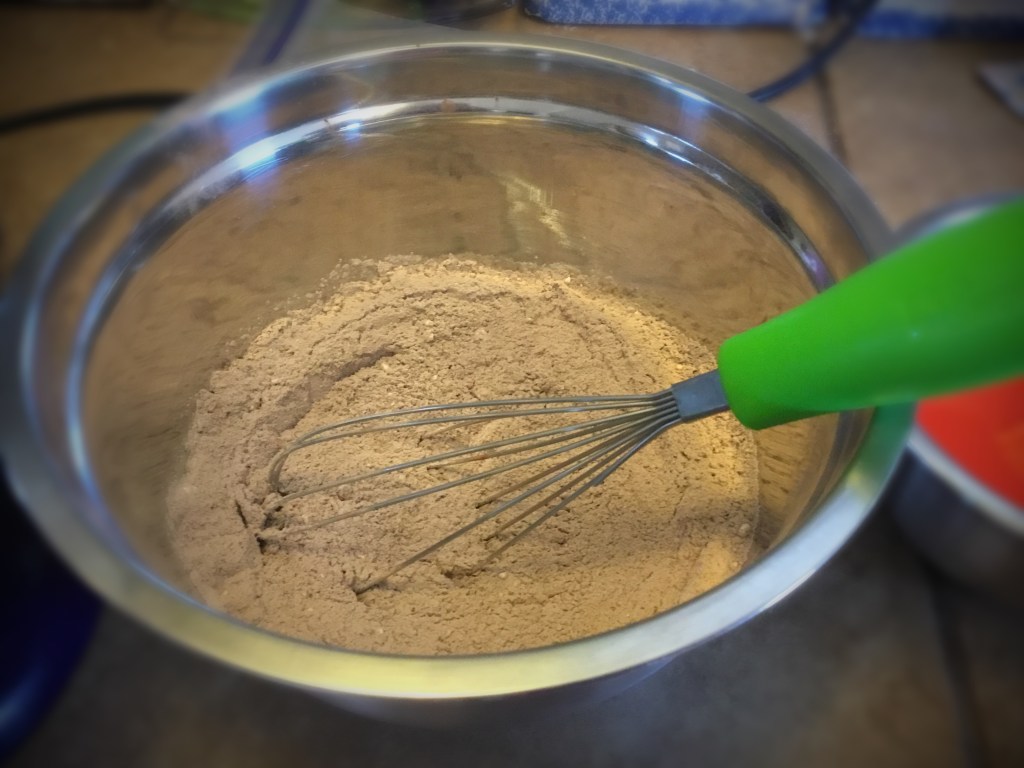
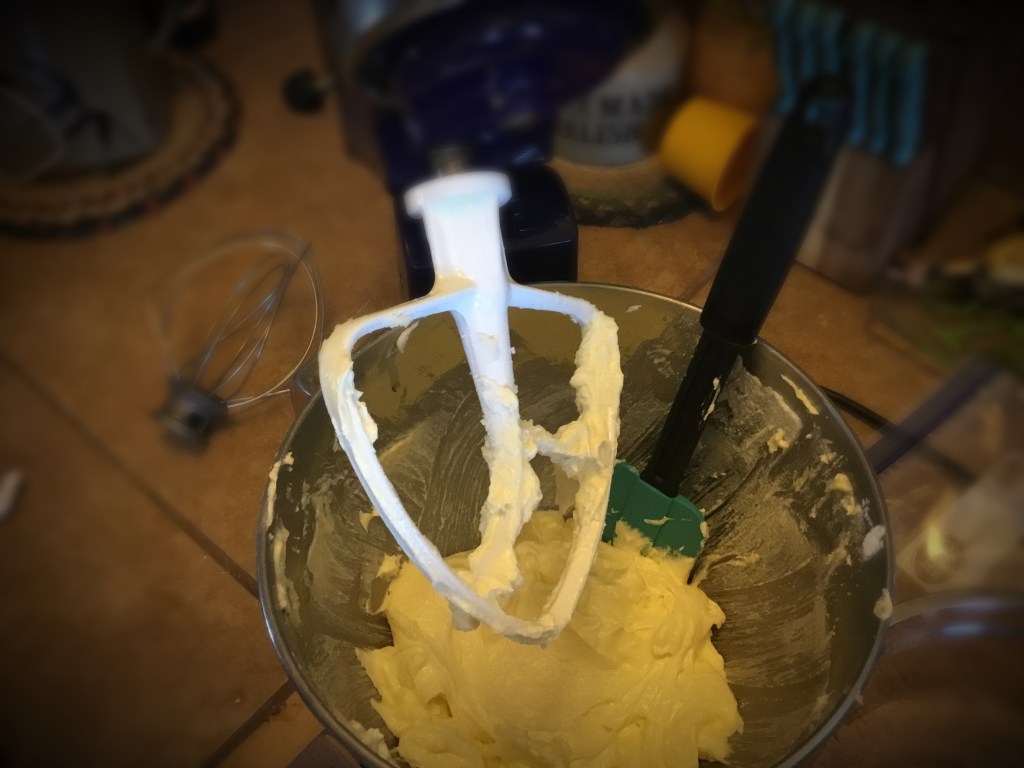
  1. Mix water, oil, egg whites, (I used store bought egg whites so that we didn’t waste the yolks) flour, and cake mix.
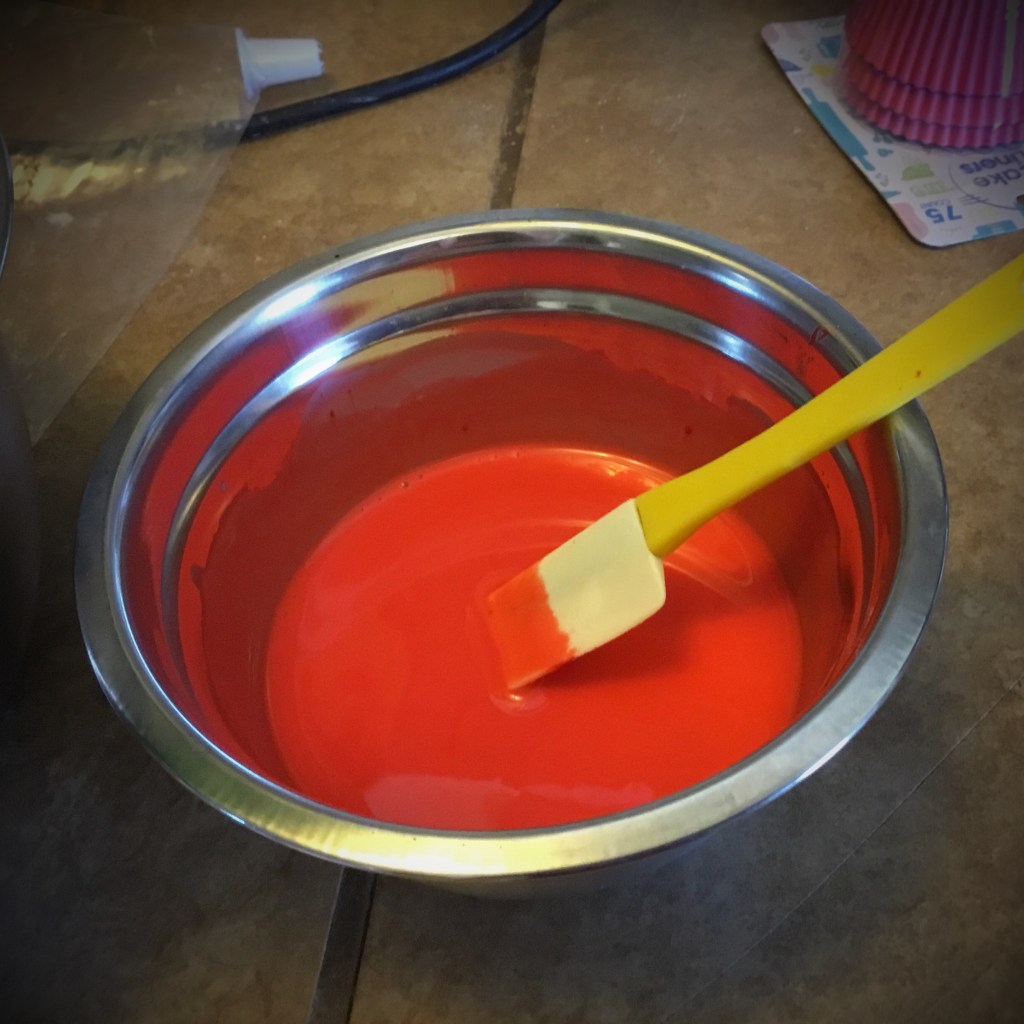
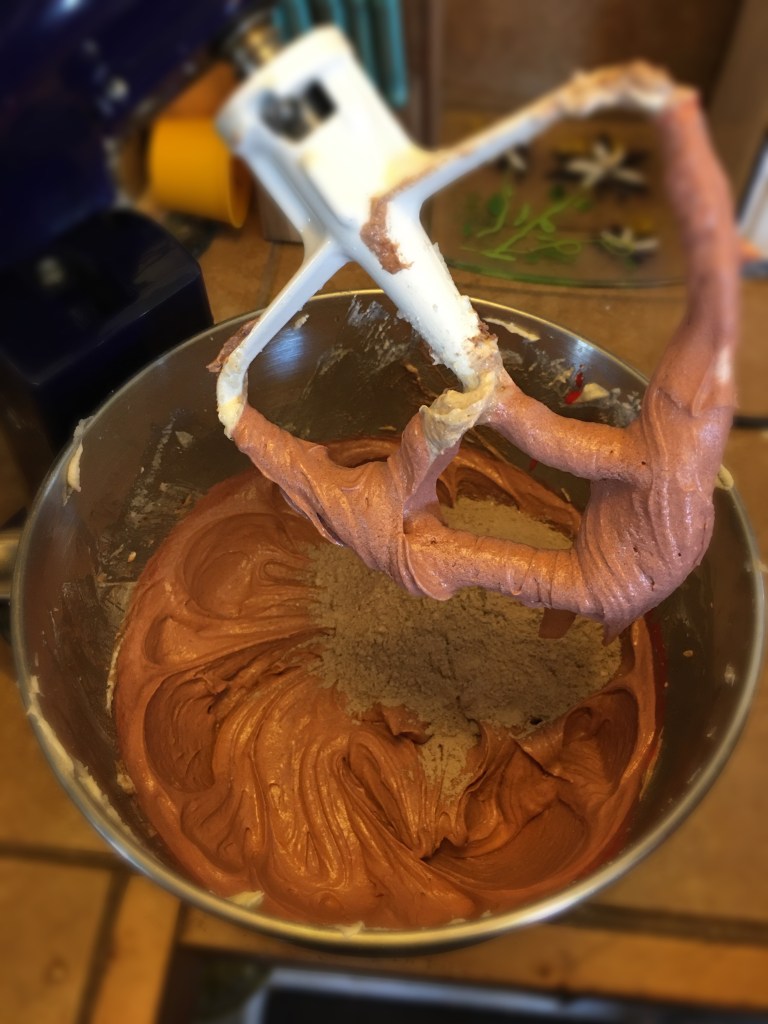
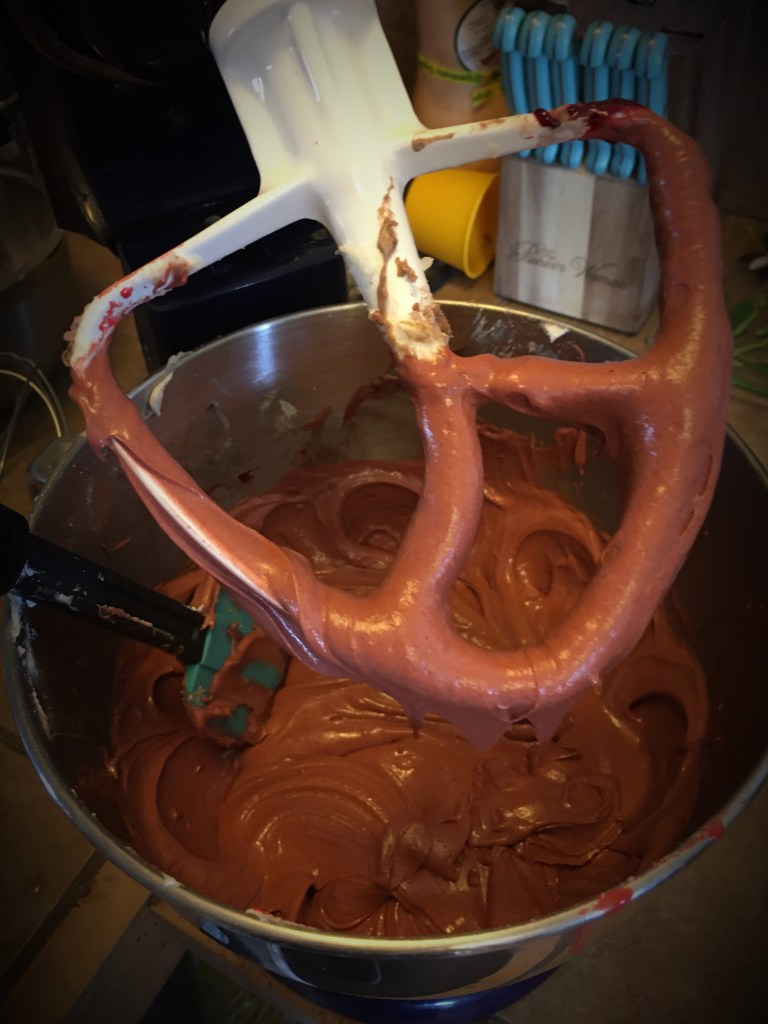
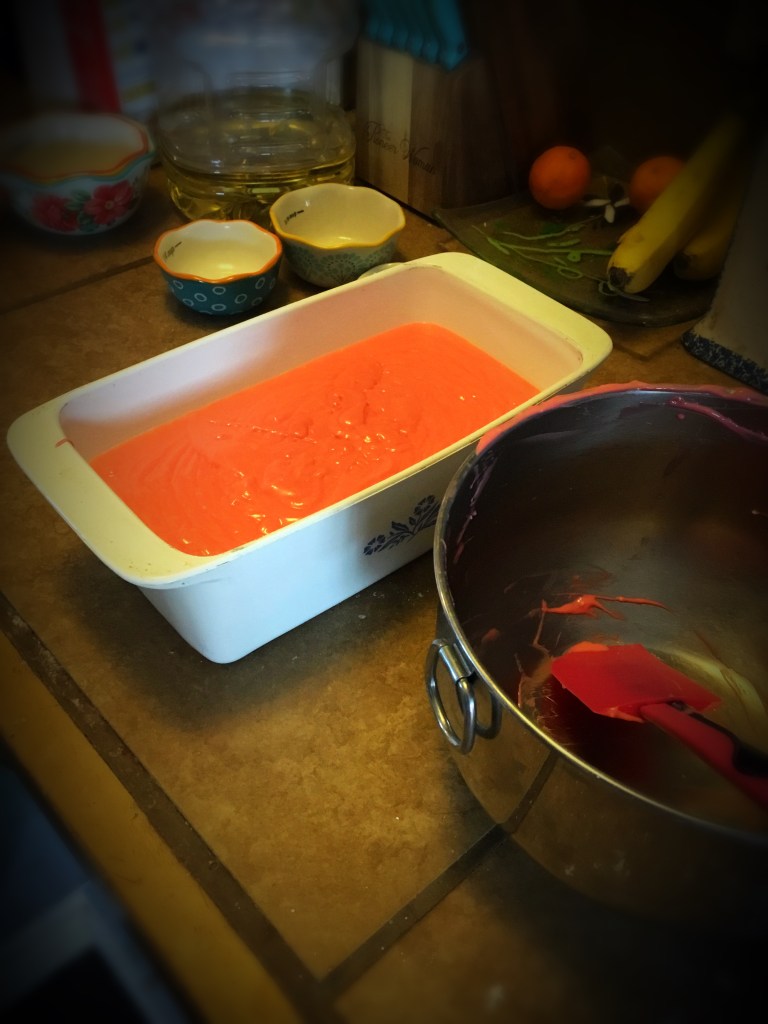
  2. Once its blended well add food coloring, start with 1/4 tsp and add more to get your desired color
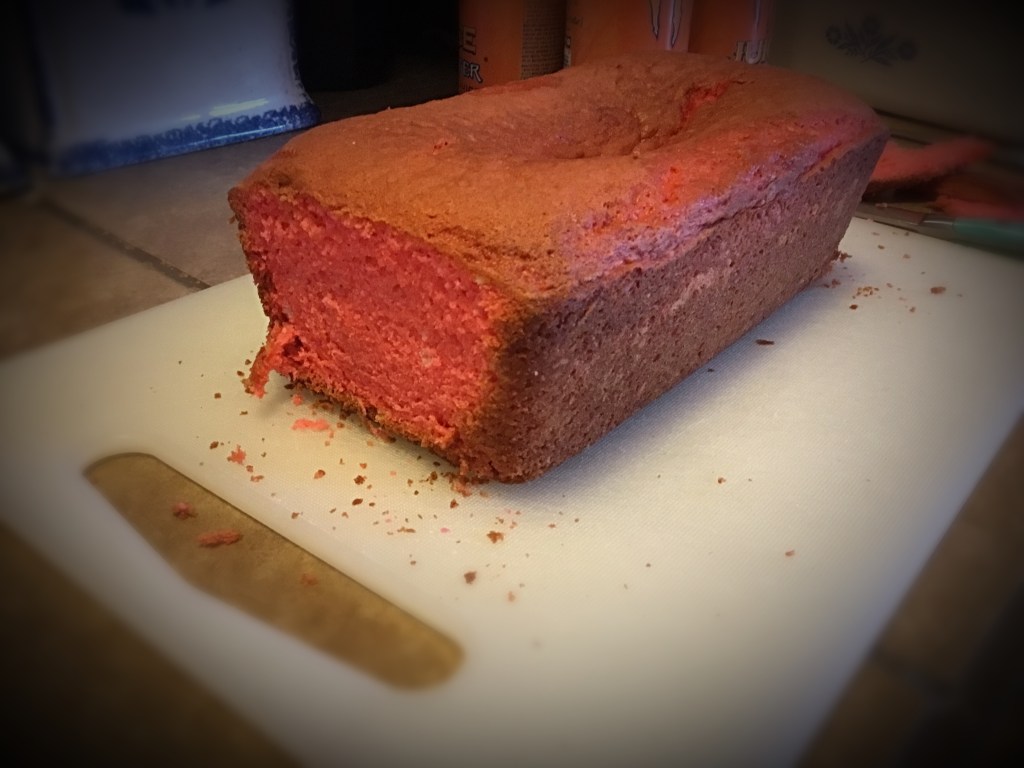
  3. Pour mix in loaf pan and bake @ 350 for 45-50 minutes
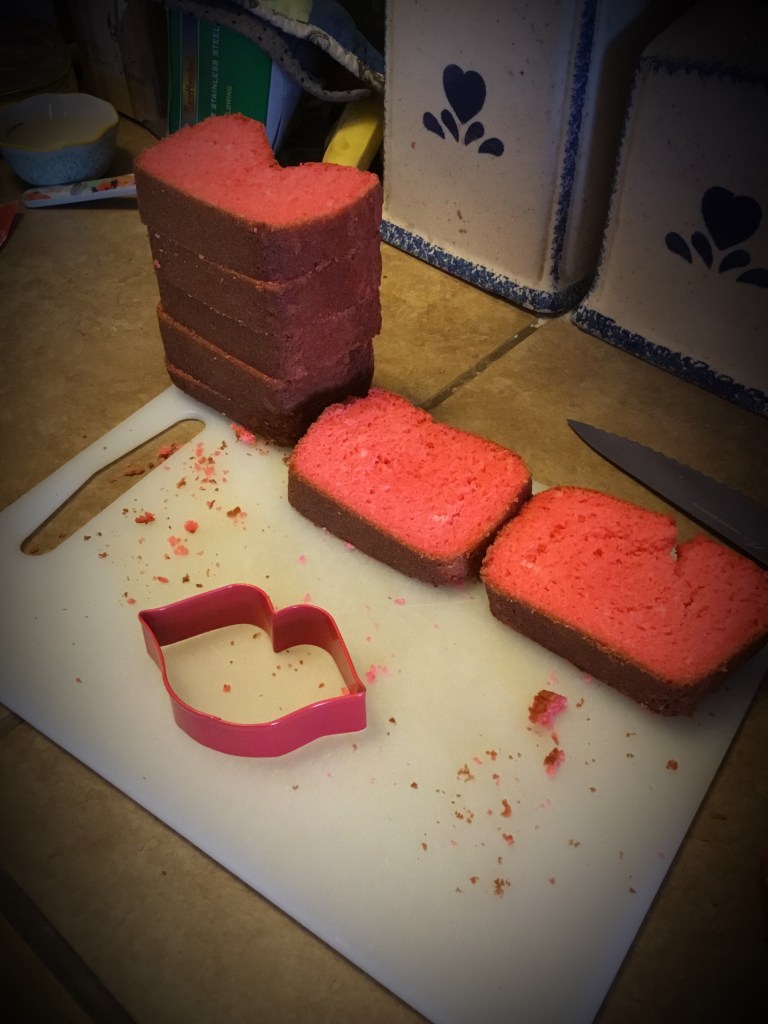
  4. Cool cake completely. Then cut off the ends and take your cookie cutter (I used lips) and measure the thickness of it to get the size slices. Once you have all the slices done cut out the shape with your cookie cutter from the middle of each slice.
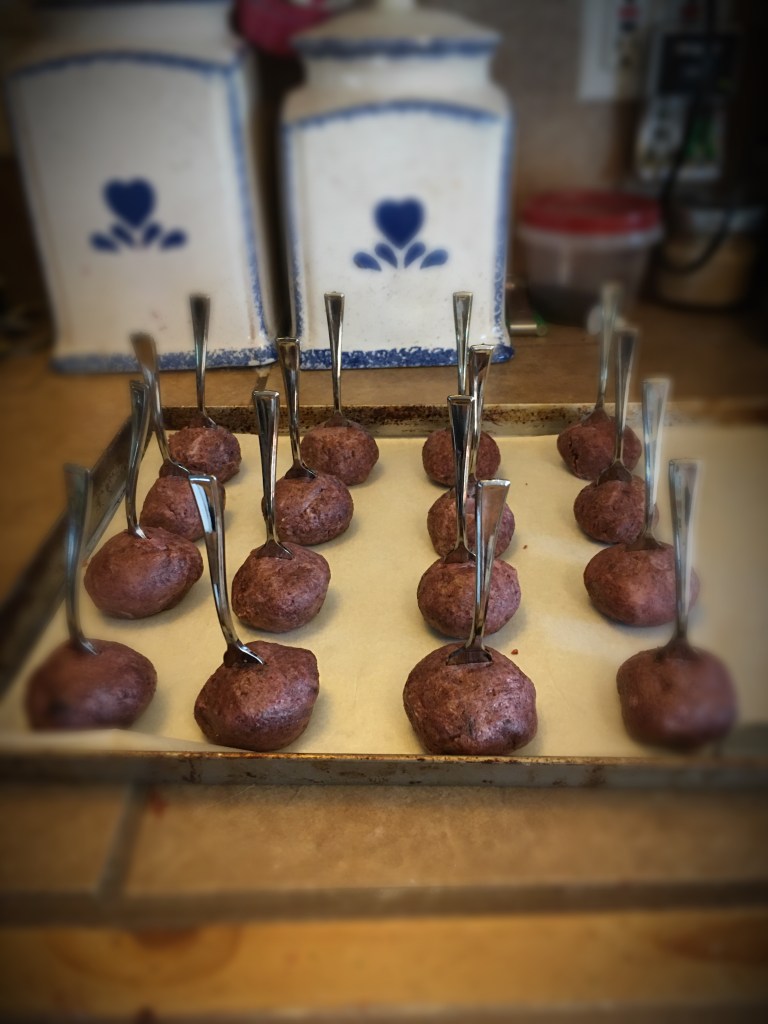
  5. Put shapes on a cookie sheet and brush with egg whites and then freeze them for 6 hours or overnight.

Instructions (For Second Cake)

(Start this cake only after your shapes from the first cake are frozen and ready)

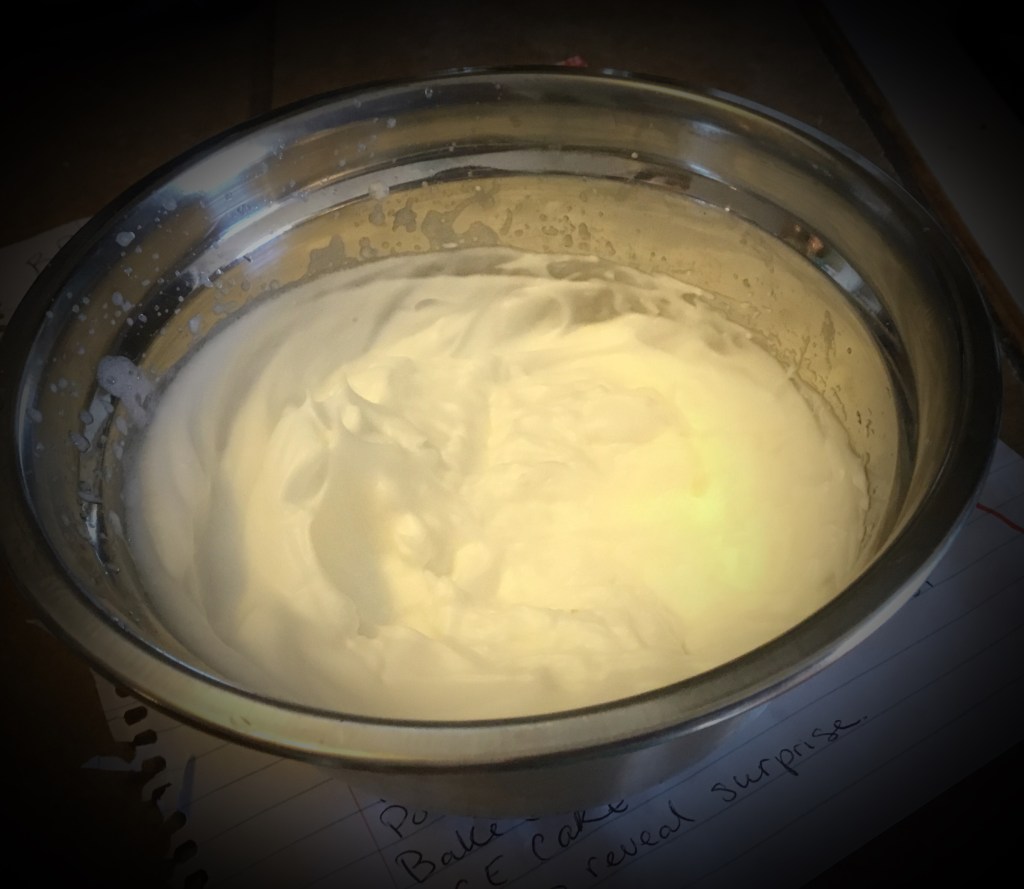
  1. Put 3 egg whites in a bowl and beat until soft peaks form. Set aside.
  2. In a separate bowl mix water, oil, cake mix and sprinkles.
  3. Add egg whites and fold in gently to cake mix.
  4. Pour about 1/3 to 1/2 of batter into a greased loaf pan.
  5. Then set frozen cake shapes in a line down the center, matching them up till they are all added. (I got so excited that I totally forgot to take a picture of these steps, sorry!)
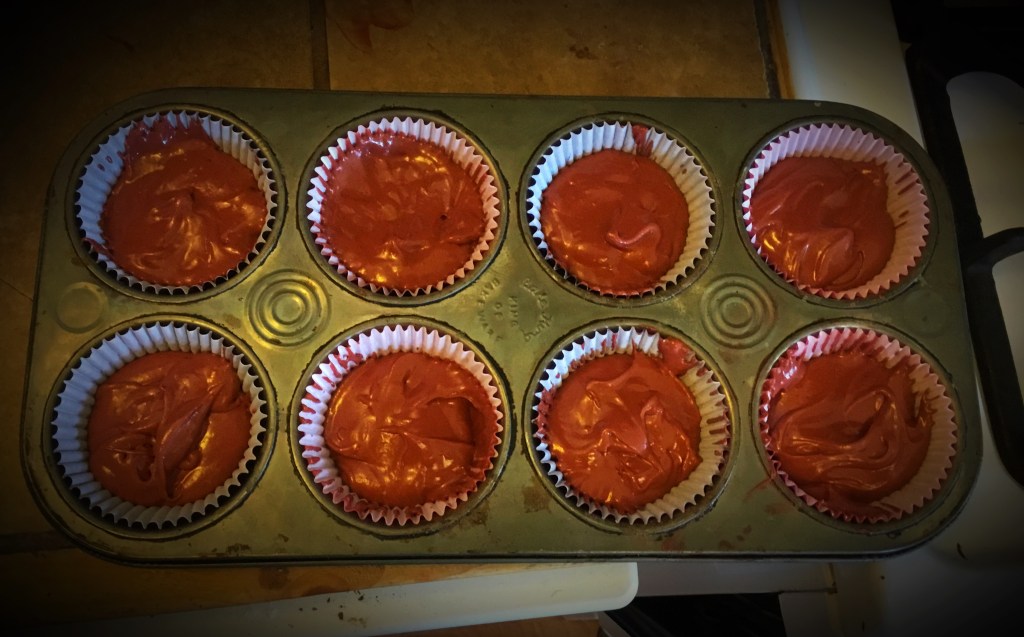
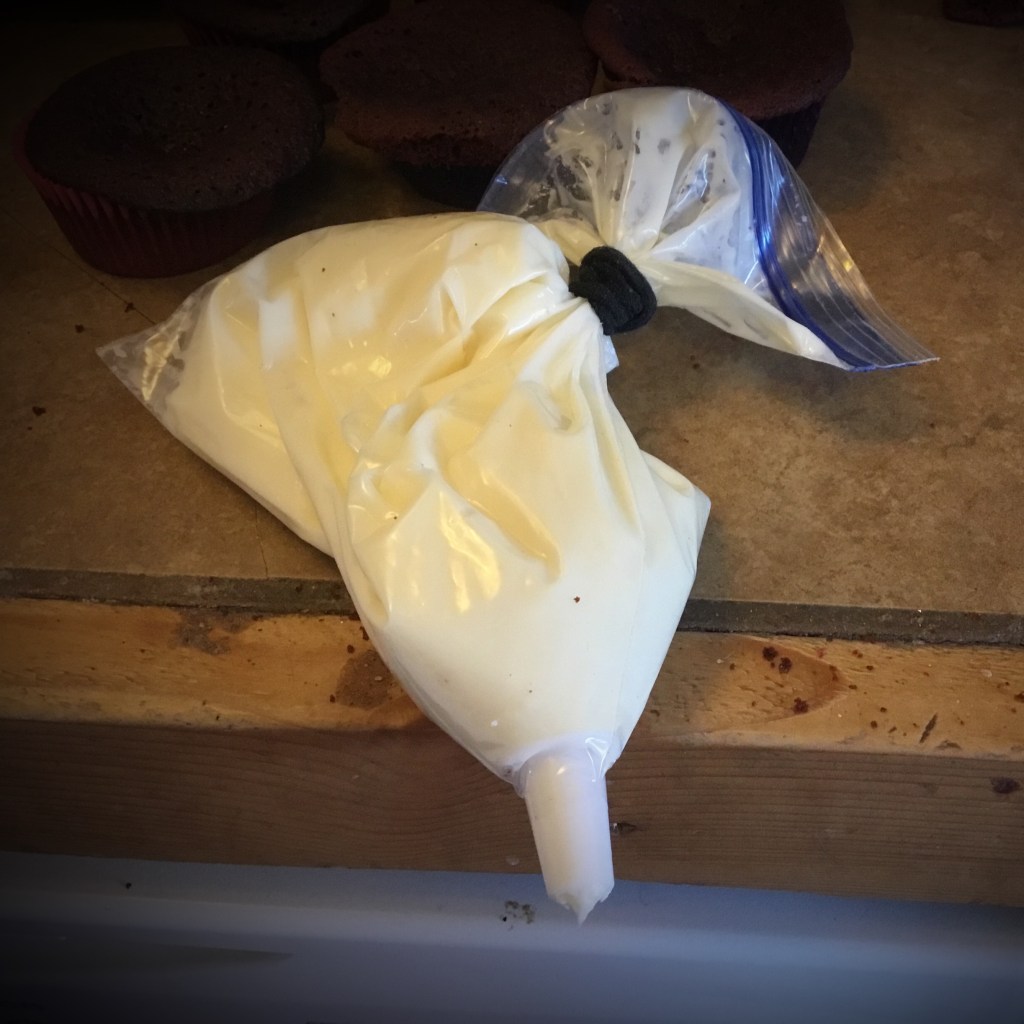
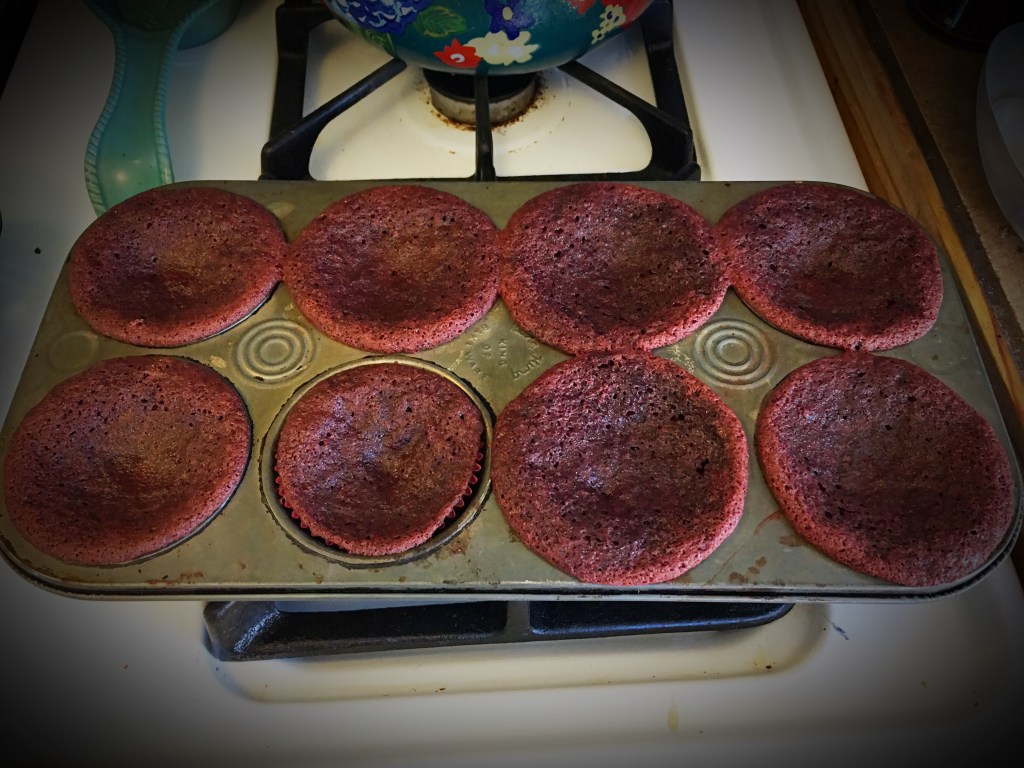
  6. Gently pour the rest of your cake batter over the top. (I had cake mix left over so I made some mini cupcakes)
  7. Bake @ 350 for 40-50 minutes. Check to see if it’s done with a toothpick. Make sure it comes out clean.
  8. Cool cake completely
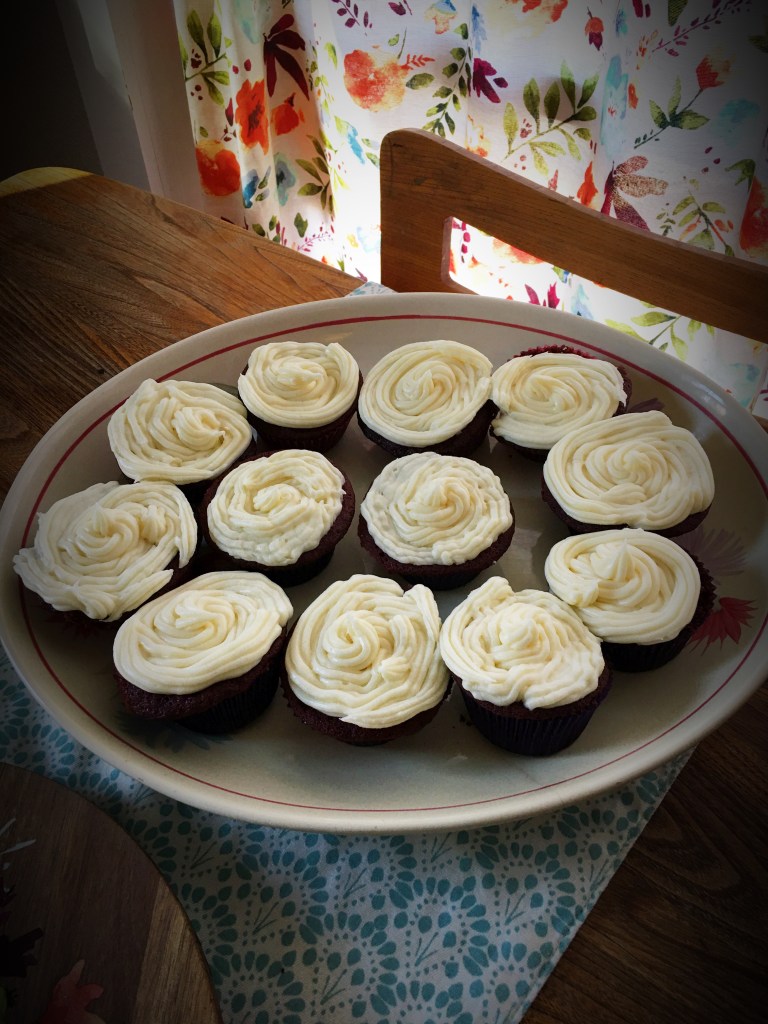
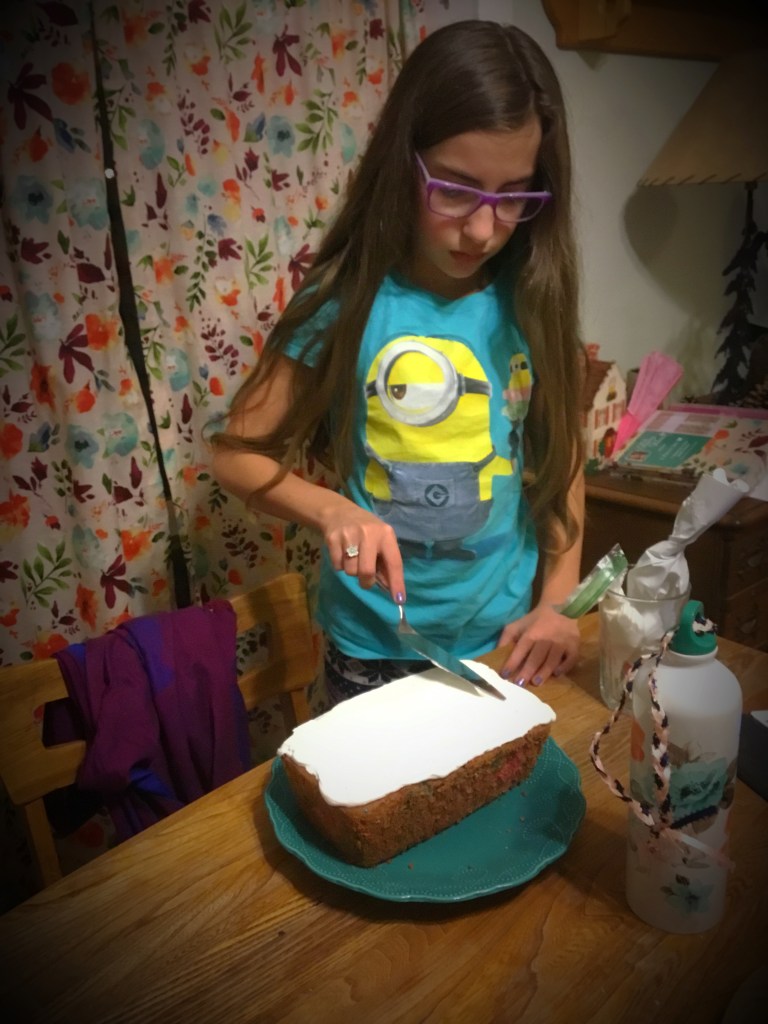
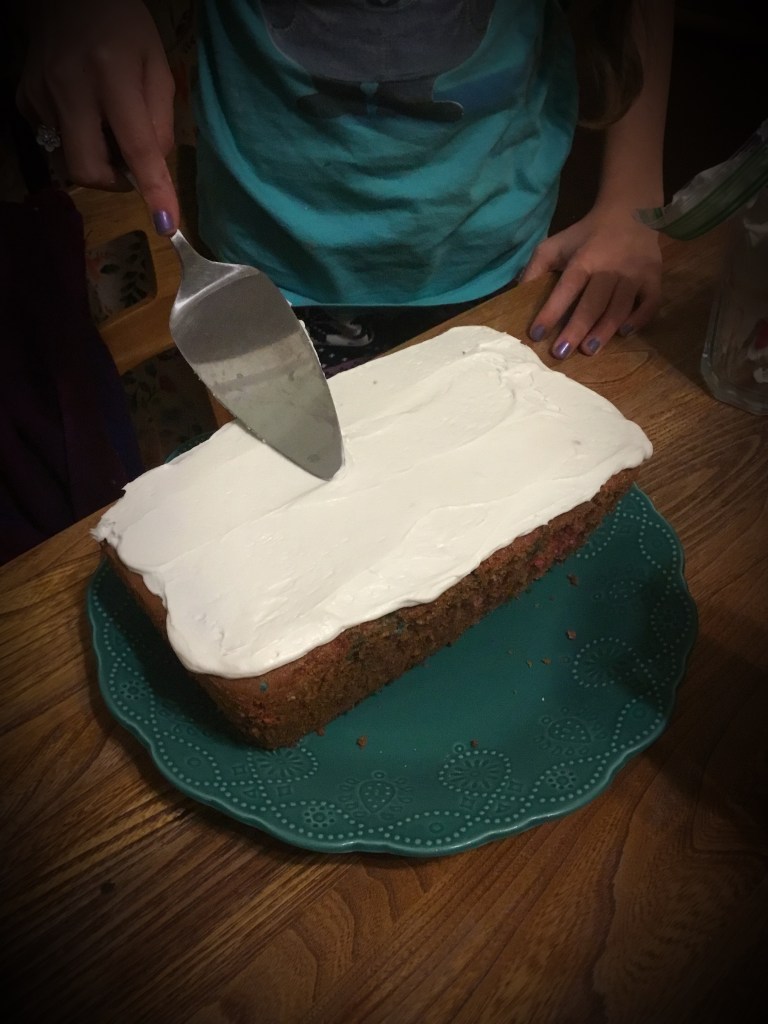
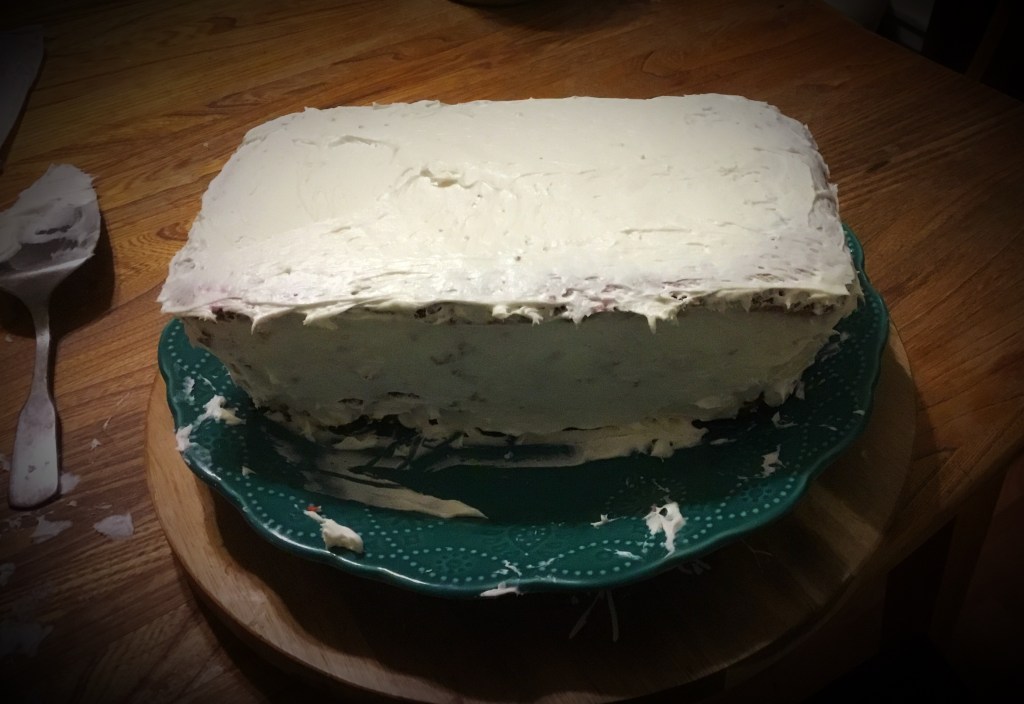
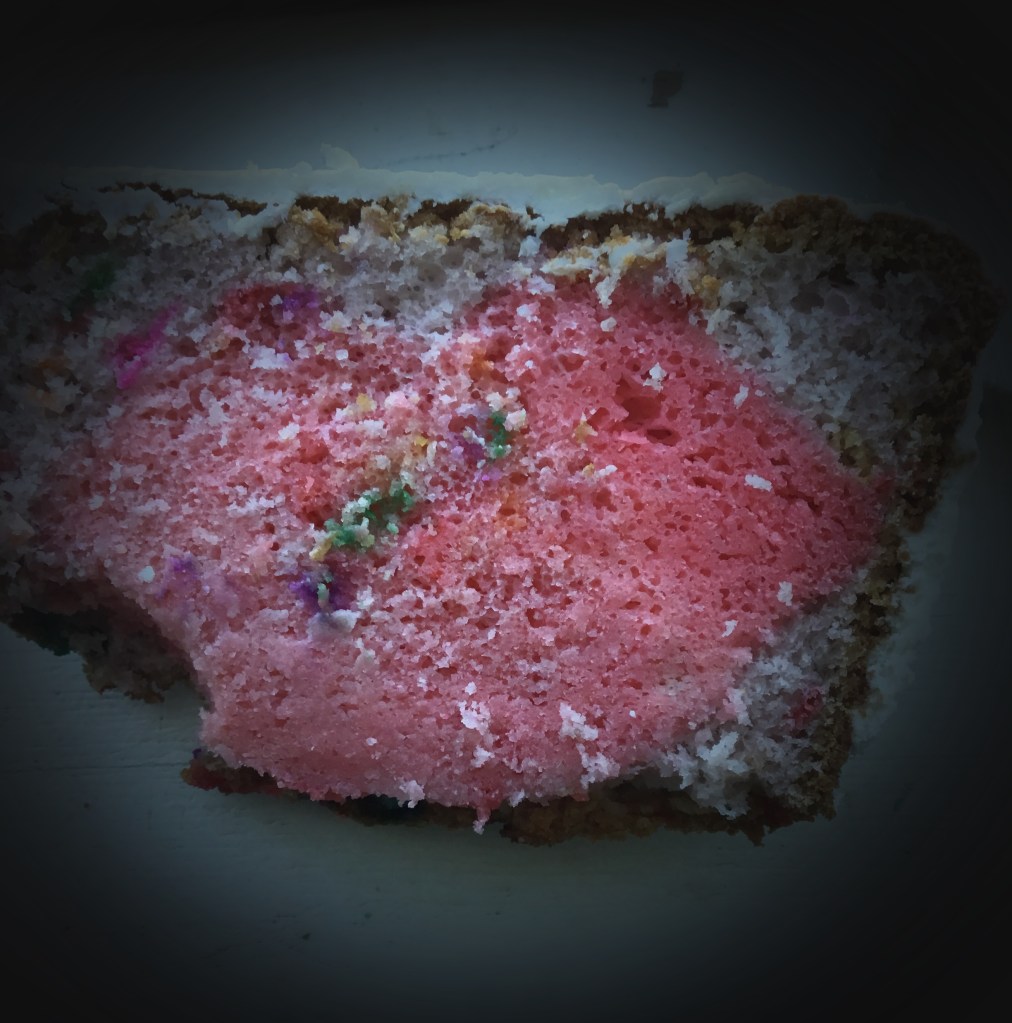
  9. Frost cake and decorate if you want. When you slice it you will see the shape you used in the middle of the cake. SURPRISE! Its a lot easier to frost if you have the cake on a flat surface, I learned this the hard way! But I wanted to put it on a cute plate so I used one of my mom’s Pioneer Woman plates.
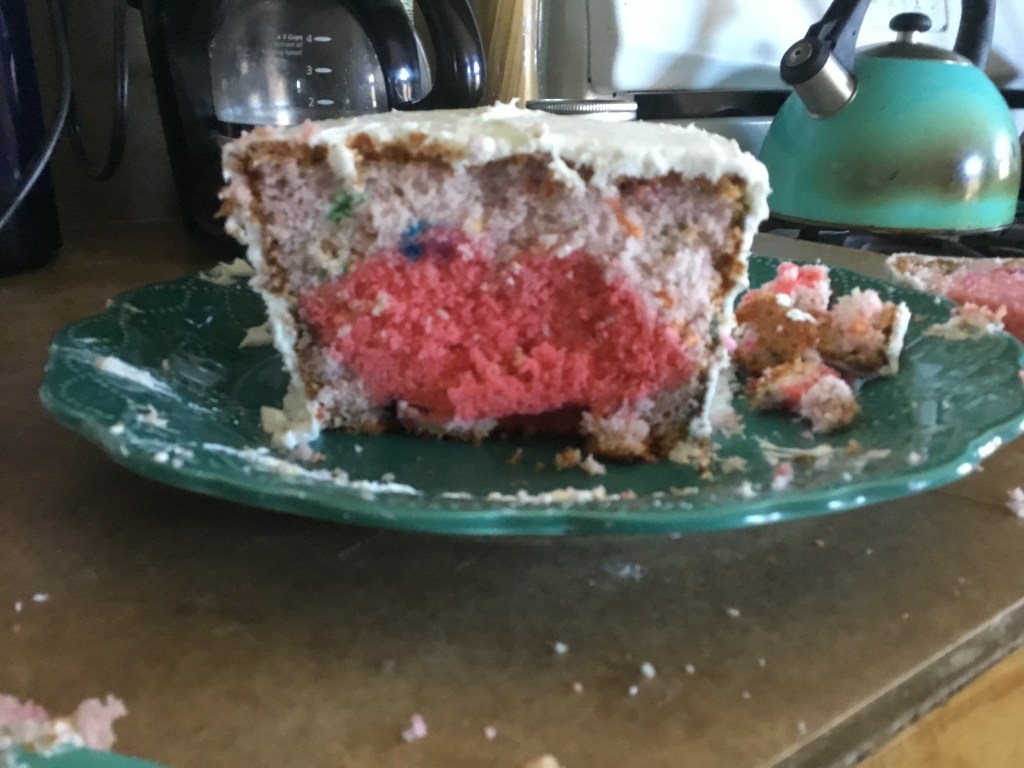
Even though this cake took me two days to make and it didn’t come out perfect, I still really enjoyed making it and it was so delicious!! I hope you guys love this cake as much as I do. Thanks so much for reading and stay tuned for more favorite foods of a hummingbird!

Red Velvet Cupcakes With Cream Cheese Frosting

Hey guys, welcome back! Another week has flown by and this week is a bonus week (I didn’t plan for it to be a bonus, but here we are). I’m making a two in one recipe, but I’ll explain that later. We are going to make Red Velvet Cupcakes with Cream Cheese Frosting. I’m super excited. So lets get started!

#PioneerWoman

Ingredients

  • 1 1/2 cups flour
  • 3 tablespoons unsweetened cocoa powder
  • 1 teaspoon baking soda
  • 1 teaspoon salt
  • 2/3 cup buttermilk
  • 1 1/2 teaspoons white vinegar
  • 2 teaspoons vanilla
  • 1 teaspoon red gel food coloring (if your using liquid food coloring you will need more)
  • 1 1/2 cup unsalted butter (softened)
  • 1/4 cup oil
  • 1 cup sugar
  • 2 large eggs

Cream Cheese Frosting Ingredients

  • 1/2 cup unsalted butter (softened)
  • 8 ounces cream cheese (softened)
  • 3 1/2 cups powder sugar
  • 1 teaspoon vanilla extract

Instructions

  1. Preheat oven to 350 degrees. In another bowl, mix flour, cocoa powder, baking soda, and salt.
  2. In another bowl whisk together the buttermilk, vinegar, and red food coloring.
  3. In a mixing bowl, beat butter and sugar together for about 4 minutes, or until light and fluffy. Scrape the sides of the bowl, add the oil and then cream it for 2 more minutes. Add eggs one at a time and beat for two minutes, then add vanilla.
  4. Add half of the dry mixture and half of the butter milk mixture, mixing after each addition, until it is all added.
  5. Drop the batter in to cupcake liners in the pan and bake for about 16 to 19 minutes, don’t over bake.
  6. Let cool.
  7. To make frosting: In a bowl whip together butter, cream cheese, powder sugar and vanilla until smooth.
  8. Once the cupcakes are cooled put on the frosting. If you’re piping it on and don’t have a piping bag just use a plastic baggy. Cut a hole that’s not to big at the tip of it and pipe. I used a tip but if you don’t have a piping tip its ok, the hole at the end will work fine.

Now, since I said this is a bonus week, let me explain why. I’m not sure why, but my cupcakes came out and were sunk in the middle! So frustrating! Possible reasons for this happening are, over mixing the batter, or opening the oven door too soon. But either way, I’m sitting here looking at a pan of ugly, caved in cupcakes!

Thankfully my advice from my last post about smothering mistakes in chocolate also works great with frosting! So really you could call it a blessing in disguise because now I can put extra frosting to hide my mistake. Yummy! They say “When life gives you lemons, make lemonade.” Well, when life gives you dented cupcakes, fill in that dent with lots of frosting!” LOL

The finished product!

Some of the cupcakes were also getting stuck to the liners and the pan and I kinda broke them. What was I going to do with broken, mangled cupcakes?! I know! I’ll turn them into CakePops!! I saw a video on YouTube where someone did that with a messed up cake, so I thought I would try it.

BONUS Cake Pop Instructions

Take your extra frosting and crumble up the cupcakes in to it and stir in until it’s all mixed. I just added the crumbs to the icing bowl. No need to make extra dishes!

Then, using a tablespoon, scoop out some into your hand and roll into balls. Set them on a piece of parchment paper, on a cookie sheet.

Put them in the fridge for a while until they are cold so they don’t fall apart when you dip them. Once they are cold you can put in your sticks. We didn’t have any because I didn’t plan on making cake pops today. Thankfully my mom had some leftover tiny plastic forks from a bridal shower she threw for my Auntie. I used them and they worked great!

Then melt semi sweet chocolate chips in a double boiler. Add some coconut oil because it will make the chocolate more silky and easier to dip without clumping up.

Pour the chocolate in a cup so that you can completely submerge the cake pops in the chocolate. Dip straight down into the chocolate and put them on a sheet of parchment paper. If you don’t want a pile of chocolate underneath them, make sure to wipe them on the edge of the cup before setting them down. You can also add sprinkles for a bit of fashion and flair.

And just like that we have a BONUS! I almost hope all my cupcakes have dents so I can make cake pops and use extra frosting again! LOL. Well that’s all for now. Thank you for reading! I hope you like this recipe and make sure you stay tuned for more favorite foods of a hummingbird.

Two for one BONUS!