The Best Gluten Free Chocolate Cake.
Hey guys! welcome back. Today is a cold day so the perfect time to turn on the oven and make something sweet. So I’m going to show you how to make a delicious chocolate cake! It’s not only gluten free, but it’s also dairy free! It’s so delicious, sweet and rich. So, if your ready to be blown away by this delicious cake, then keep on reading!
By the way, I am cutting the cake recipe in half but giving you guys the full measurements. Also, even though I’m cutting the cake recipe in half I’m doing the full frosting measurement’s. I decided to do this for two reasons, first I love the frosting and second I love to decorate my cakes so having extra frosting is helpful!
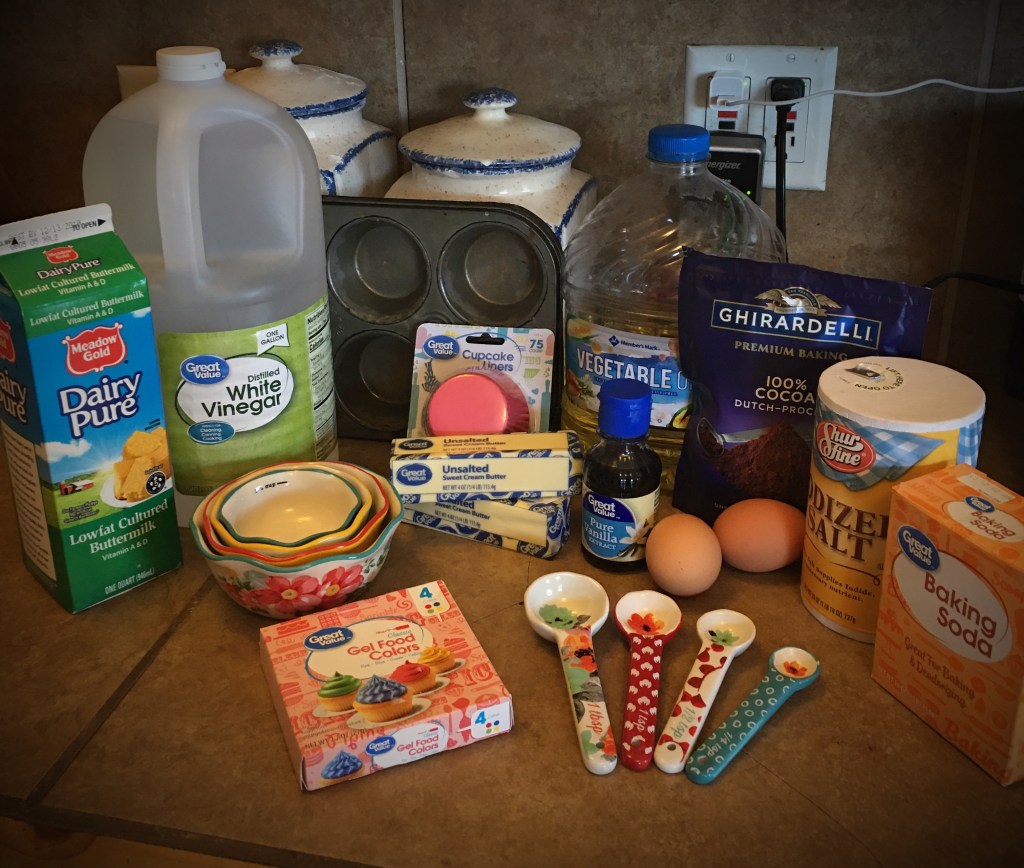
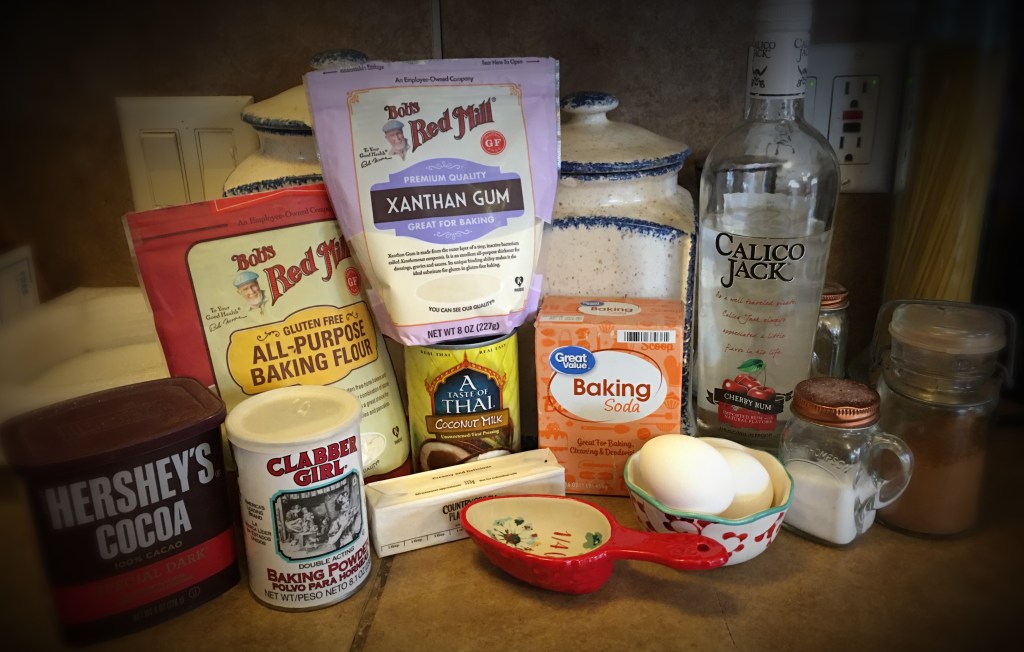
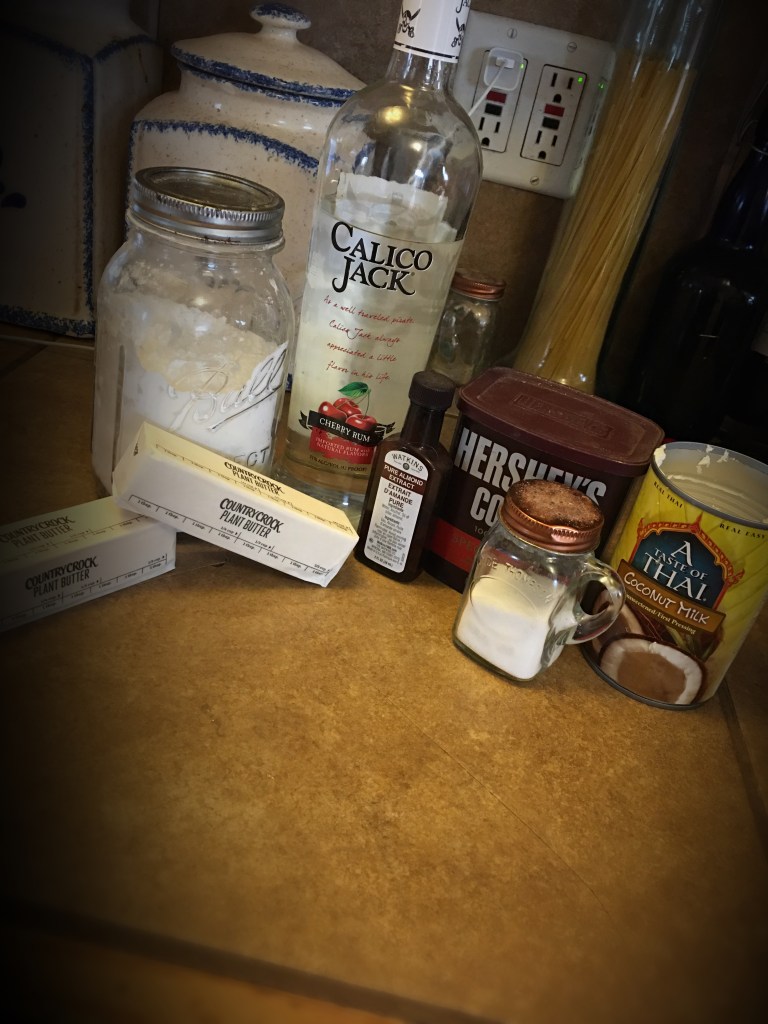
Cake Ingredients
- 2 cups all purpose gluten free flour
- 1/2 teaspoon xanthan gum
- 1 teaspoon baking soda
- 1/2 teaspoon baking powder
- 1 teaspoon salt
- 1/2 teaspoon ground cinnamon (optional)
- 1/2 cup dairy free butter plus 1 tablespoon (I’m using plant butter made with avocado oil)
- 2 cups granulated sugar
- 1 teaspoon cherry rum
- 1 cup butter milk (to make it dairy free add 1 tablespoon of lemon juice to 1 cup of coconut milk and let it set for a few minutes)
- 2 room temperature eggs
- 3/4 cup cocoa powder
- 3/4 cup boiling water
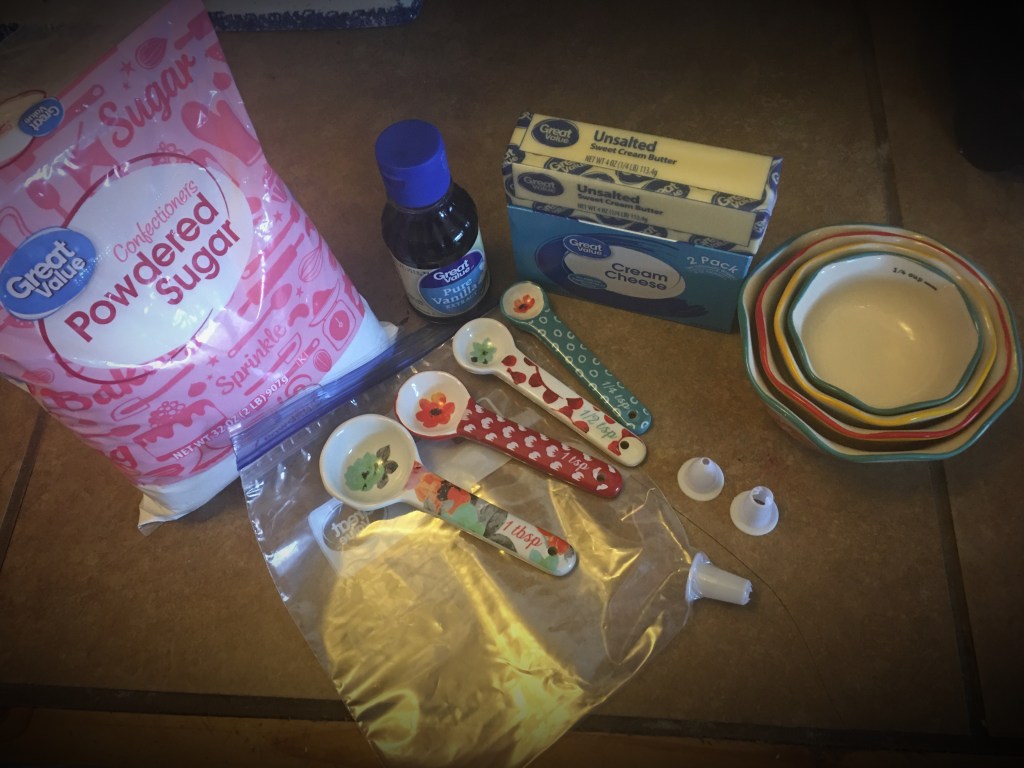
Frosting Ingredients
- 1 cup dairy free butter
- 2 teaspoons cherry rum
- 1/4 teaspoon pure almond extract
- 1 cup cocoa powder
- Pinch of salt
- 4 cups powdered sugar
- 3 tablespoons almond milk (you could also use cashew or coconut milk)
Cake Instructions
- Preheat your oven to 350 F
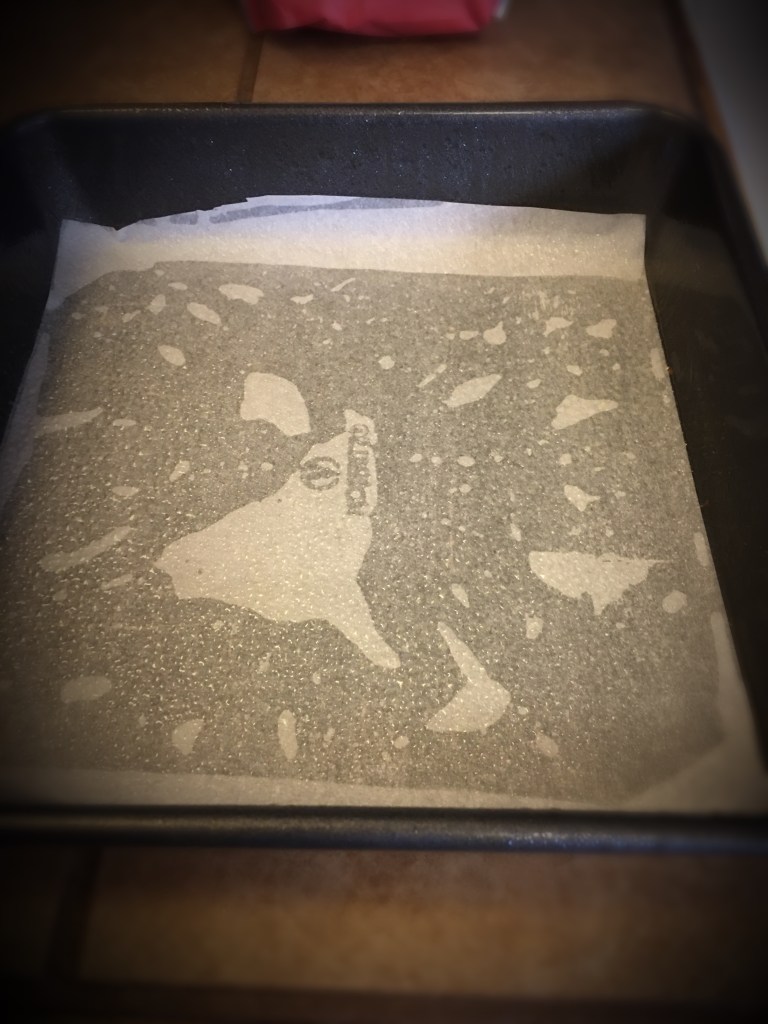
- Cut parchment paper for the bottom of two 8″ cake pans and spray with some gluten free cooking spray (since I cut the recipe in half I only had to use one cake pan)
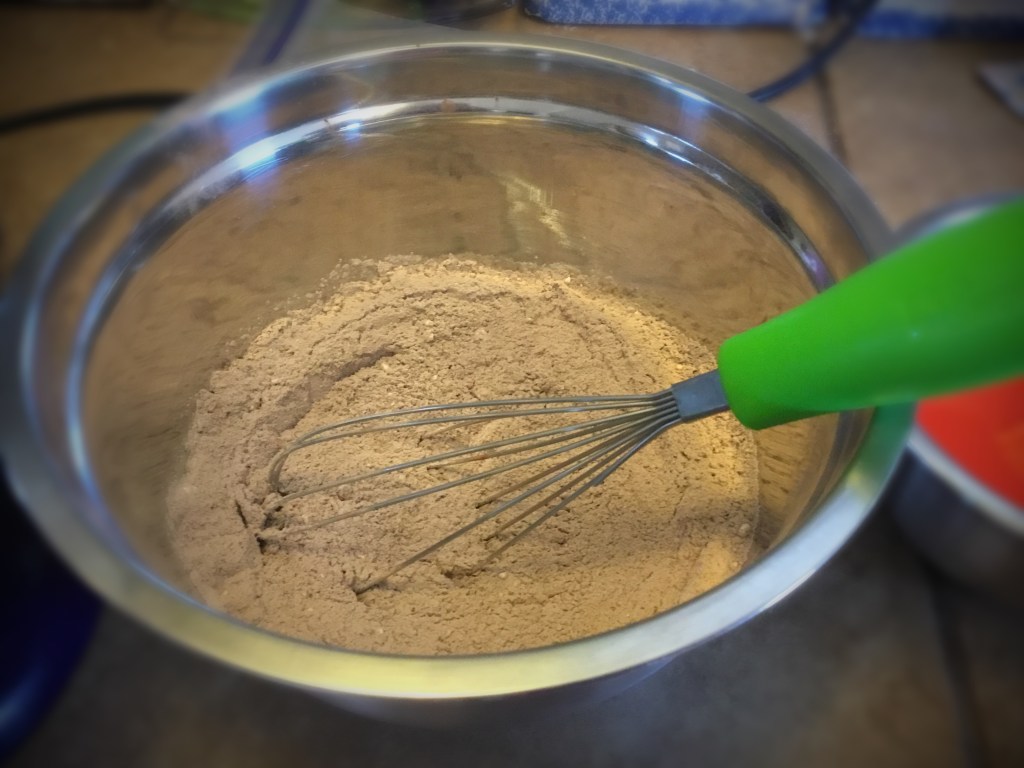
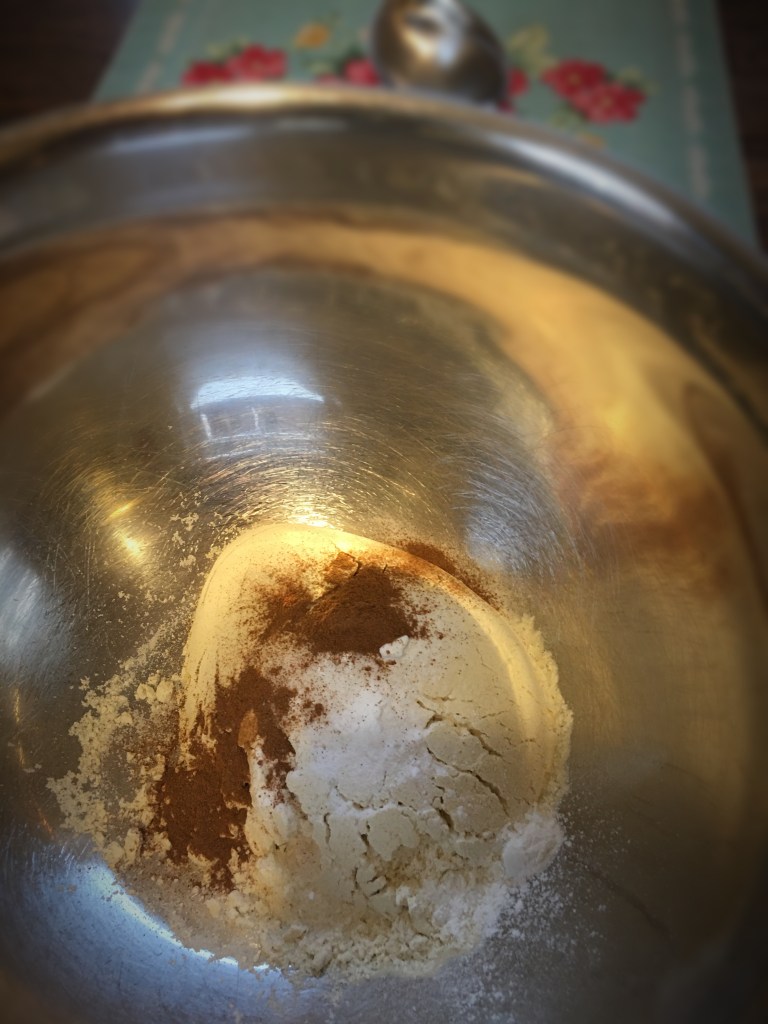
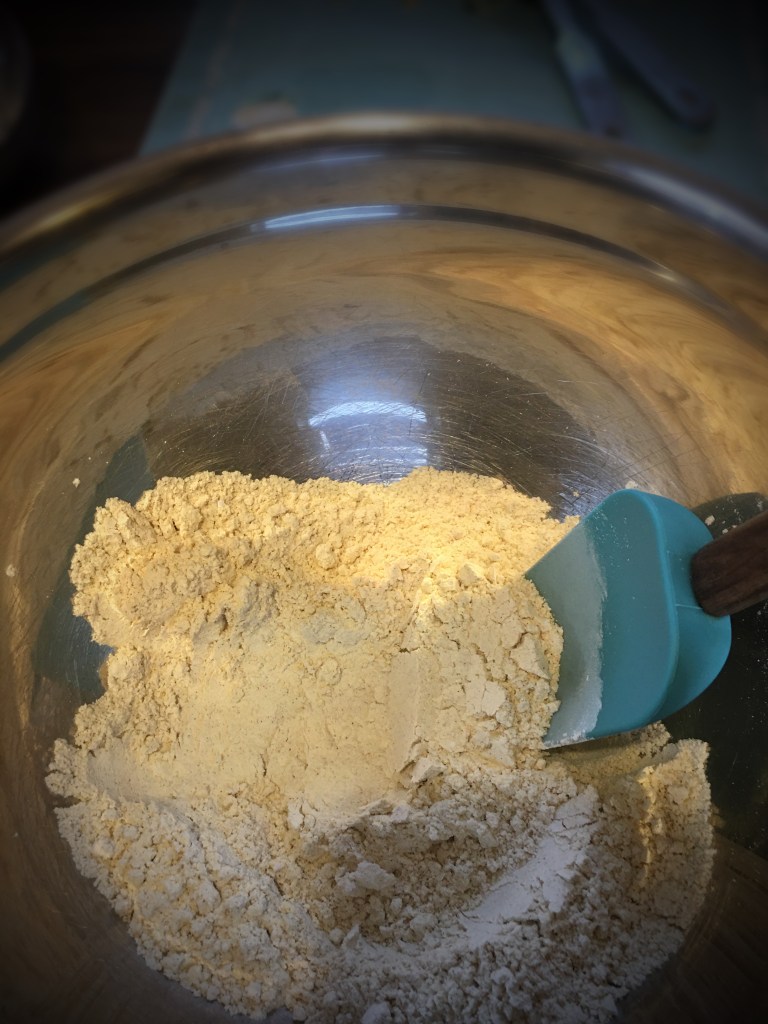
- In a medium sized bowl mix together your gluten free flour, Xanthan gum (if your flour already has Xanthan gum than just leave it out) mix in salt, baking soda, baking powder, and cinnamon.
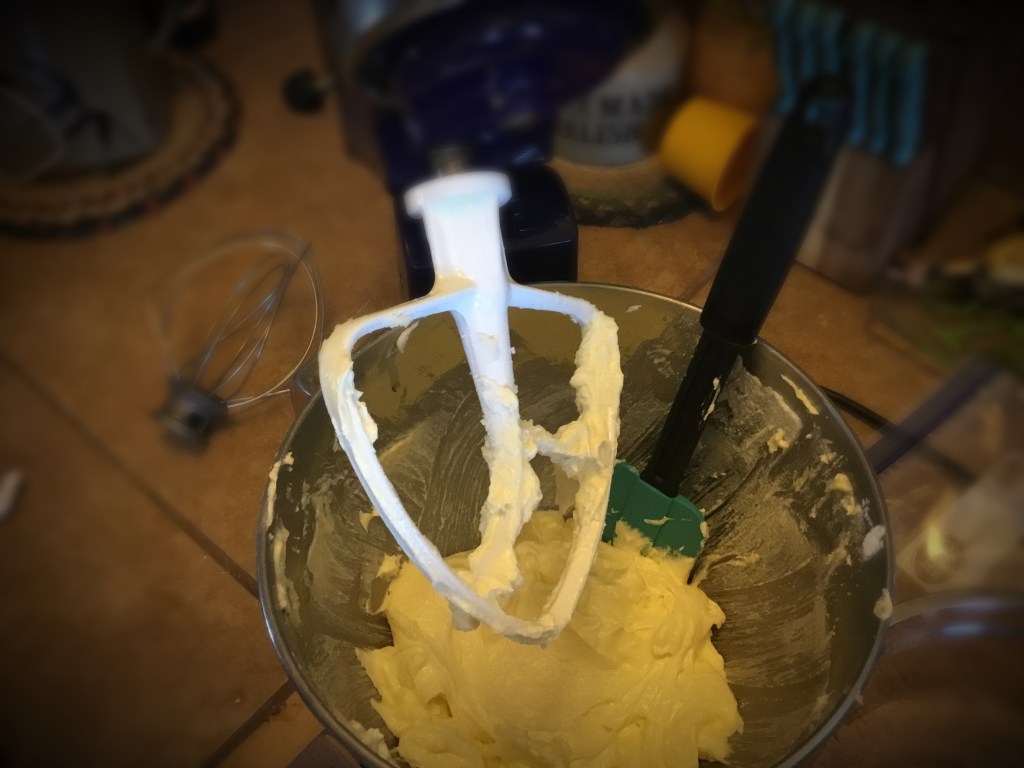
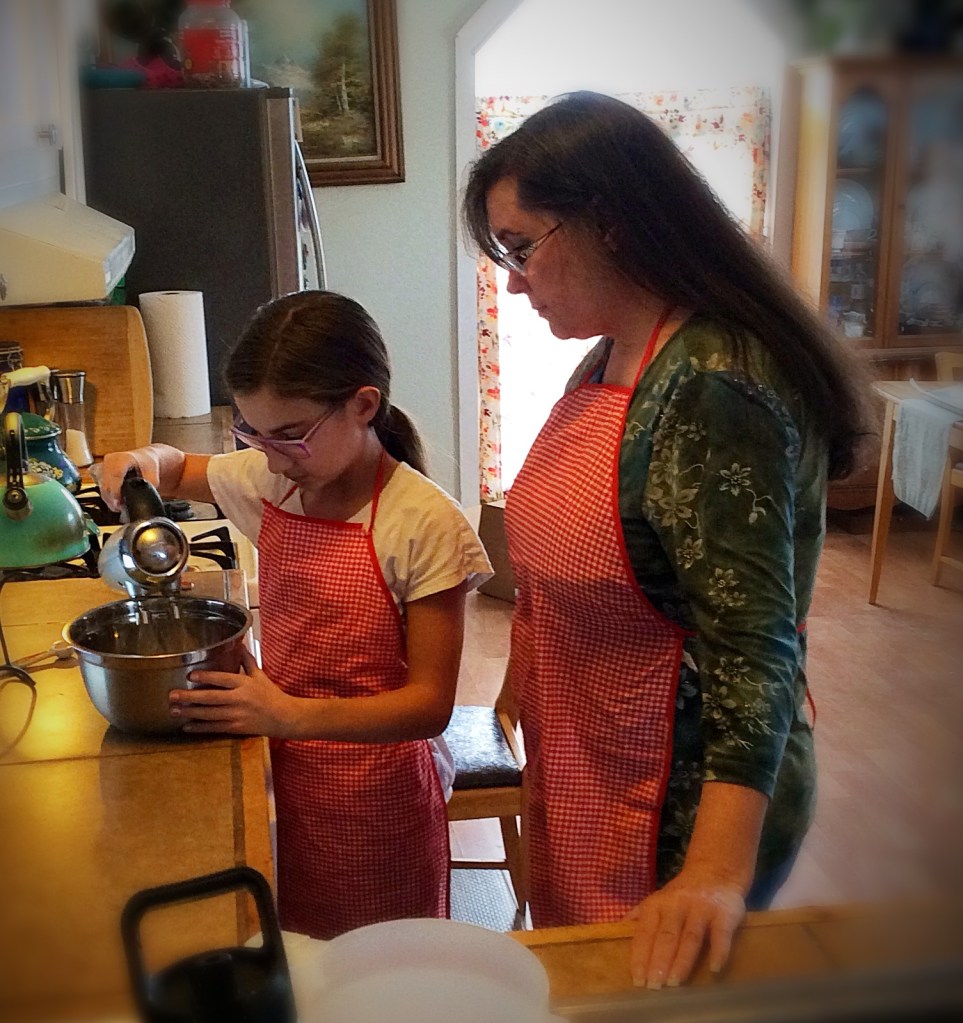
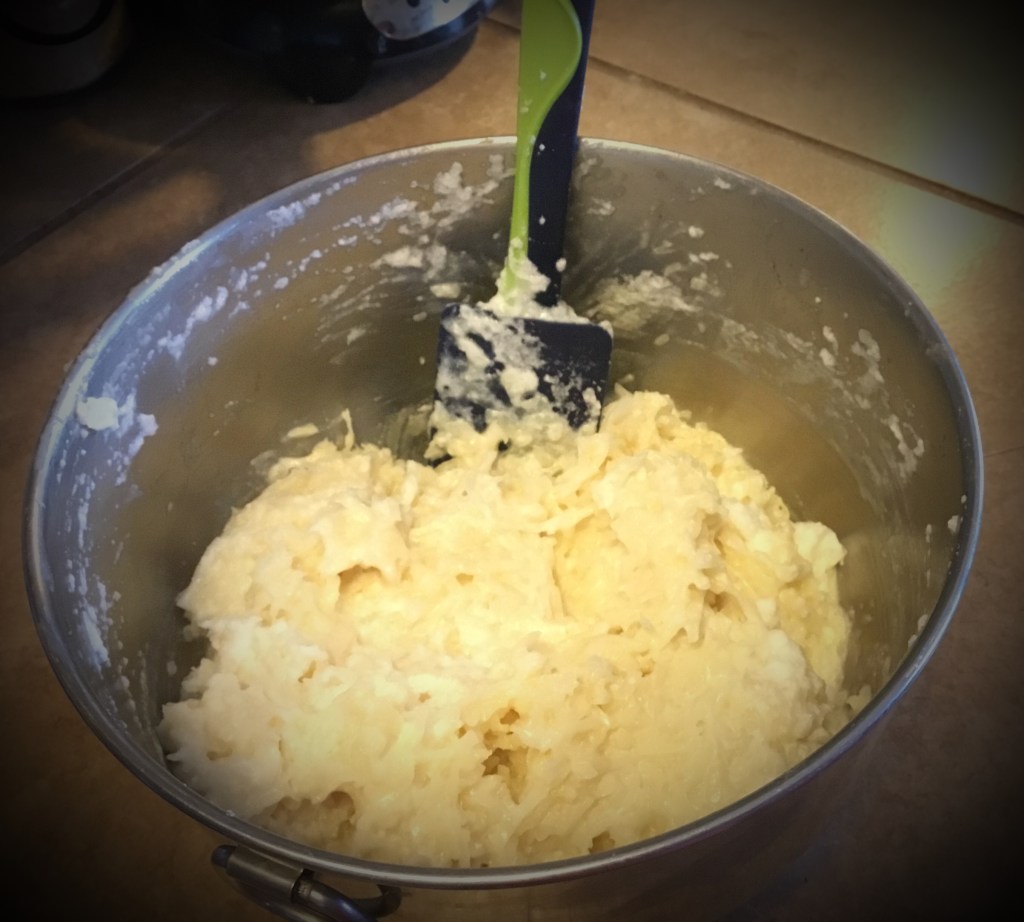
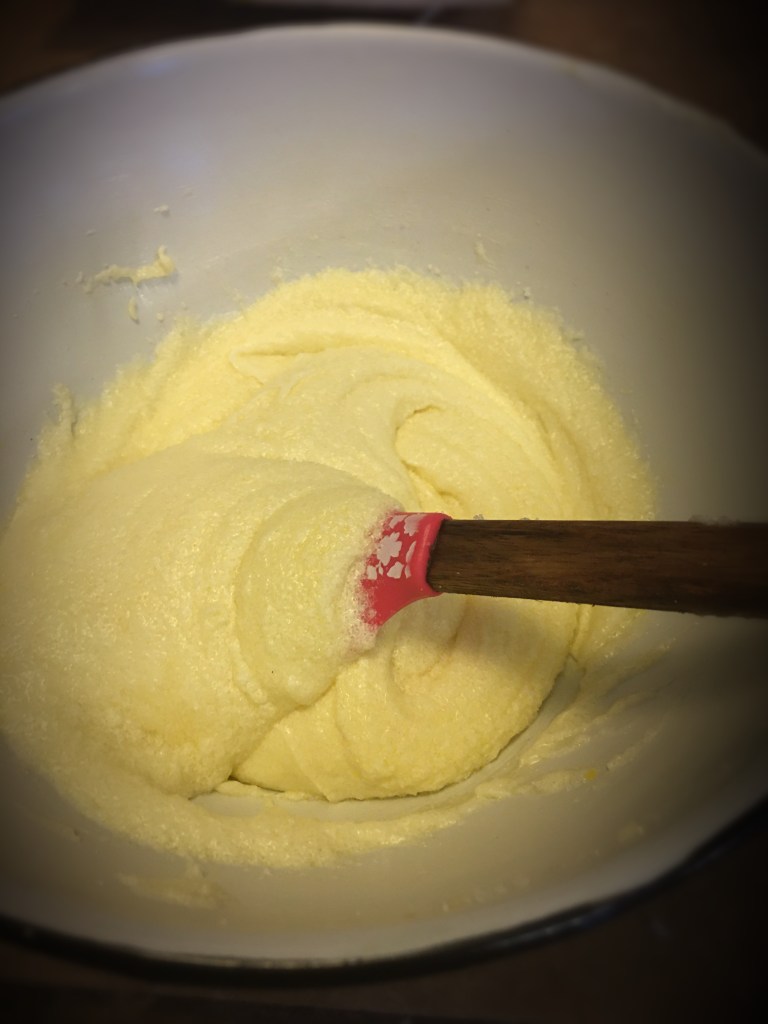
- In a large bowl cream butter and sugar with a hand mixer.
- Add eggs and cherry rum to the butter mixture and make sure you mix it in completely.
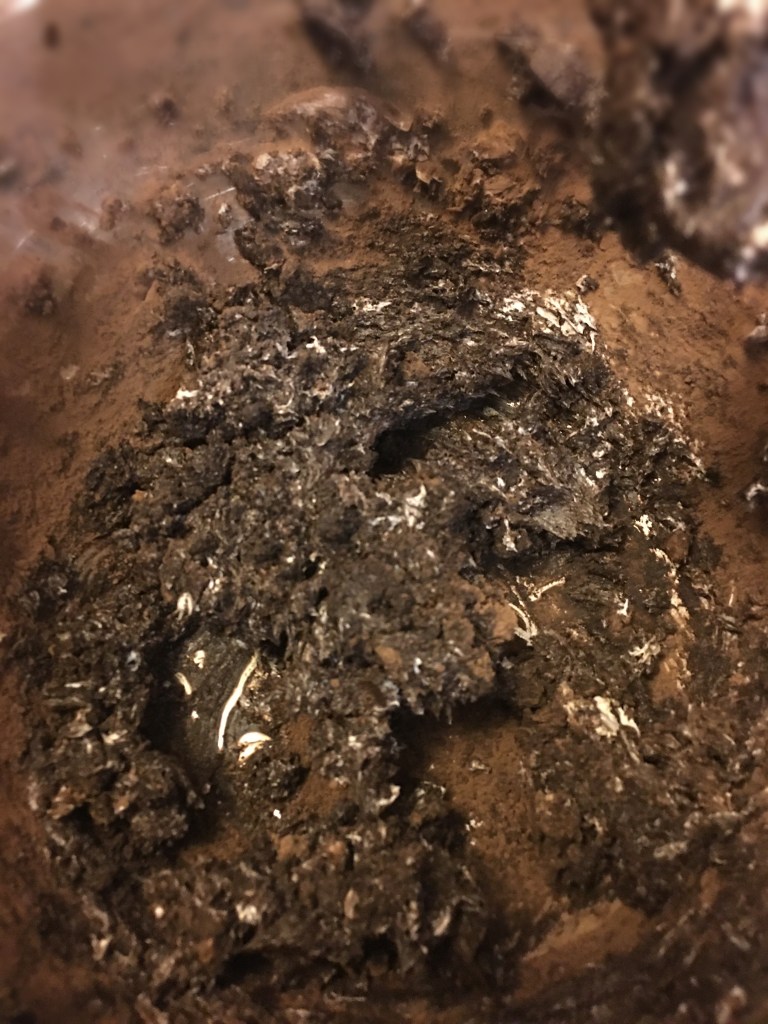
- Add the flour mixture to the butter mixture and mix until fully combined, you will also have to scrape down the sides of the bowl to make sure everything gets mixed in.
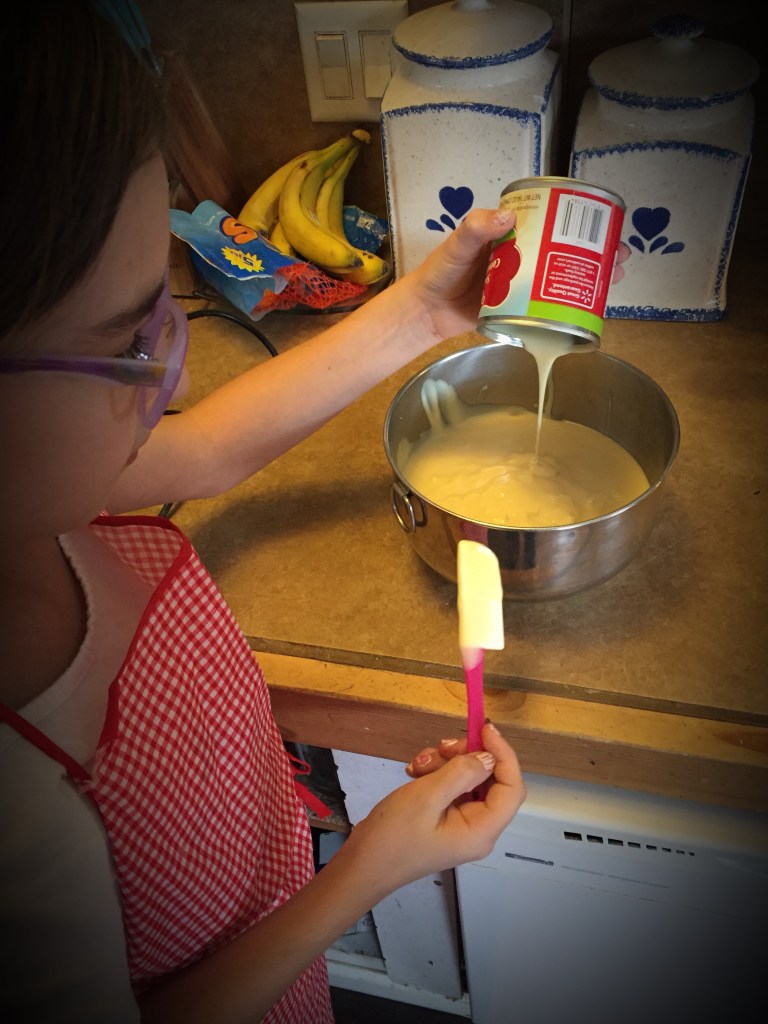
- Add the butter milk and mix until completely combined.
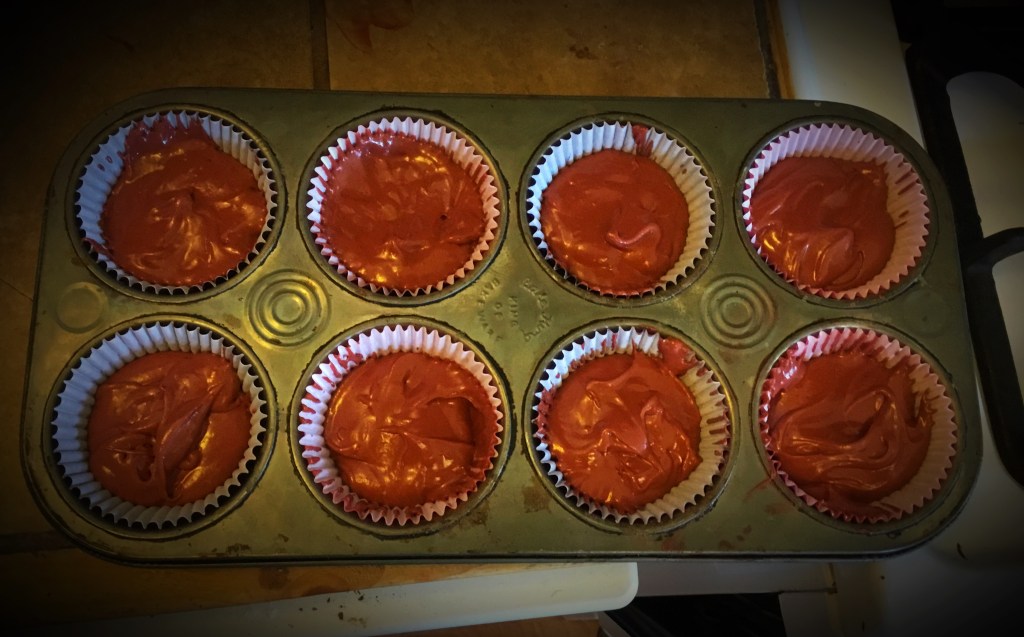
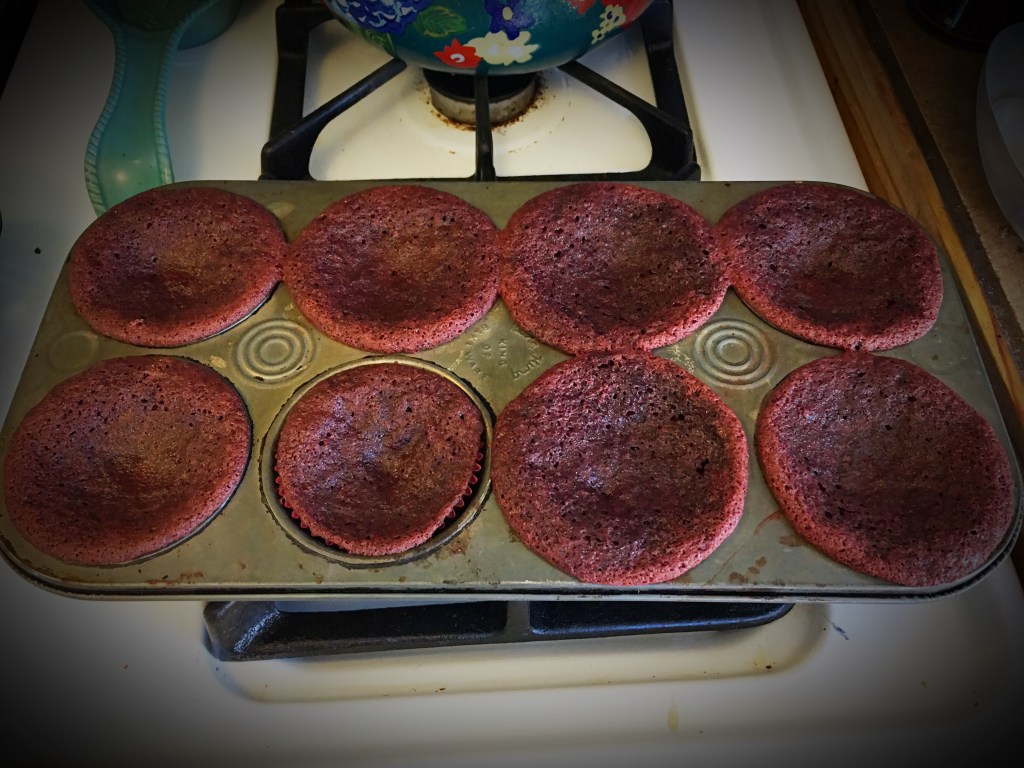
- Pour in half of the batter into the cake pan and put the other half in the other pan.
- Bake on the middle rack for 30-35 minutes but make sure you watch it or it could burn, you can never be to sure because all ovens are different.
- Allow the cakes to cool completely before frosting
Frosting Instructions
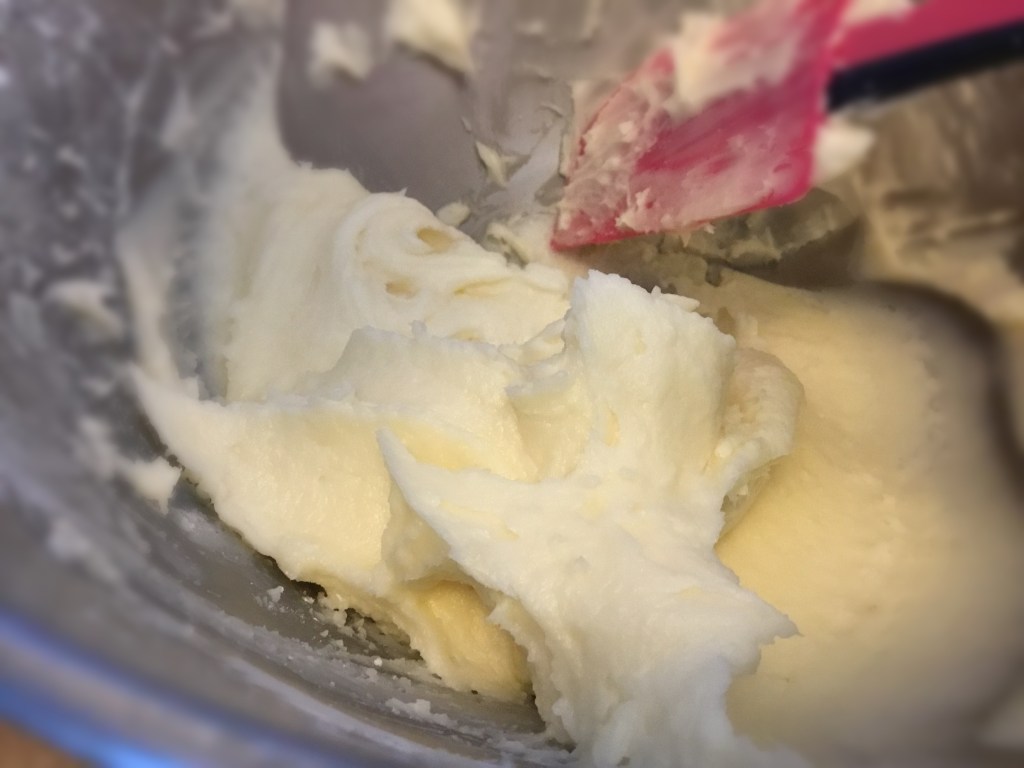
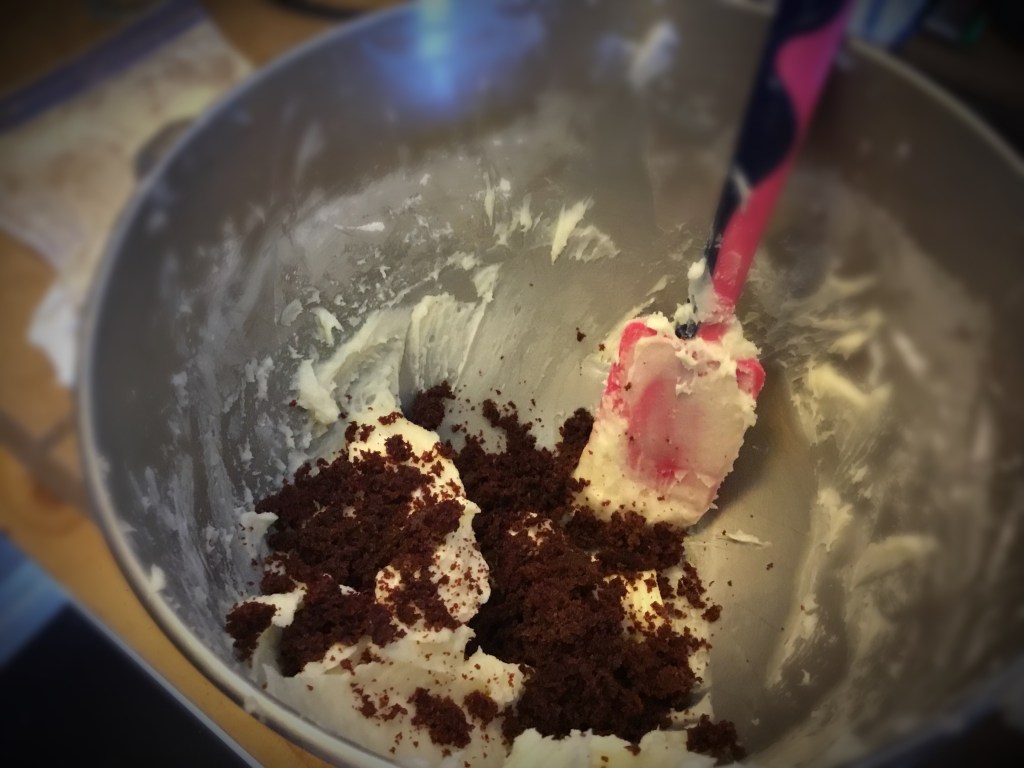
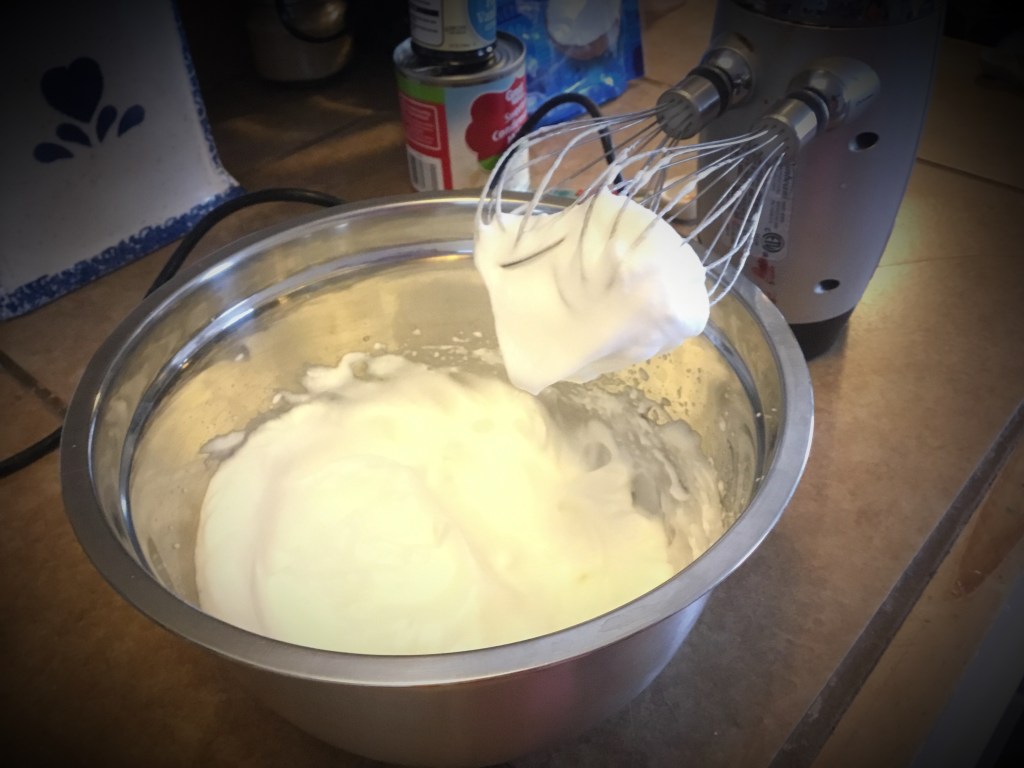
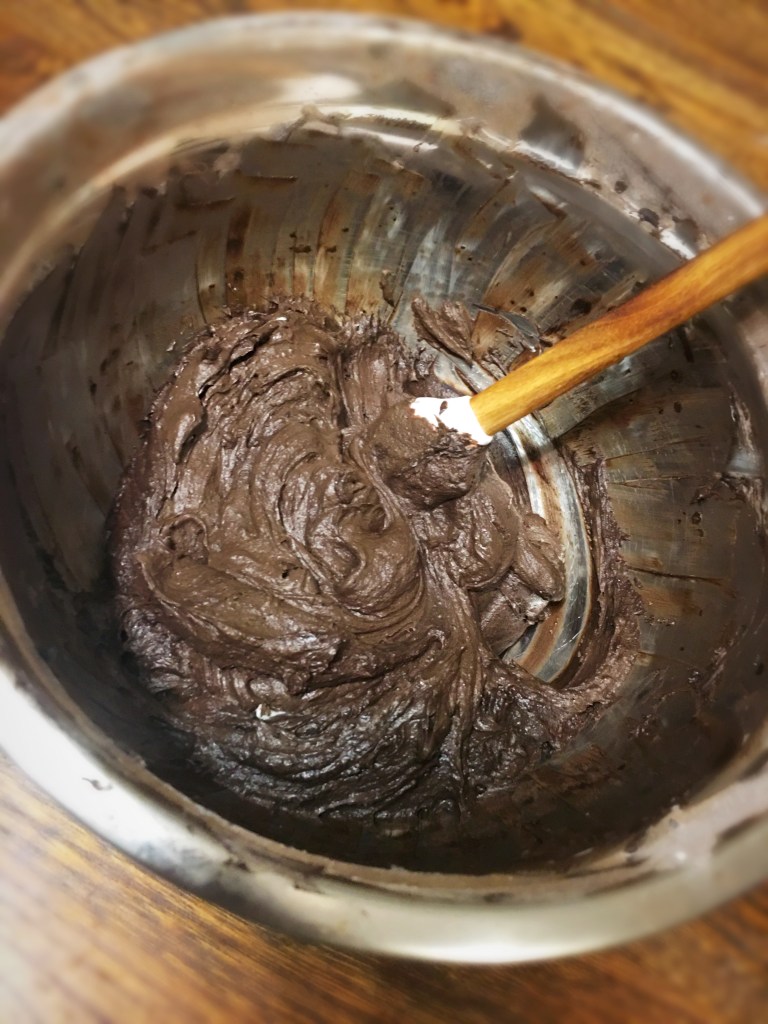
- In a large bowl cream butter until nice and smooth.
- Add the cherry rum and almond extract to the butter and mix until fully combined.
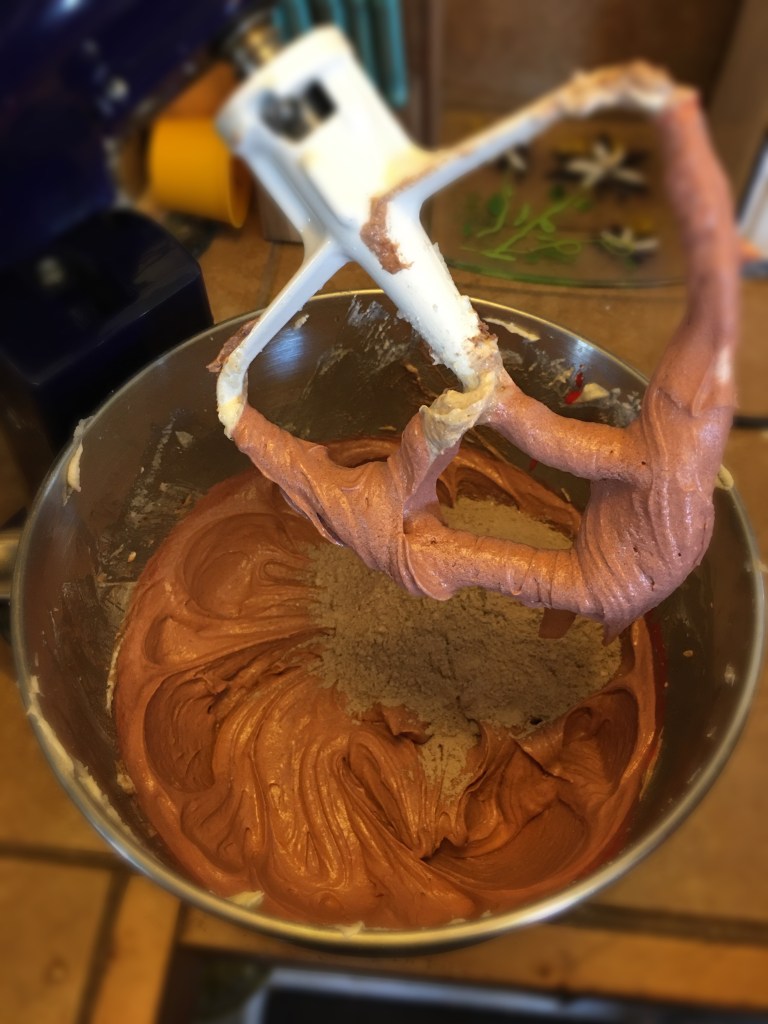
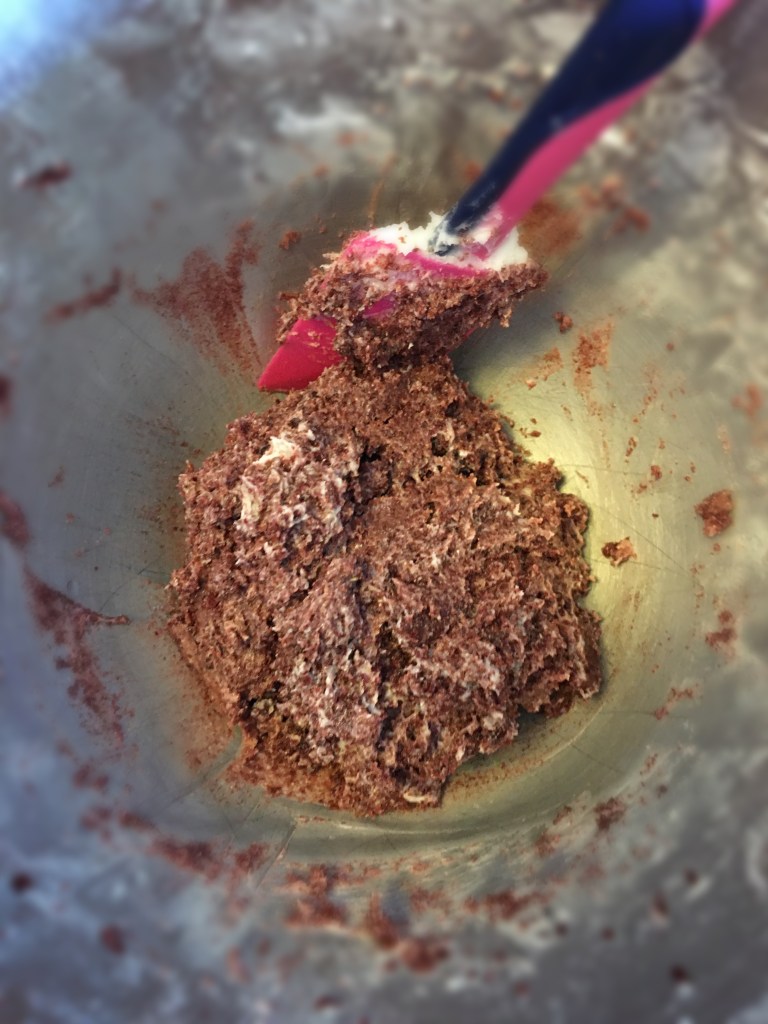
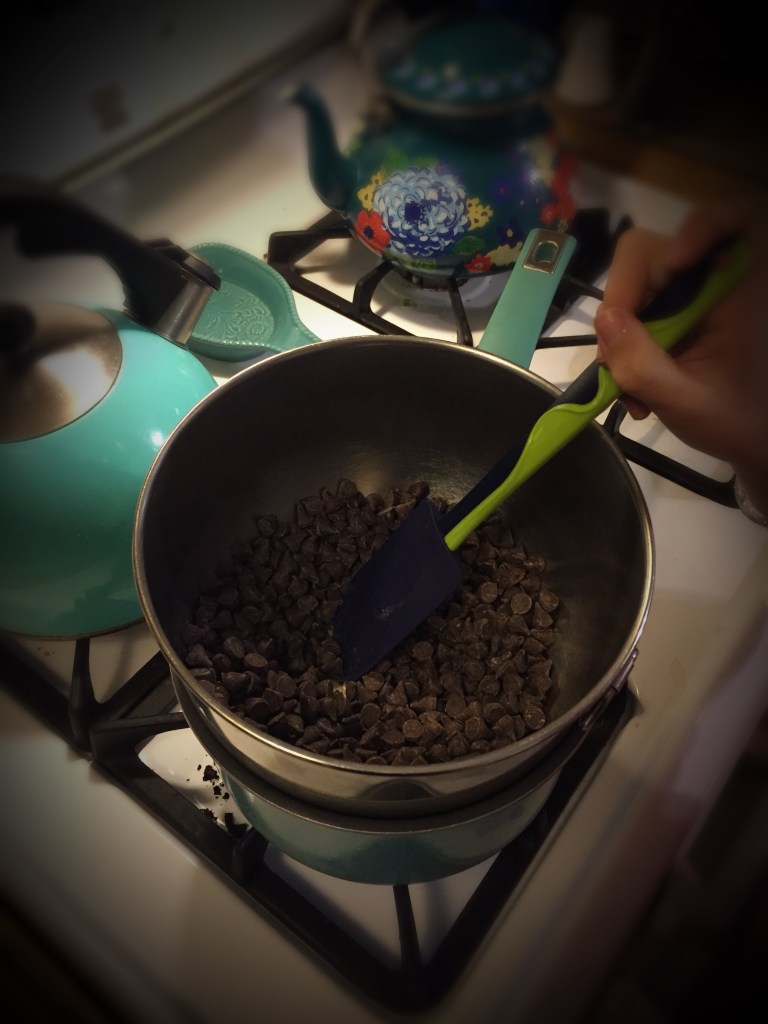
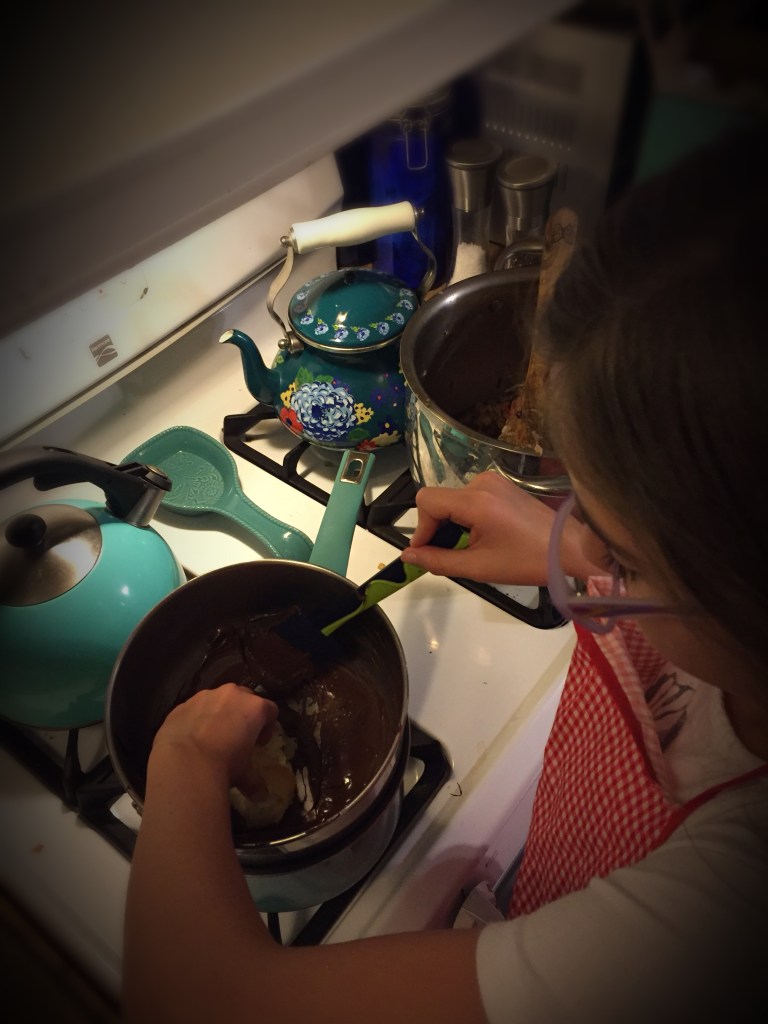
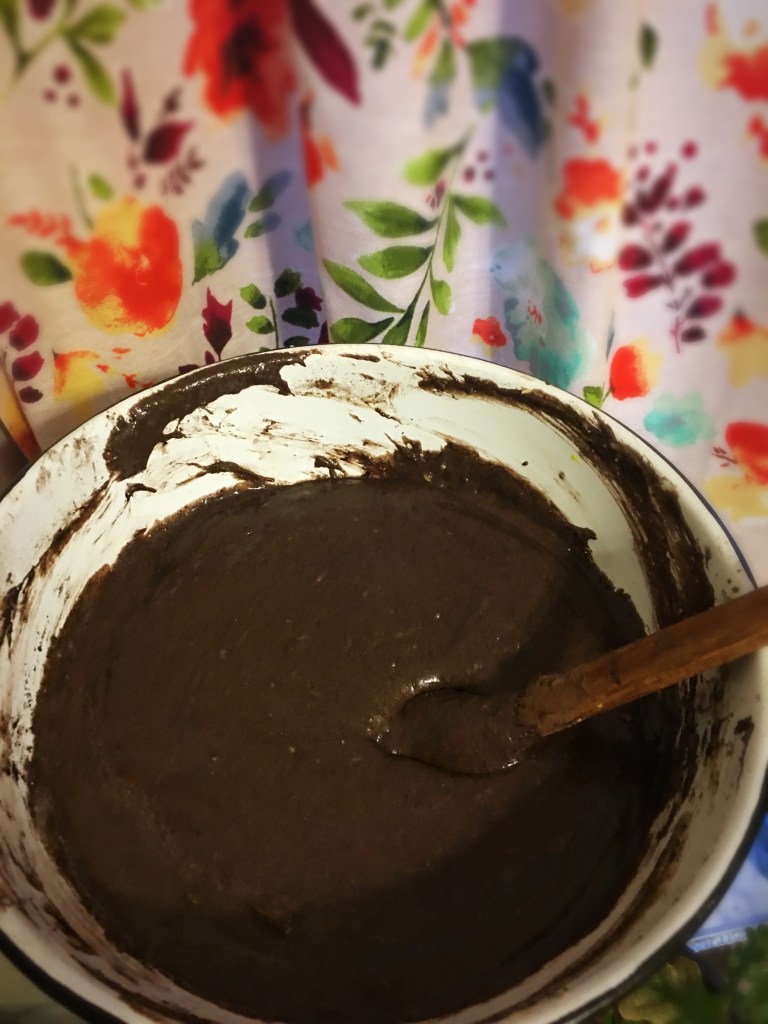
- Add the cocoa powder and mix.
- Add the powdered sugar 1 cup at a time.
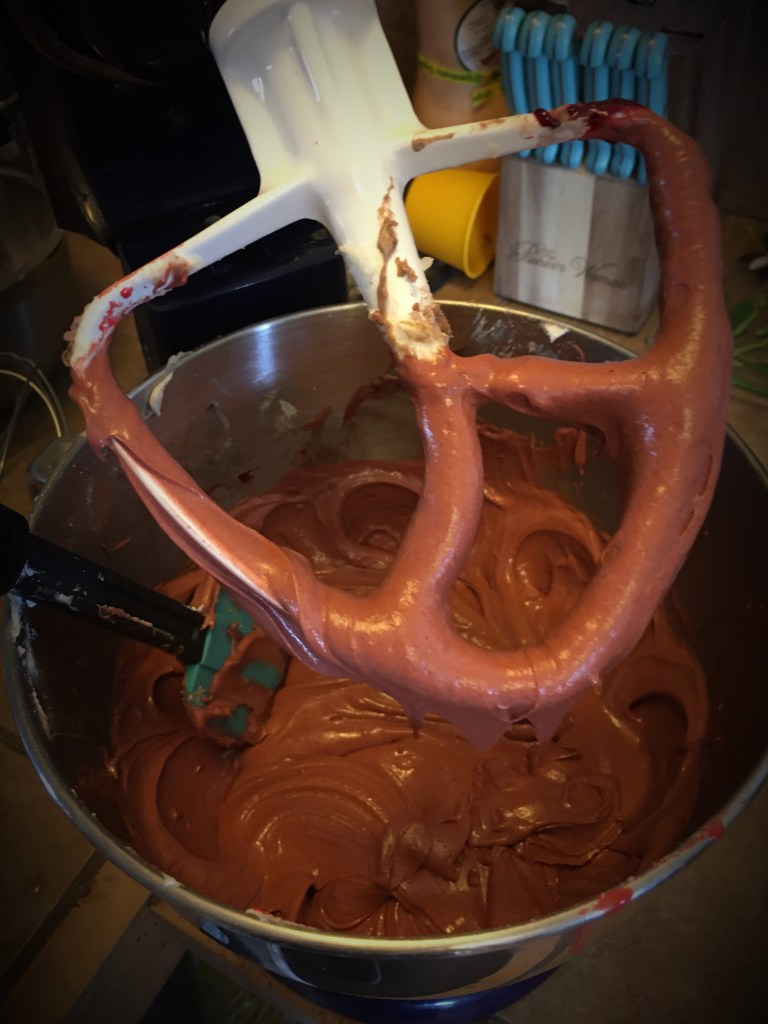
- Finally, add the milk to the frosting and mix until smooth and spreadable.
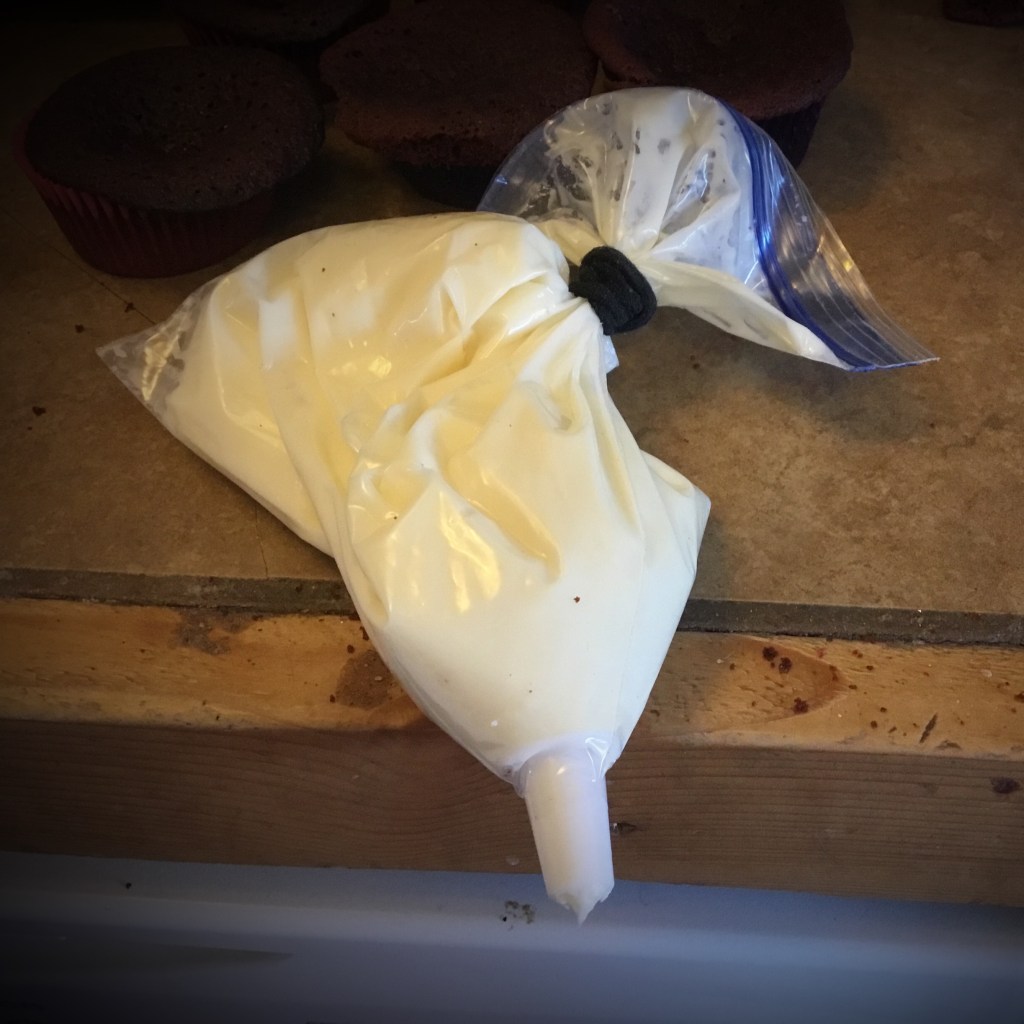
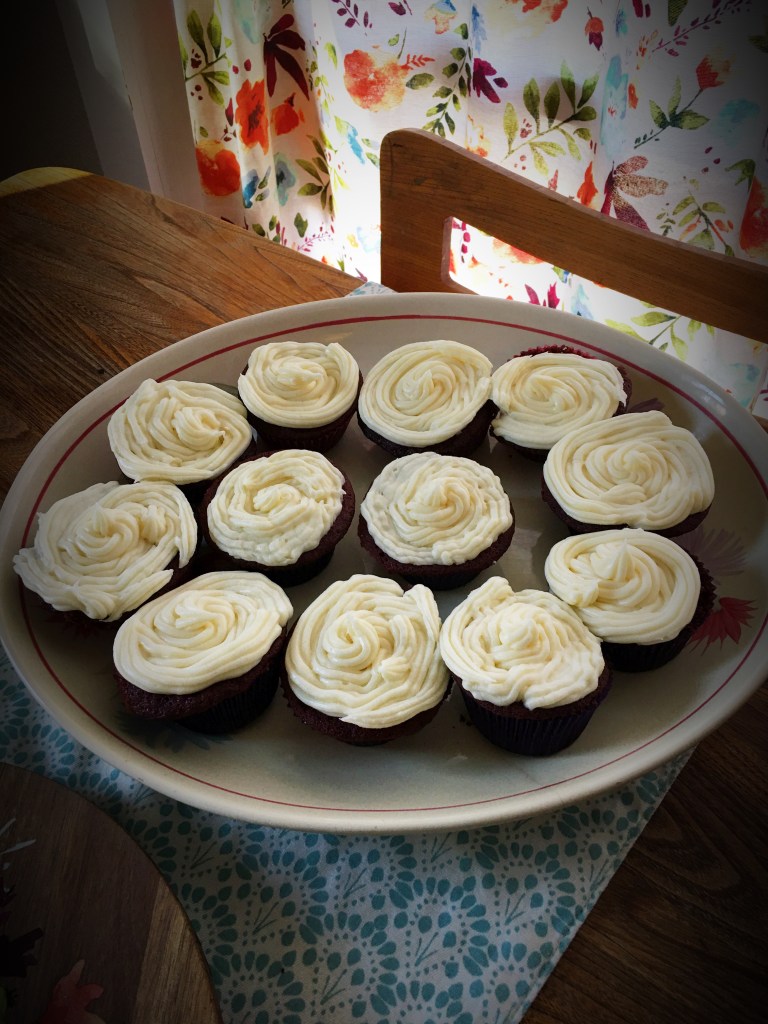
- Then frost the cake. I started out by using a spatula to make it nice and smooth then used a piping bag to decorate and use up the extra frosting.

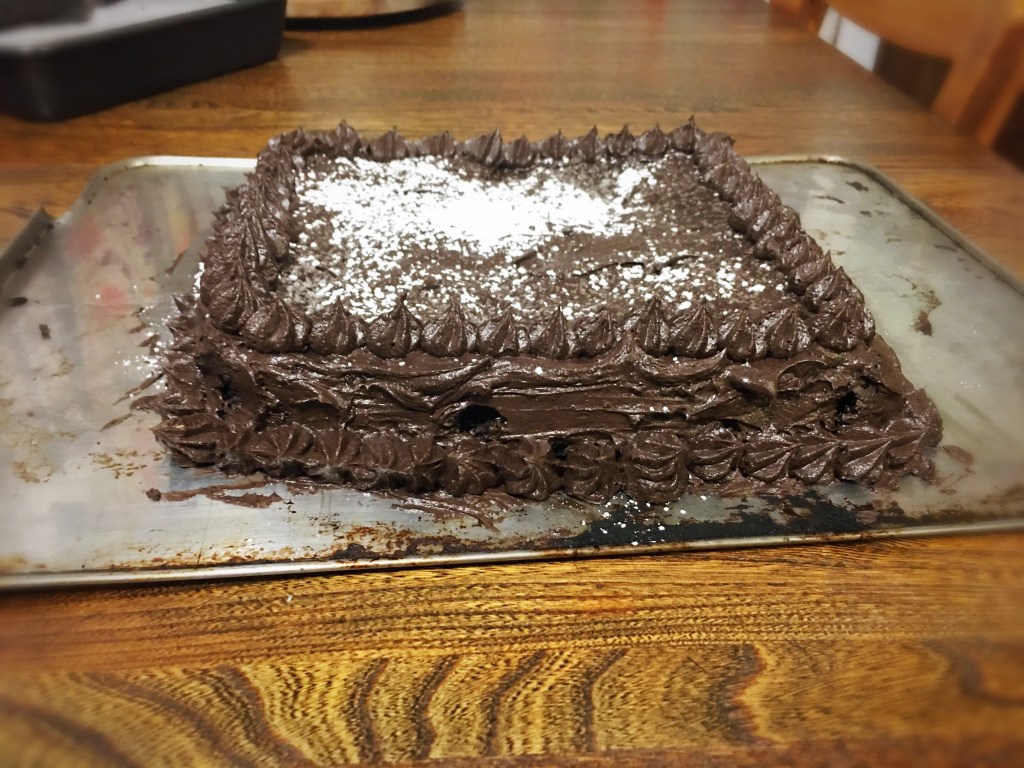
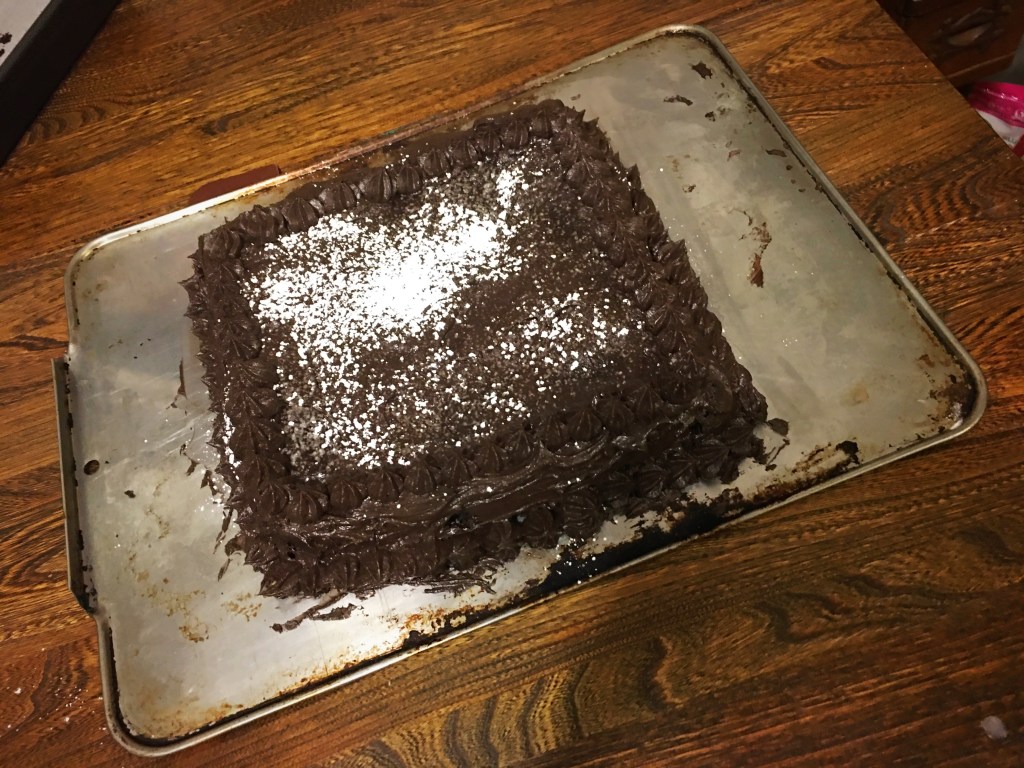
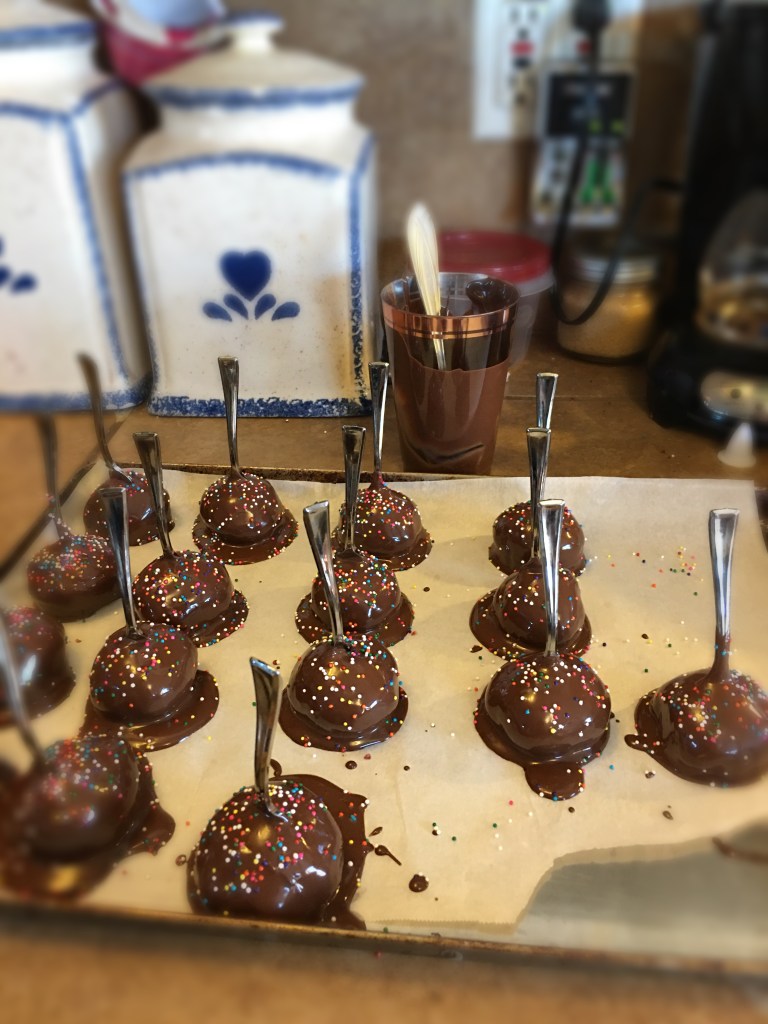
Here are some ideas for decoration…
You could dust with powdered sugar, or use a zip lock bag and a piping bag, add decor, add fake or edible flowers or make for a special occasion and write… Happy Anniversary or something like that.
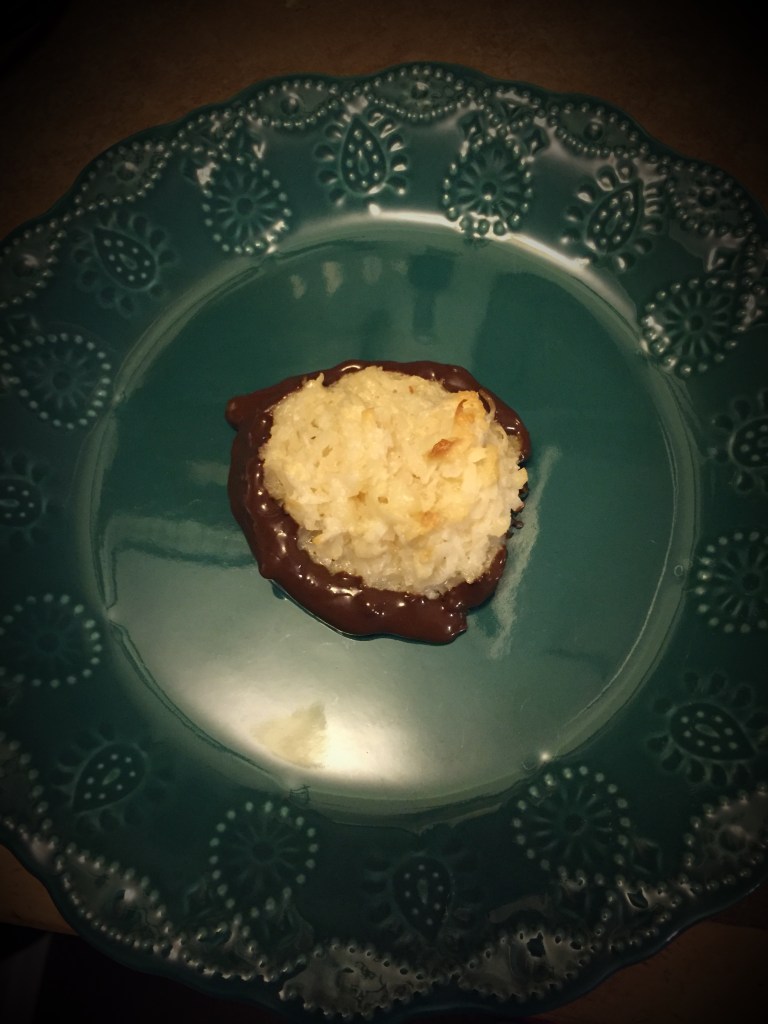
Finally ENJOY! I hope you guys like this recipe and have fun making it! Thank you guys for reading and don’t forget to come back for more Favorite Foods of a Hummingbird.