Loft House Cookies
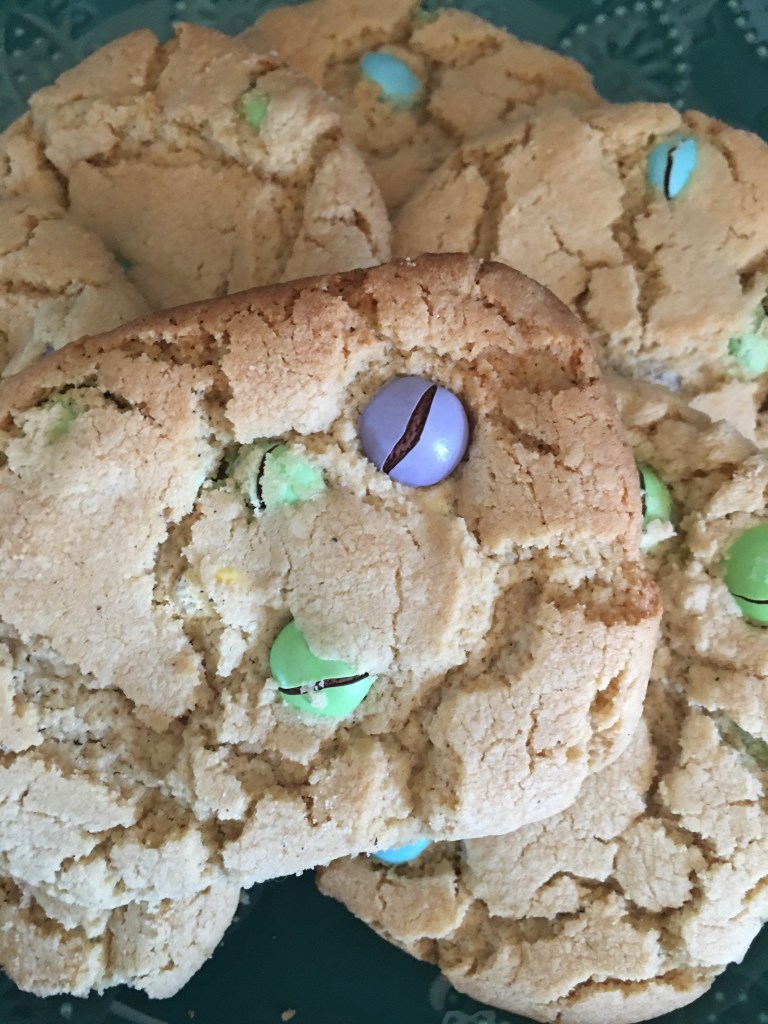
Hello everyone! I am back with another delicious recipe. Today we’re making loft house cookies. These delicious cookies are fluffy and sweet but not sickeningly sweet. As you might know I’ve been starting to experiment with different recipes making them gluten free. This recipe turned out to taste good but because they are gluten free they turned out a bit crumbly, which then turned into a real problem when frosting them. Frankly they didn’t turn out as pretty as I had hoped, but that doesn’t take away from them being delicious! So pull your hair back, grab you mixer and get ready to bake!
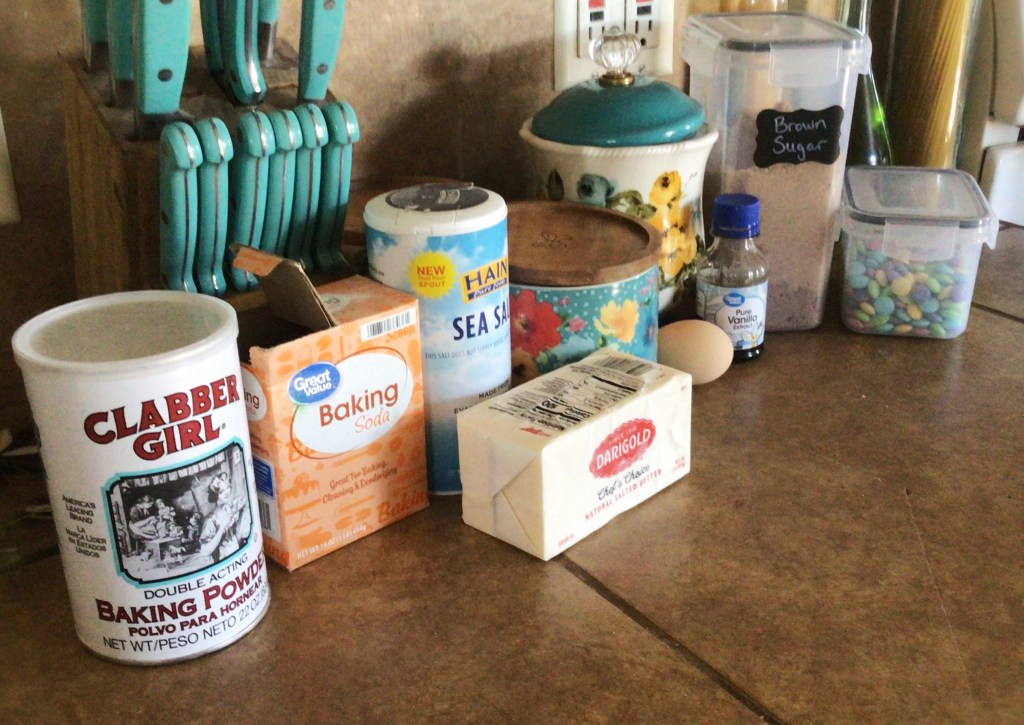
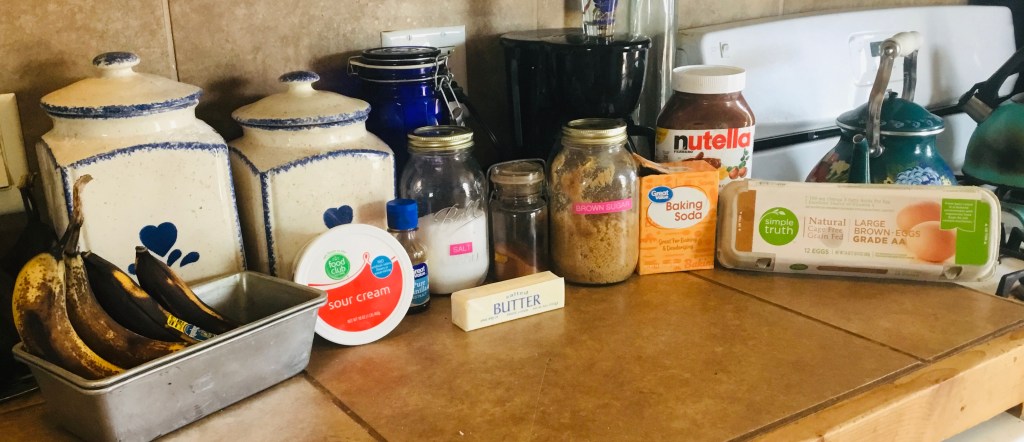
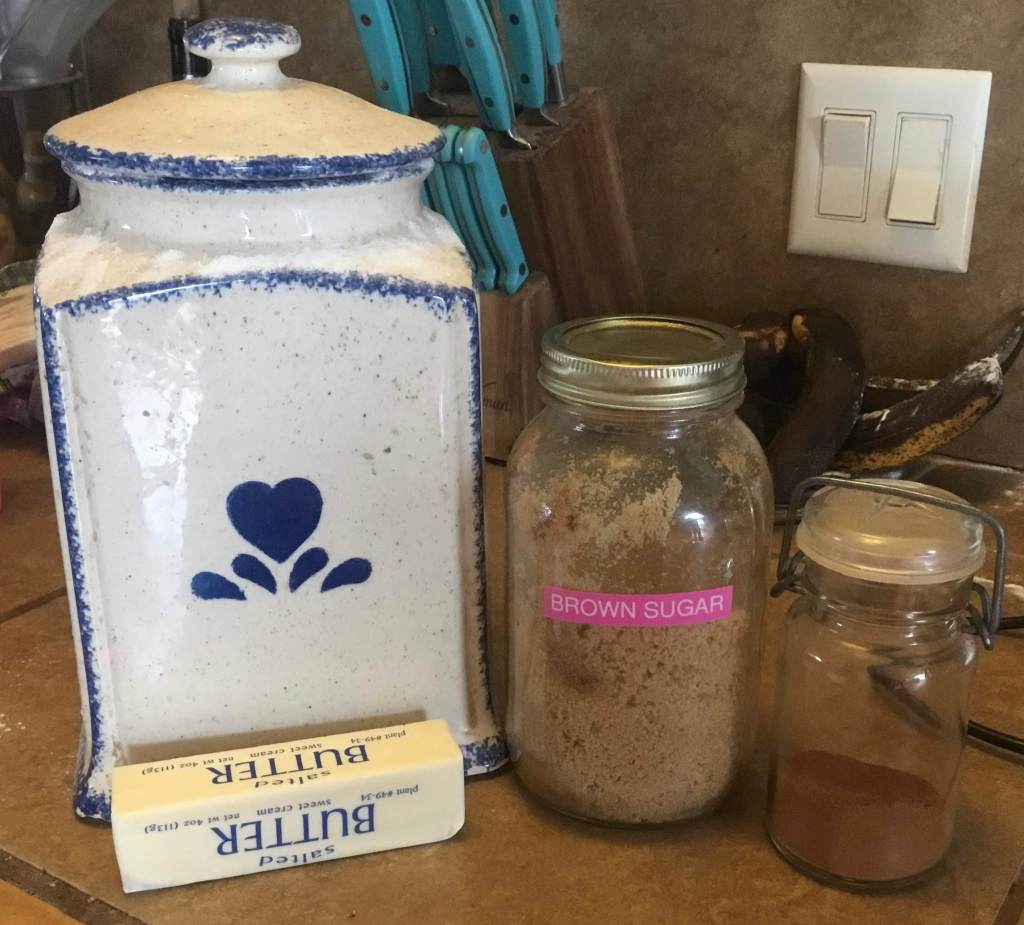
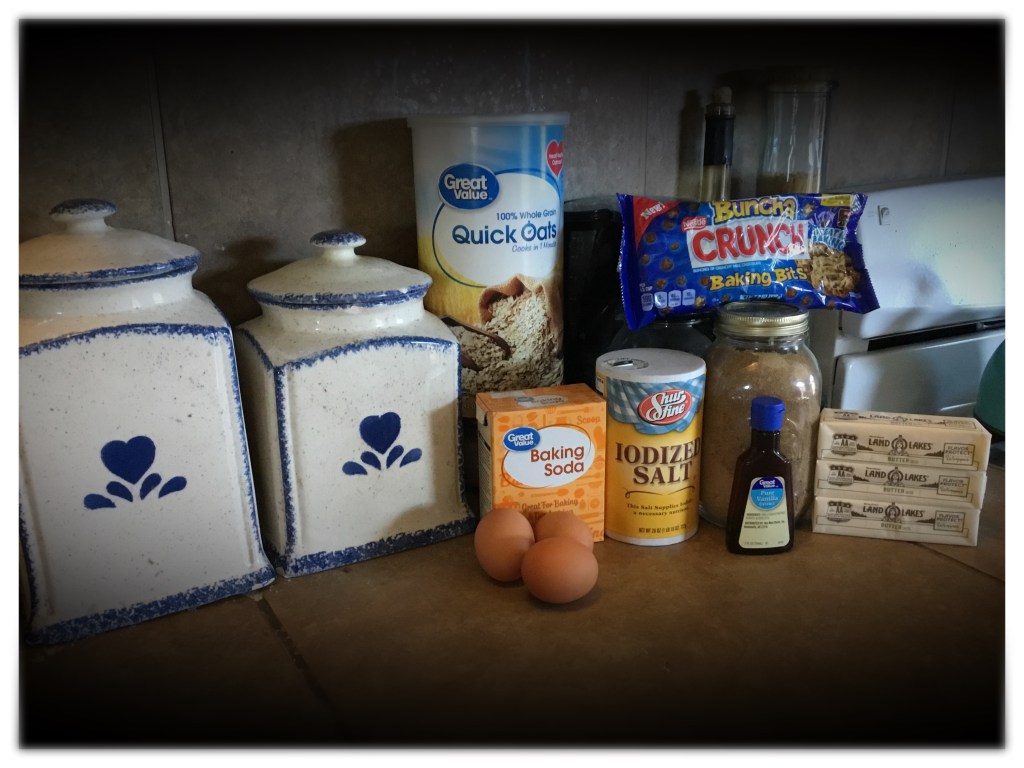
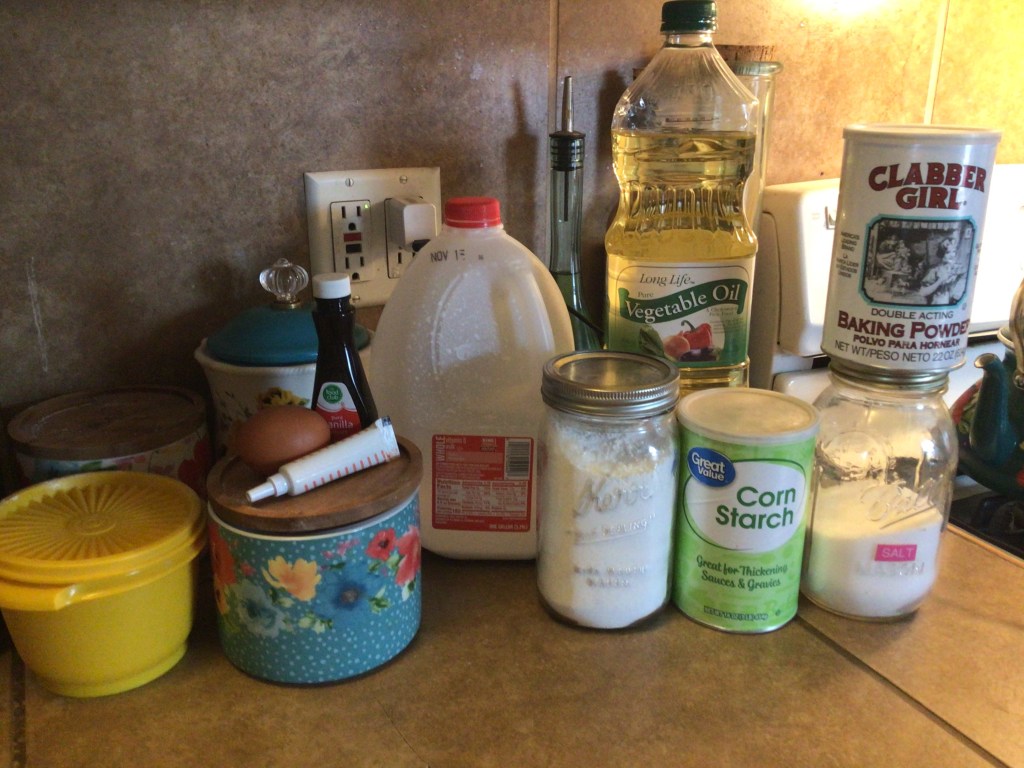
INGREDIENTS for cookies
- 3/4 cup (soft) butter
- 1 1/2 cups powdered sugar
- 1 egg
- 1/4 cup of canola oil
- 1 tsp of vanilla extract
- 2 cups AP flour (I used an all purpose gluten free blend)
- 1/4 cup of corn starch
- 2 tsp baking powder
- 1/2 tsp salt
INGREDIENTS for frosting
- 1/2 cup (soft) butter
- 1 1/2 cups powdered sugar
- 1tbsp milk
- 1 tsp vanilla
- food coloring
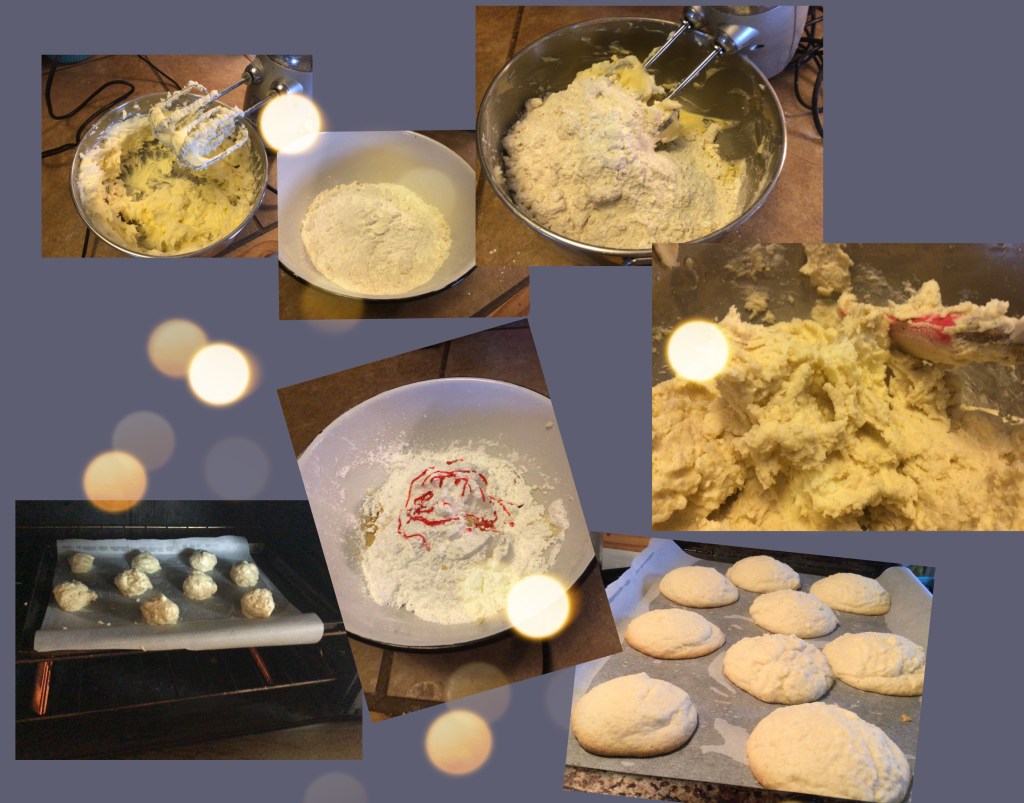
INSTRUCTIONS
- Preheat oven to 340
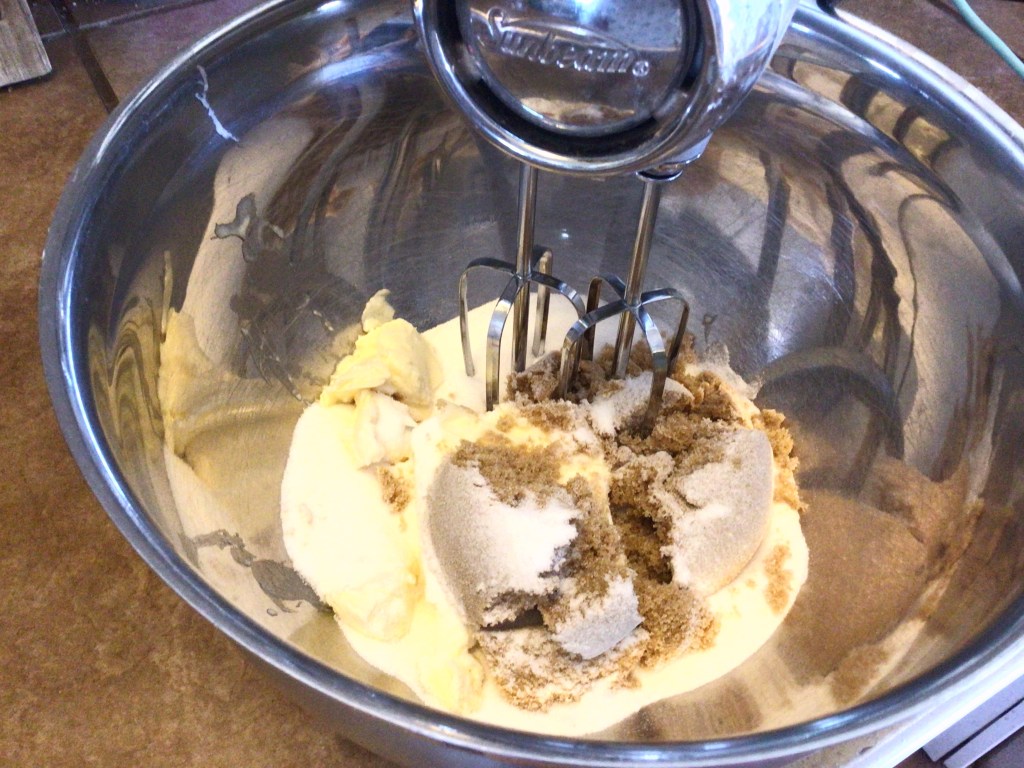
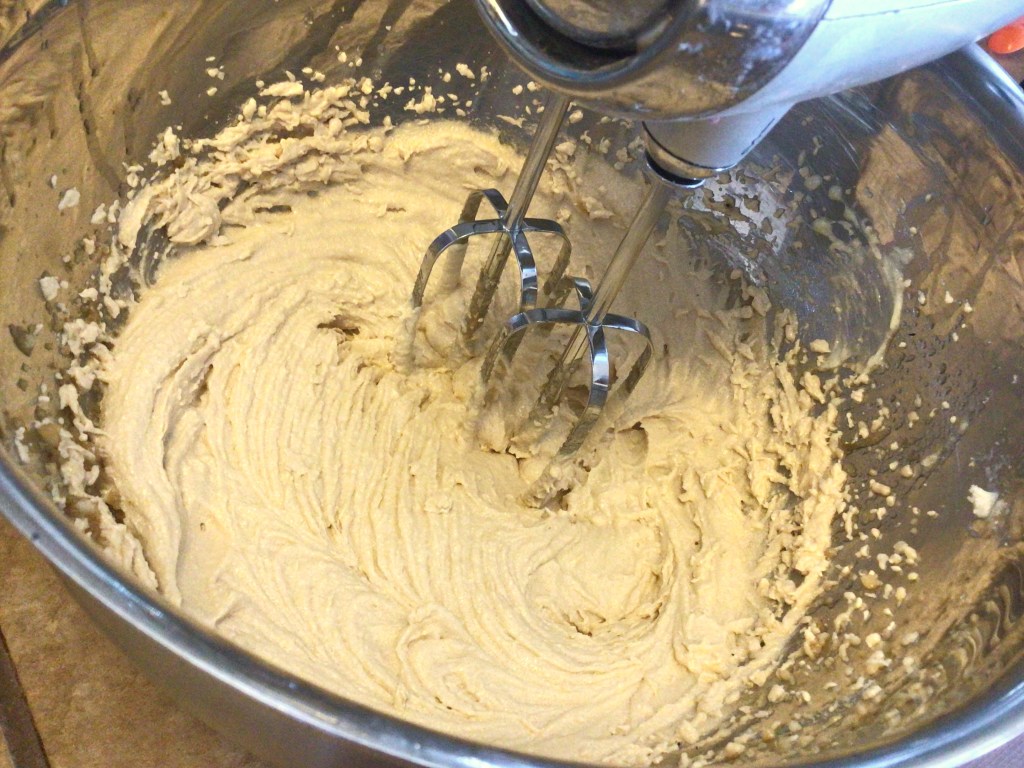
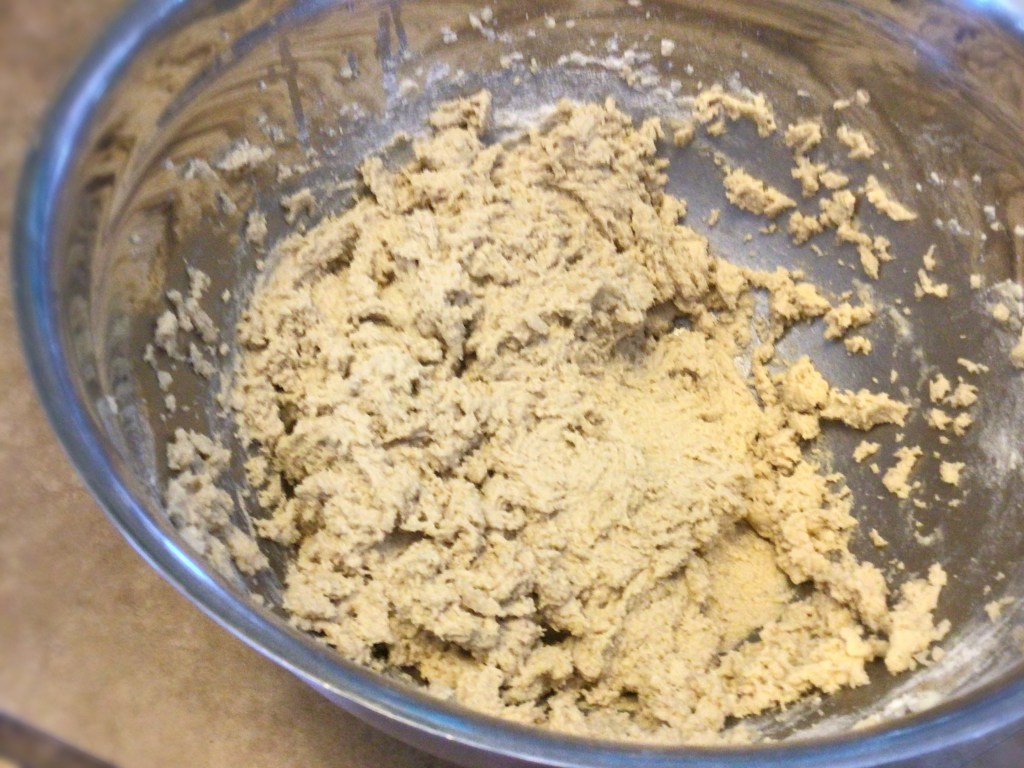
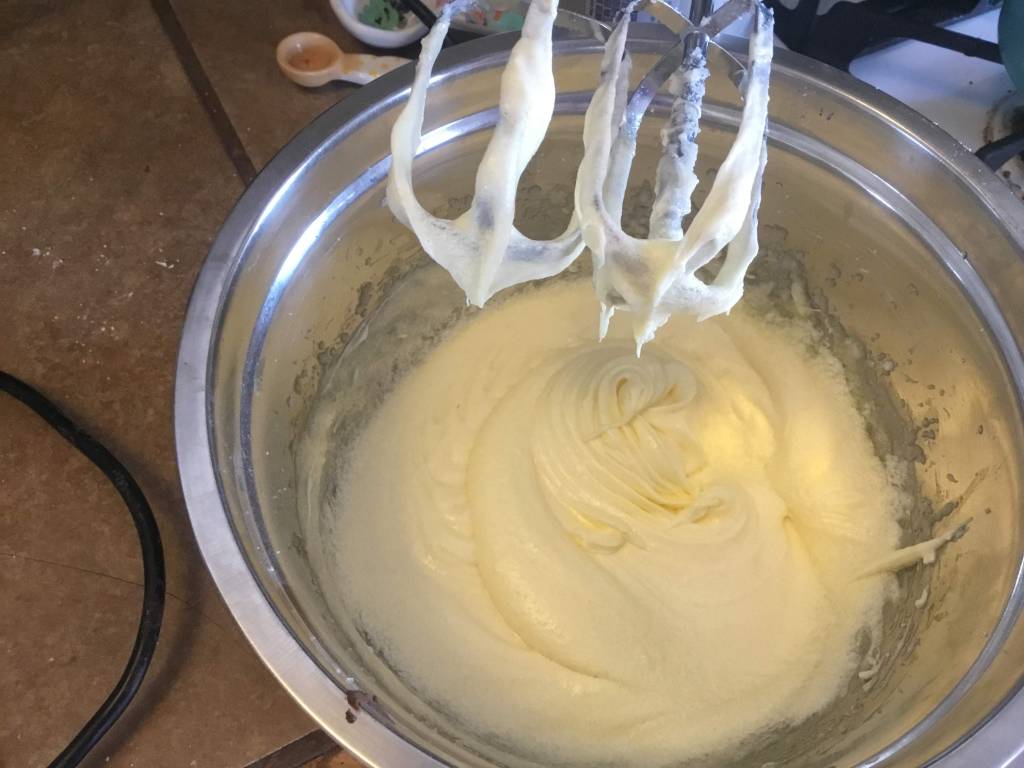
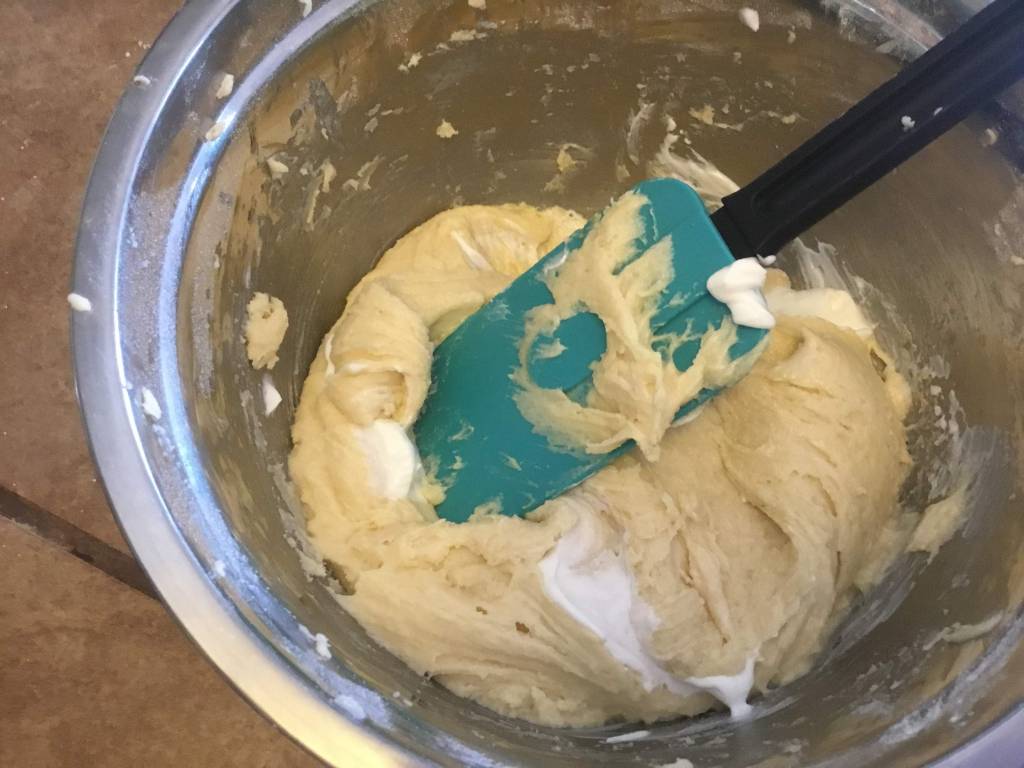
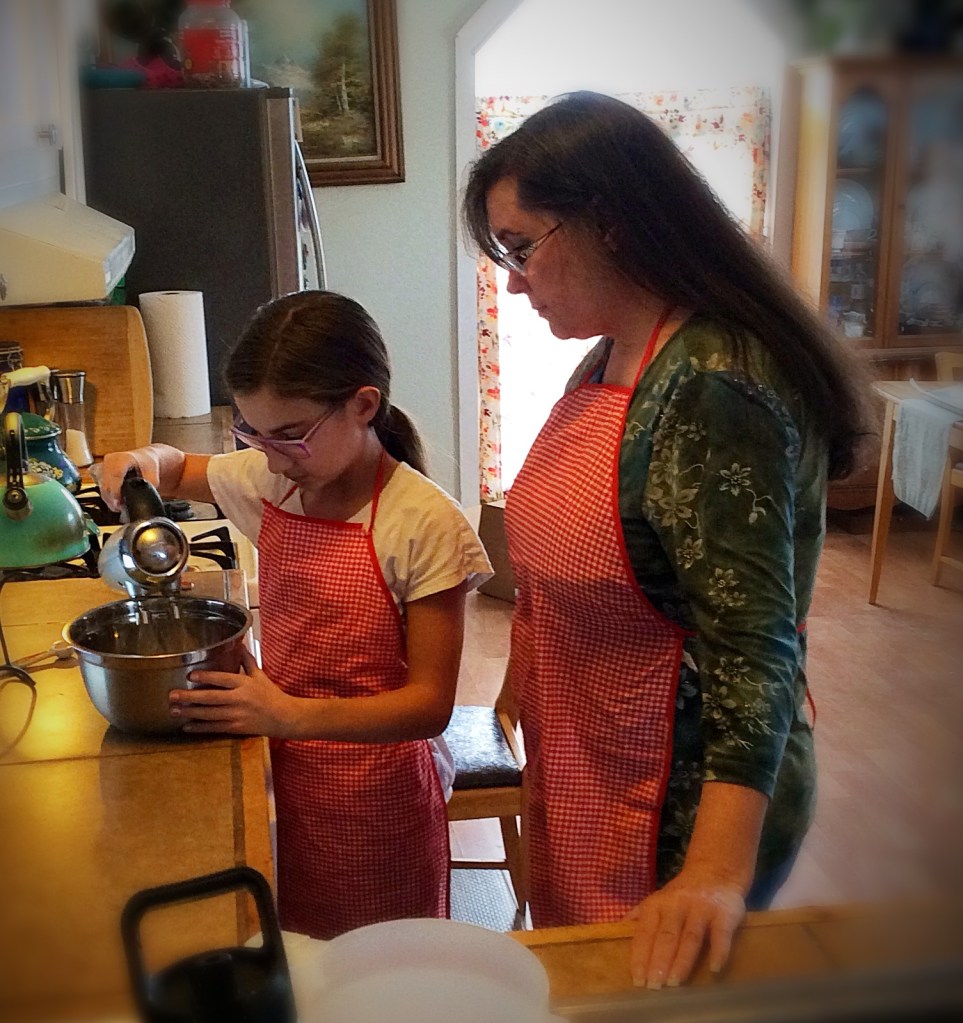
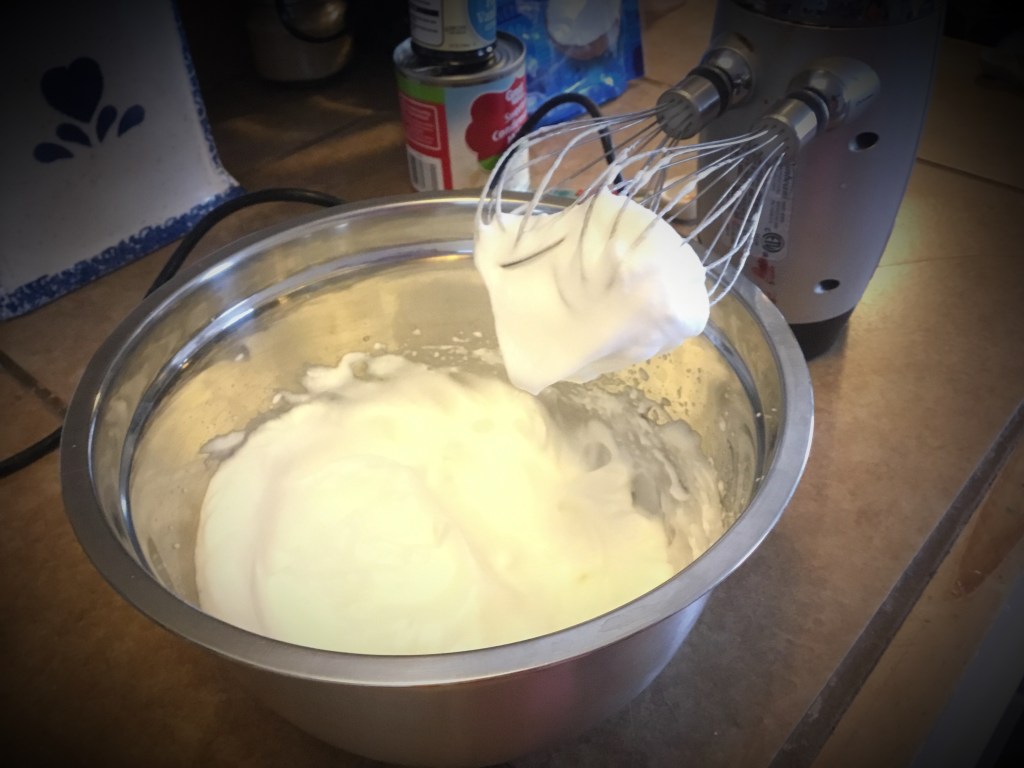
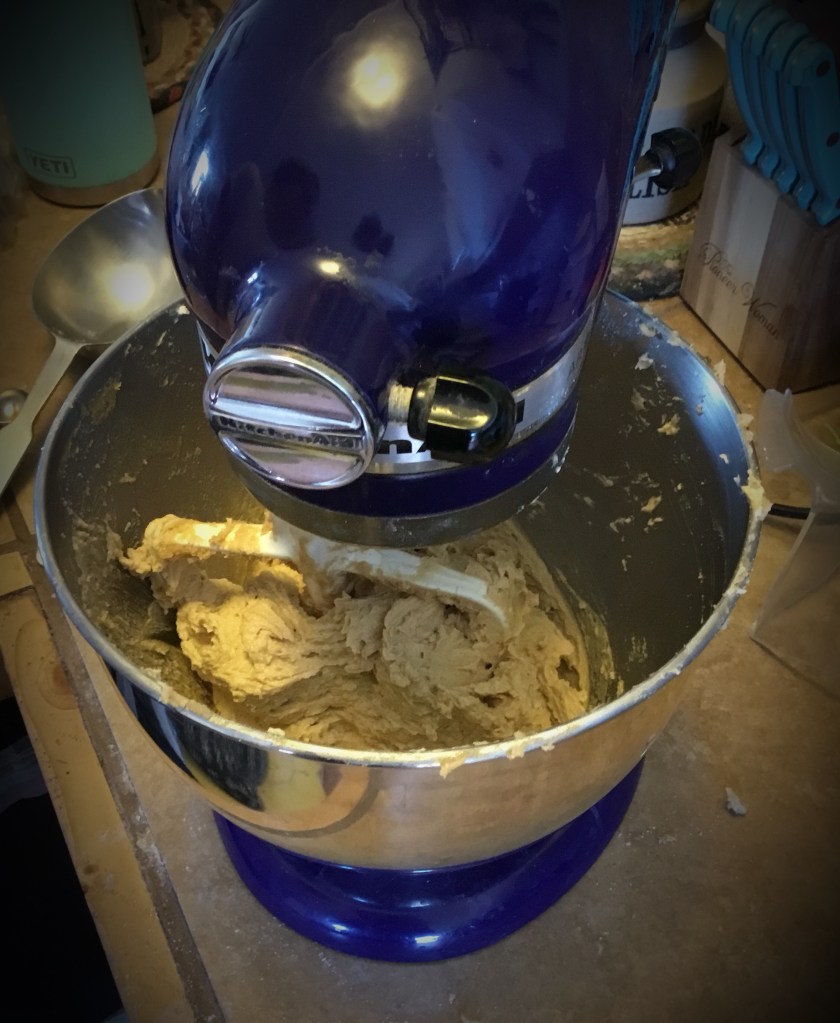
- In a large bowl, mix butter and powdered sugar until creamy using a hand mixer.
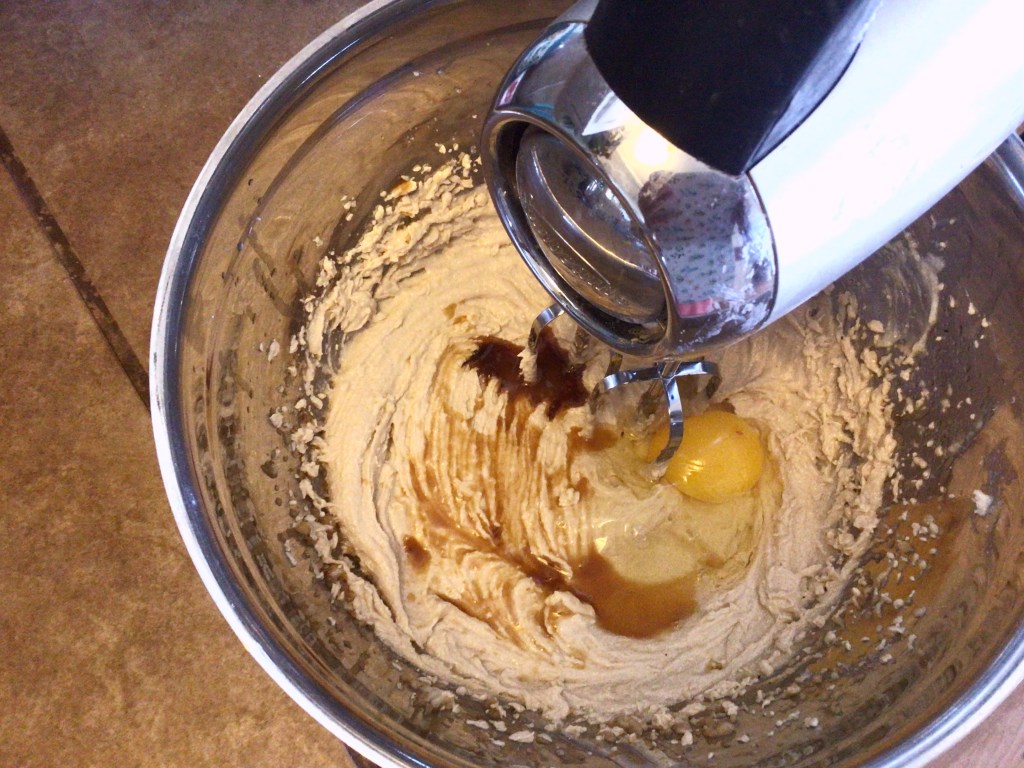
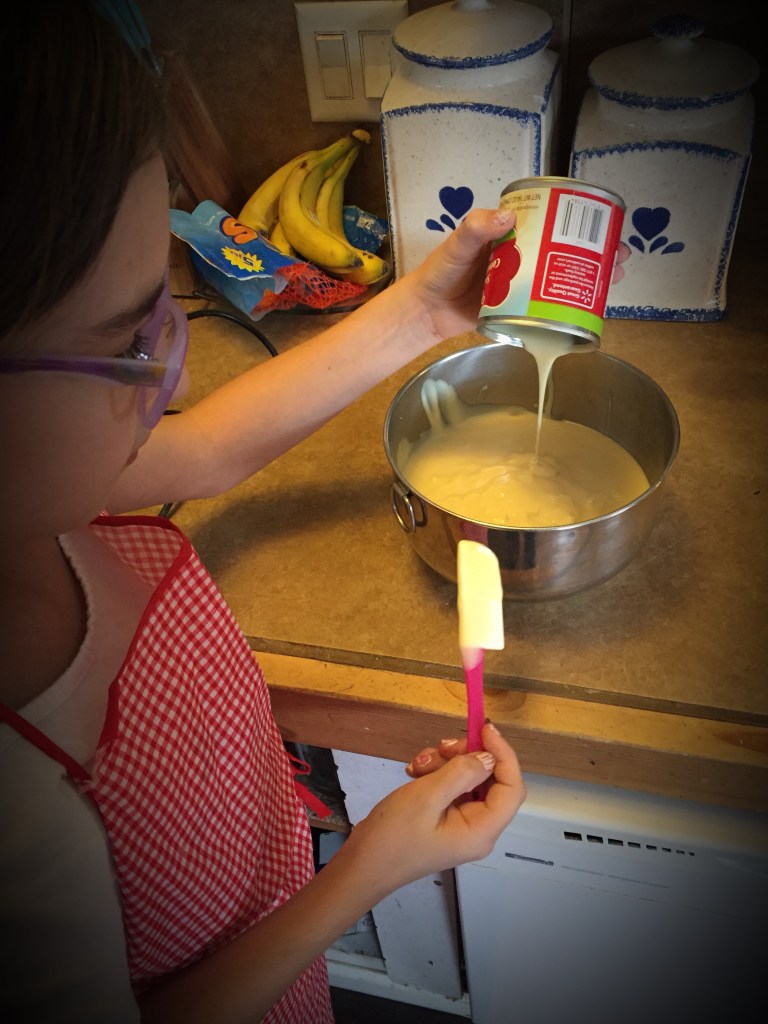
- In a separate bowl, mix the egg, canola oil & vanilla.
- Add the egg mixture to the butter mixture.
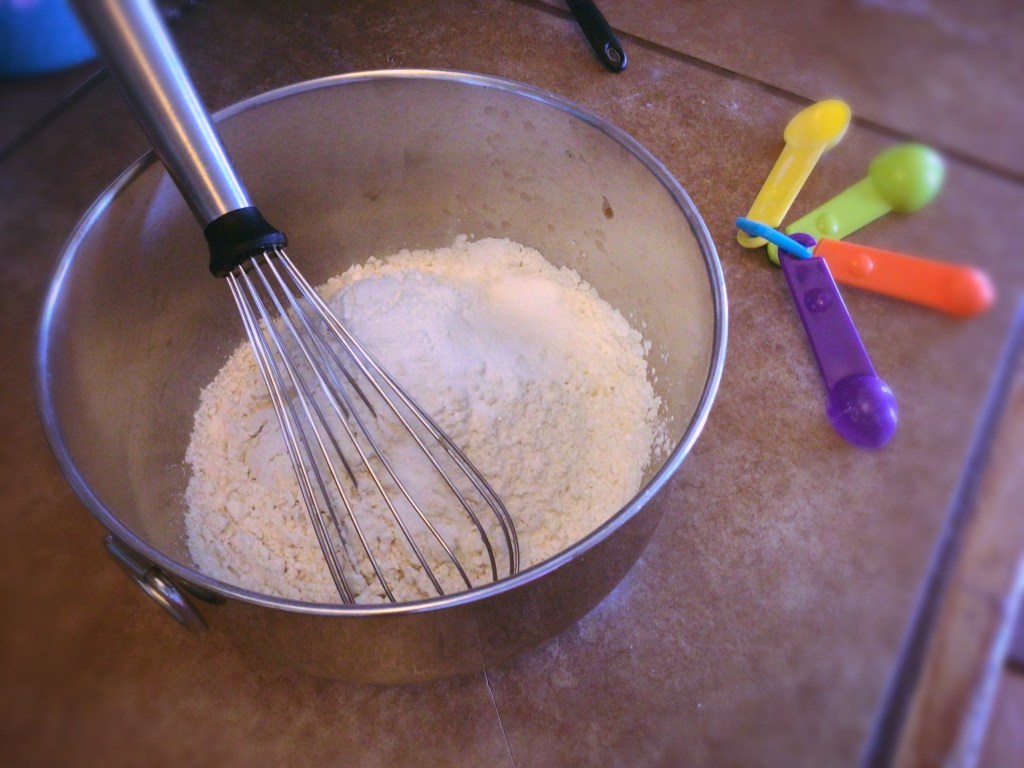
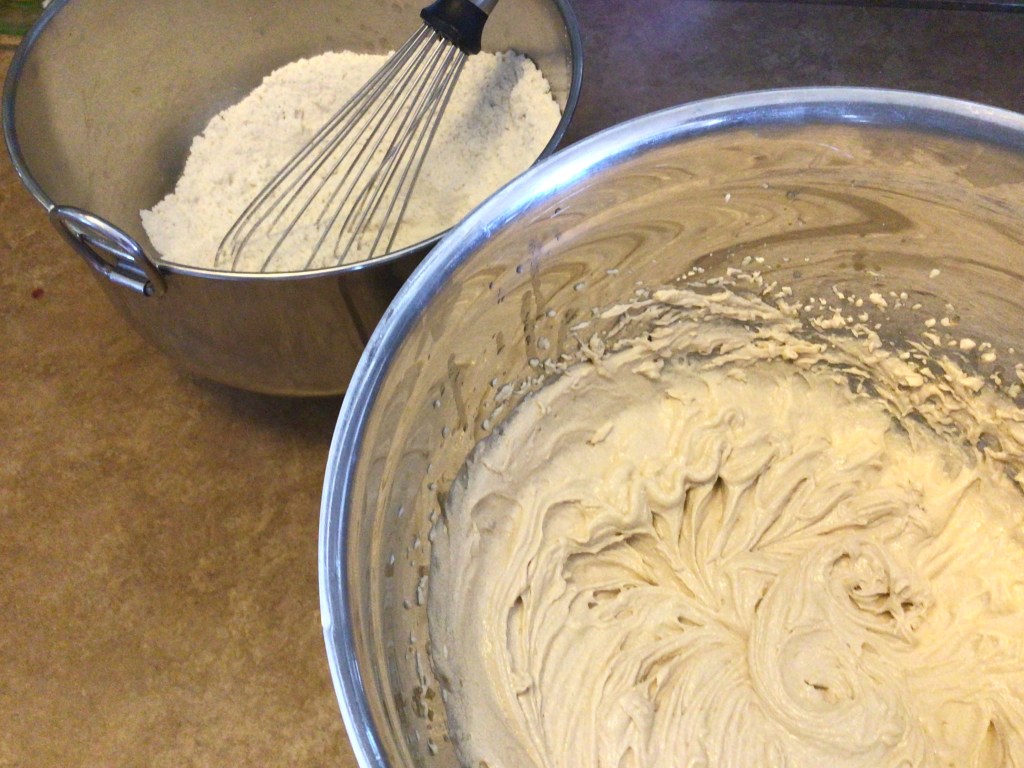
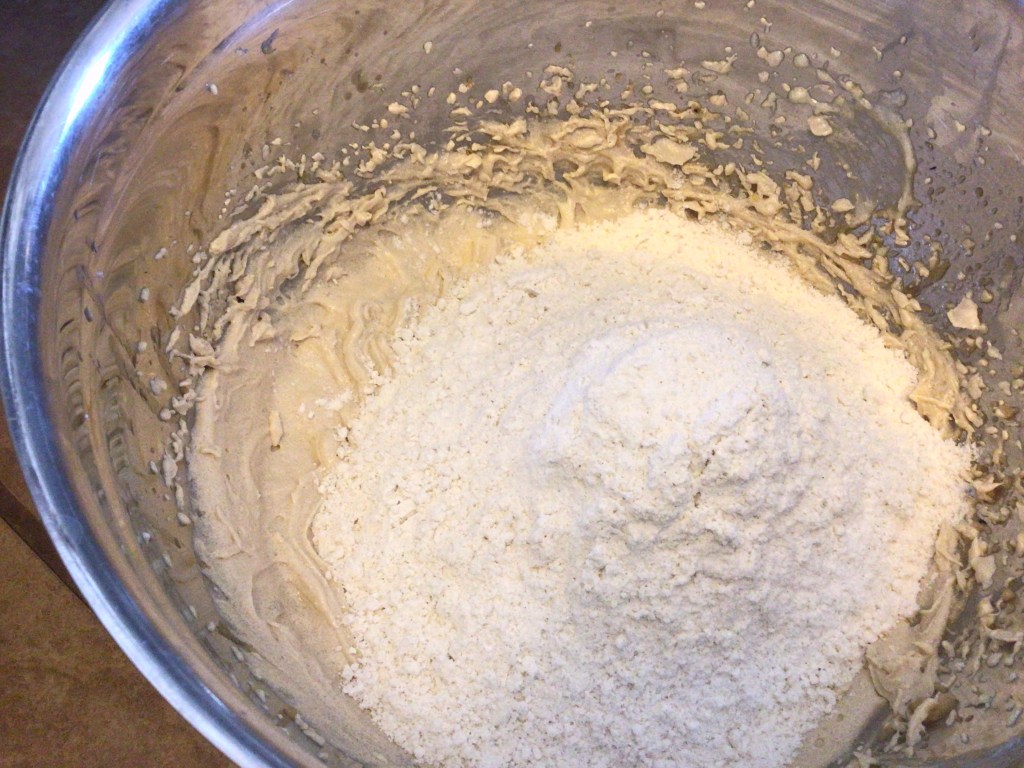
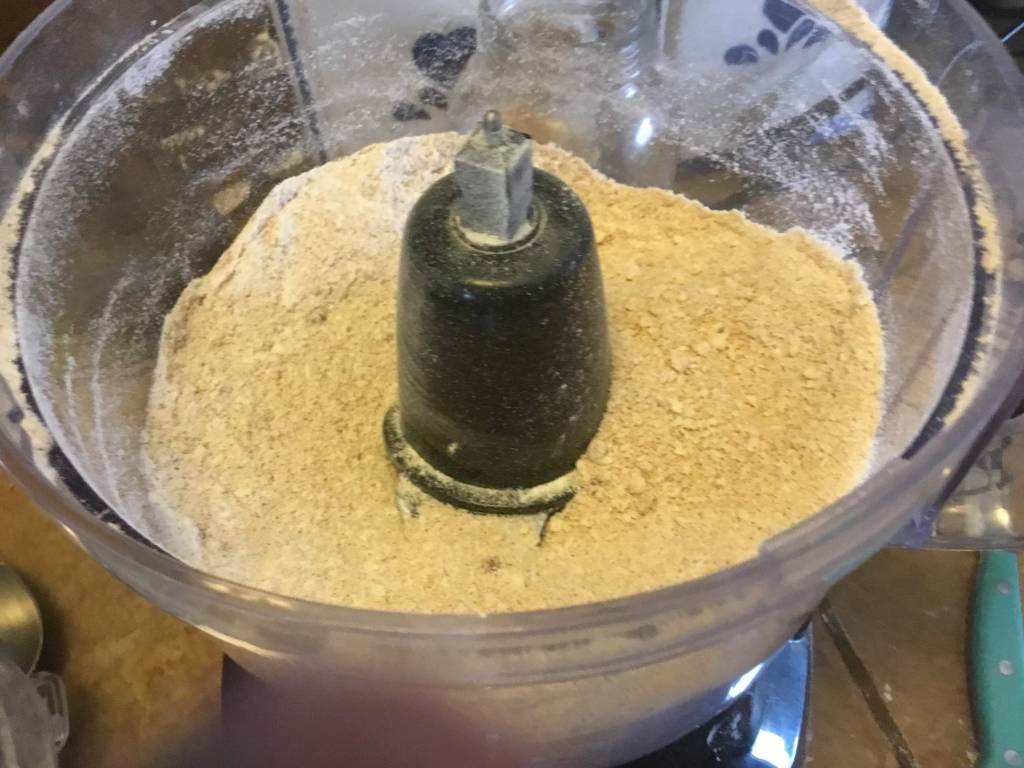
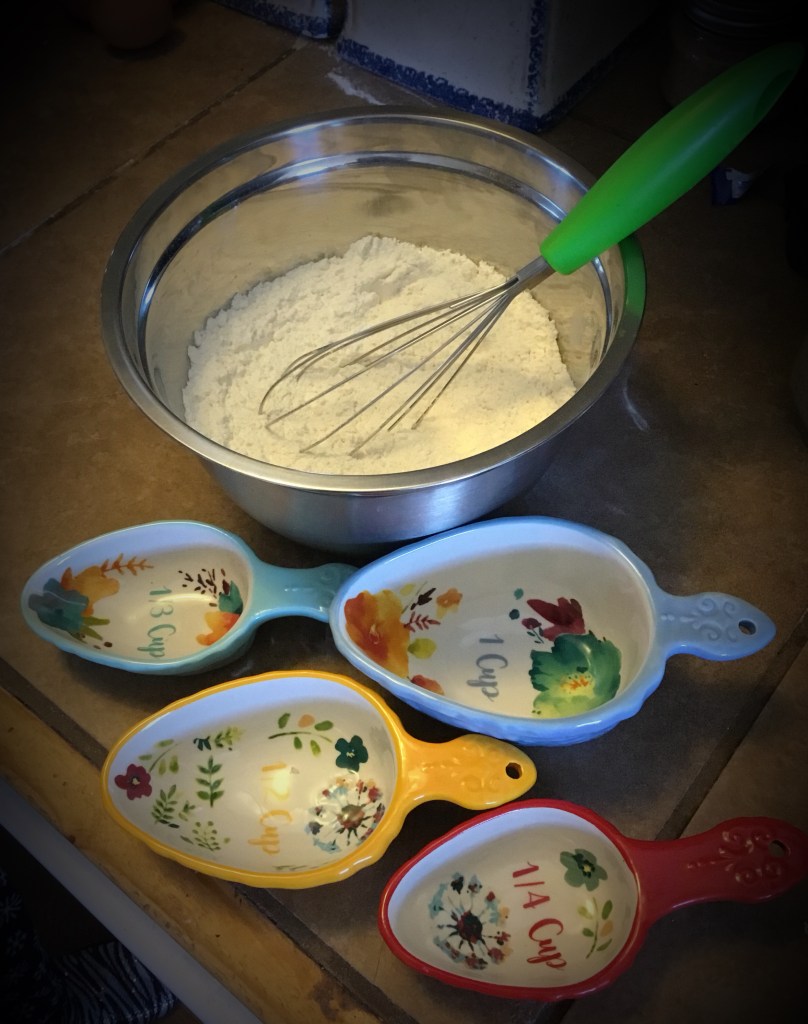
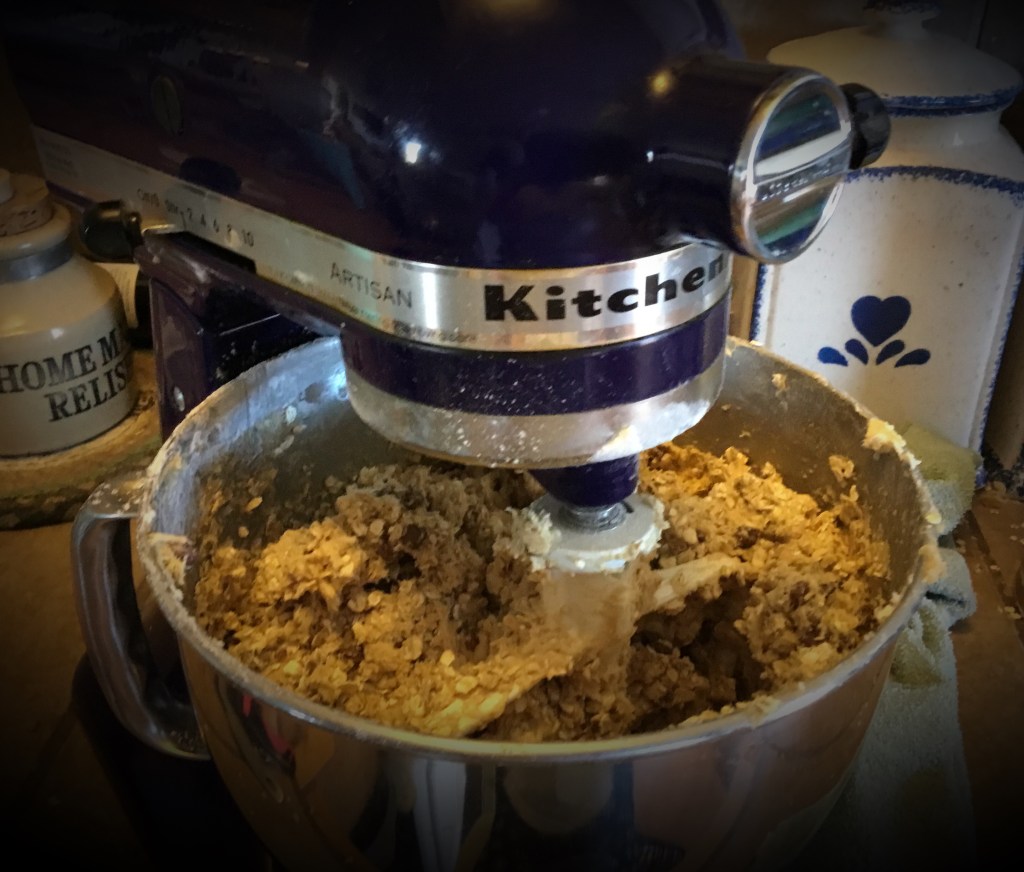
- In a separate bowl, mix your dry ingredients.
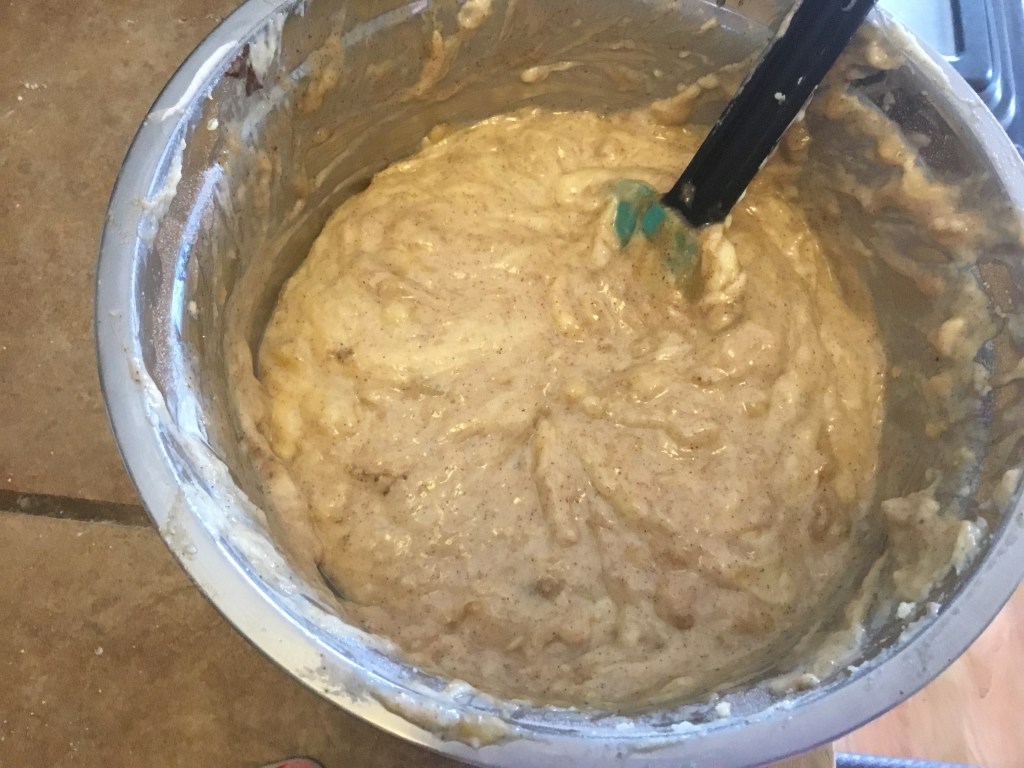
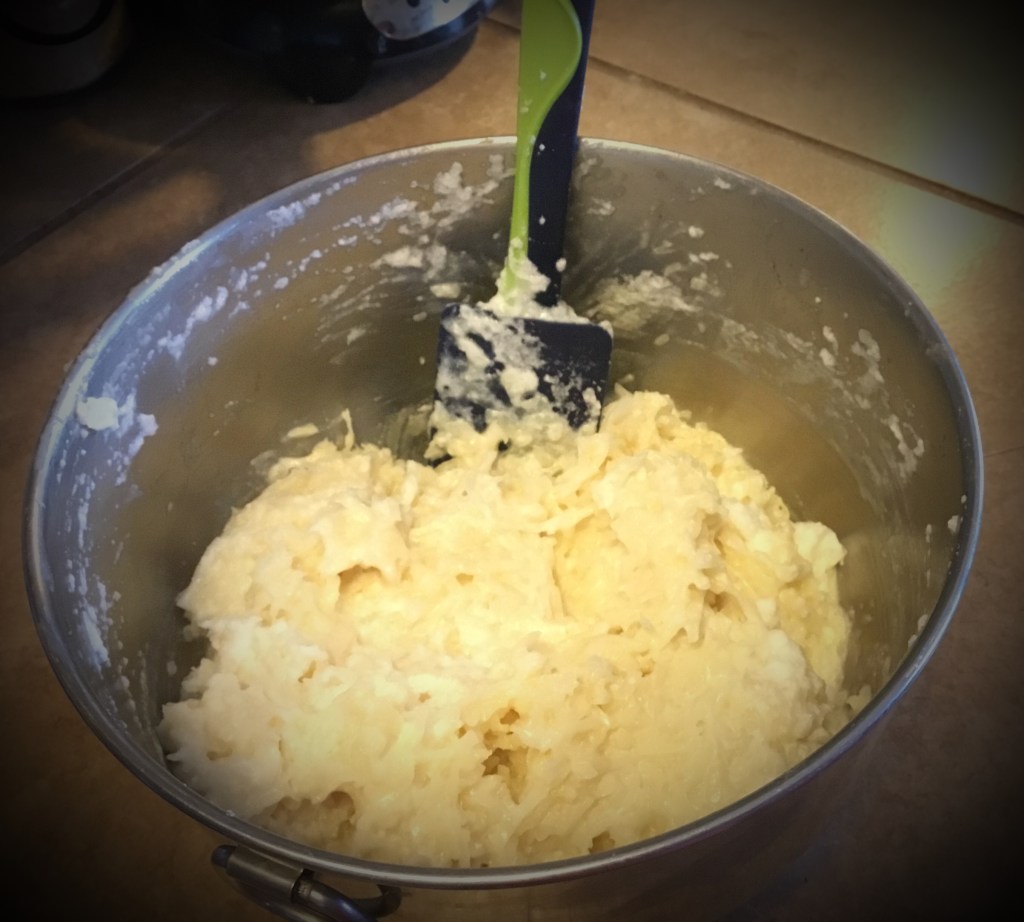
- Fold your dry ingredients into the wet ingredients.
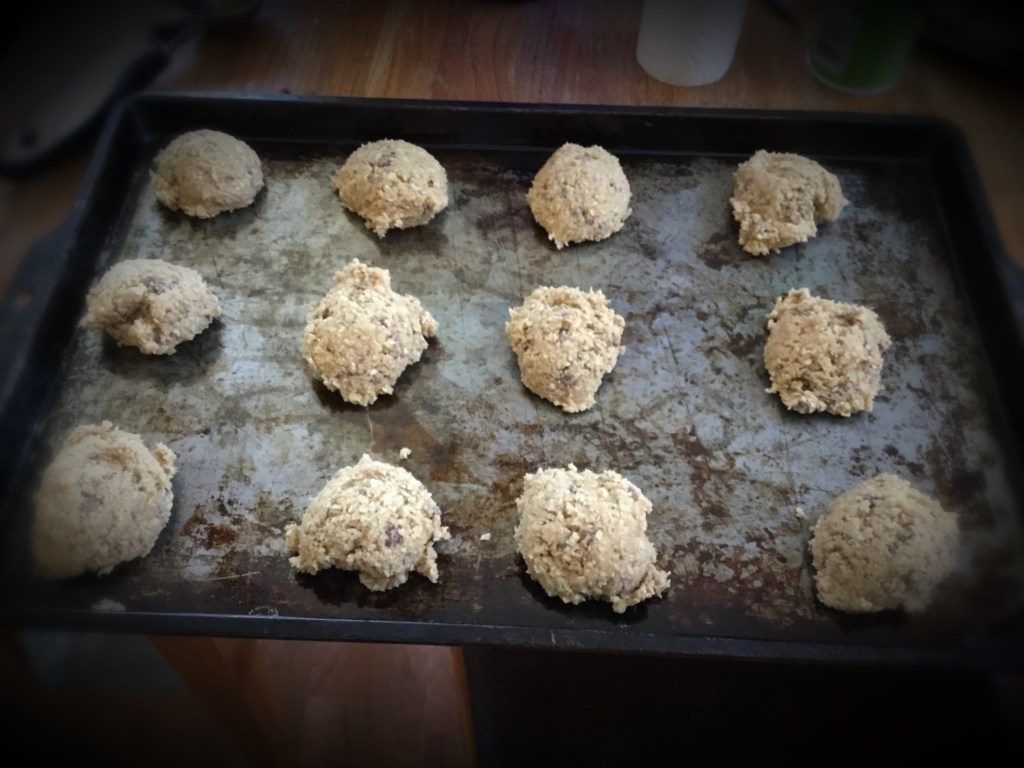
- Prepare your cookie sheet with parchment paper and cooking spray.
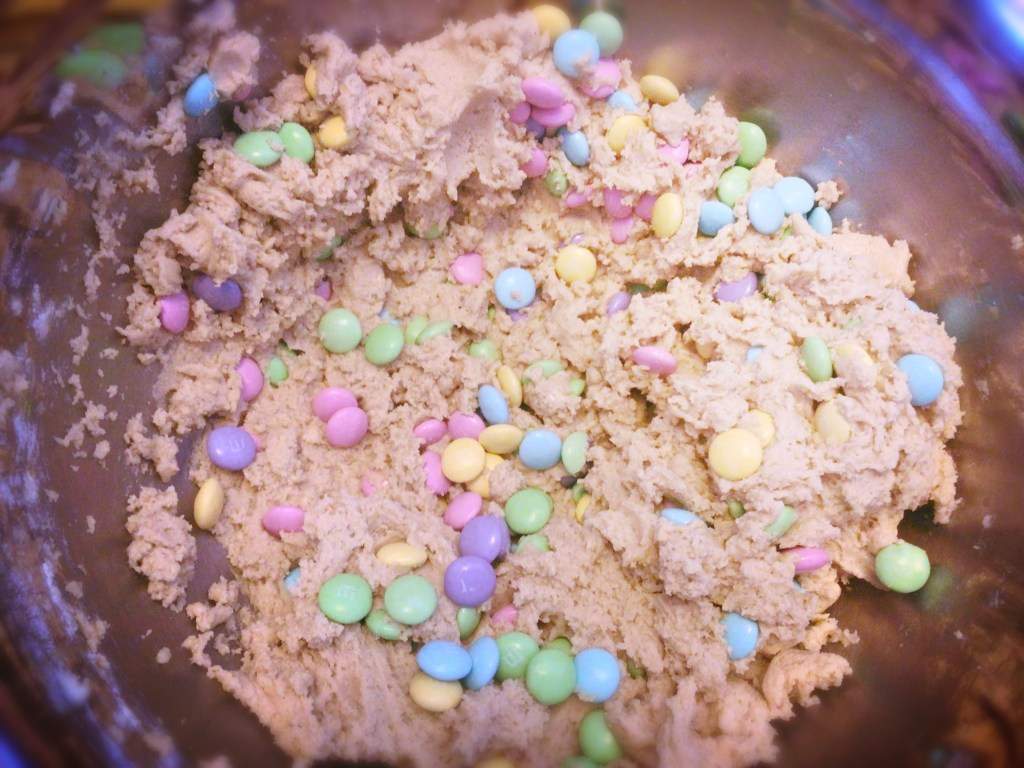
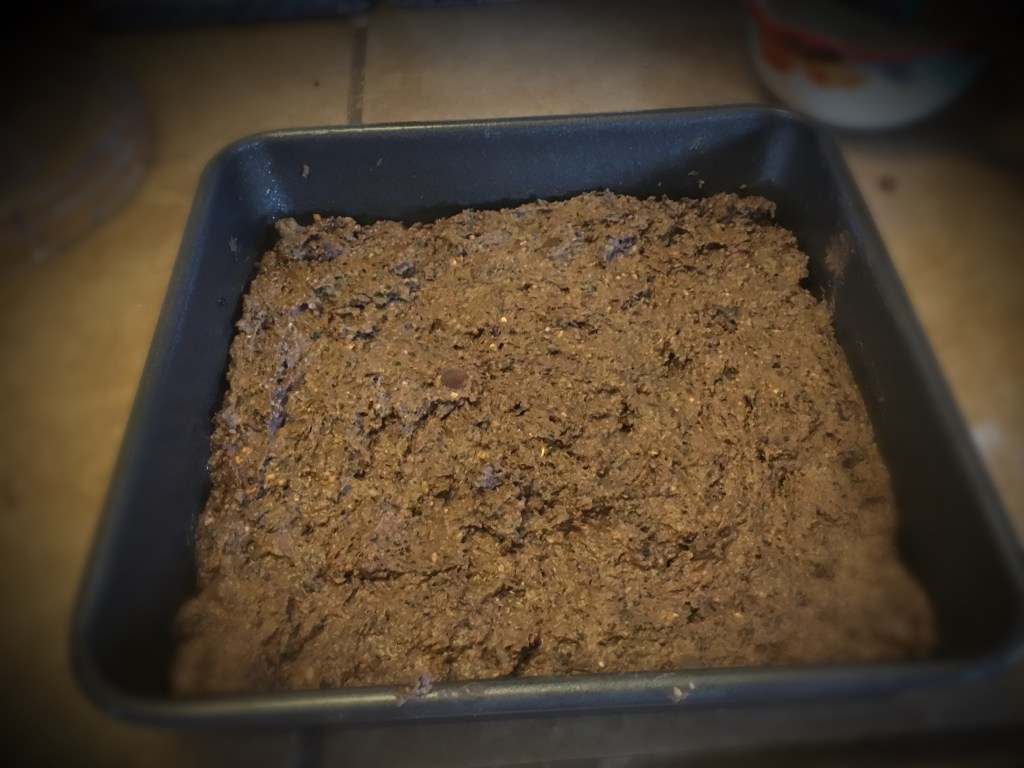
- Roll the cookie dough into balls and set on the cookie sheet.
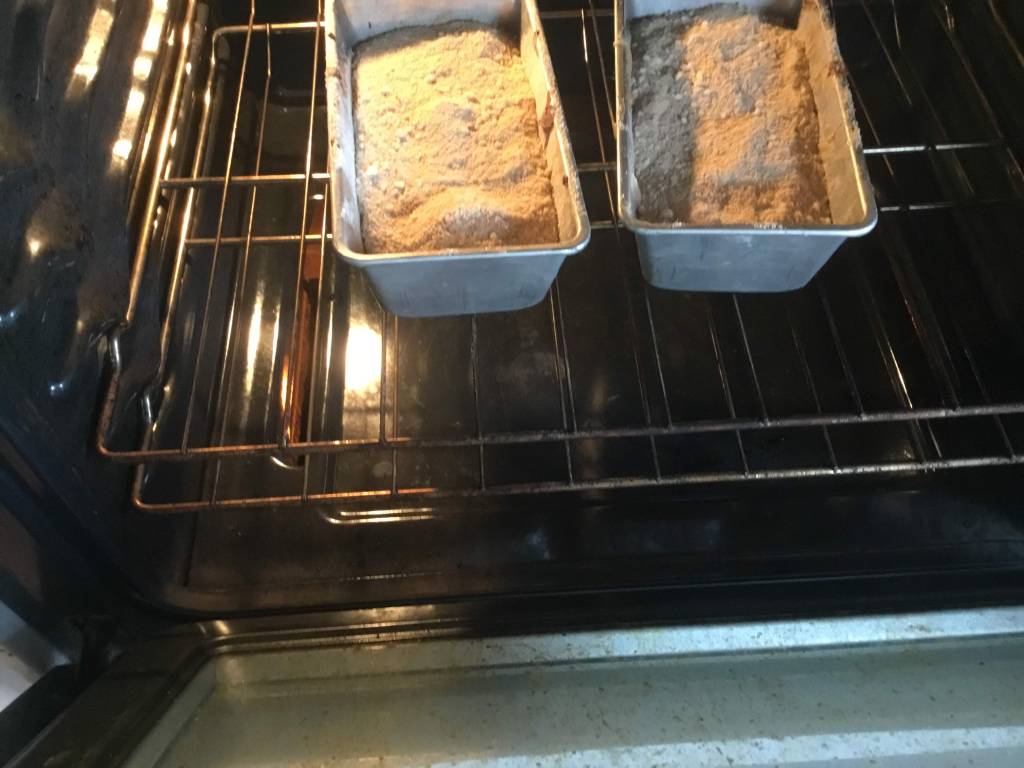
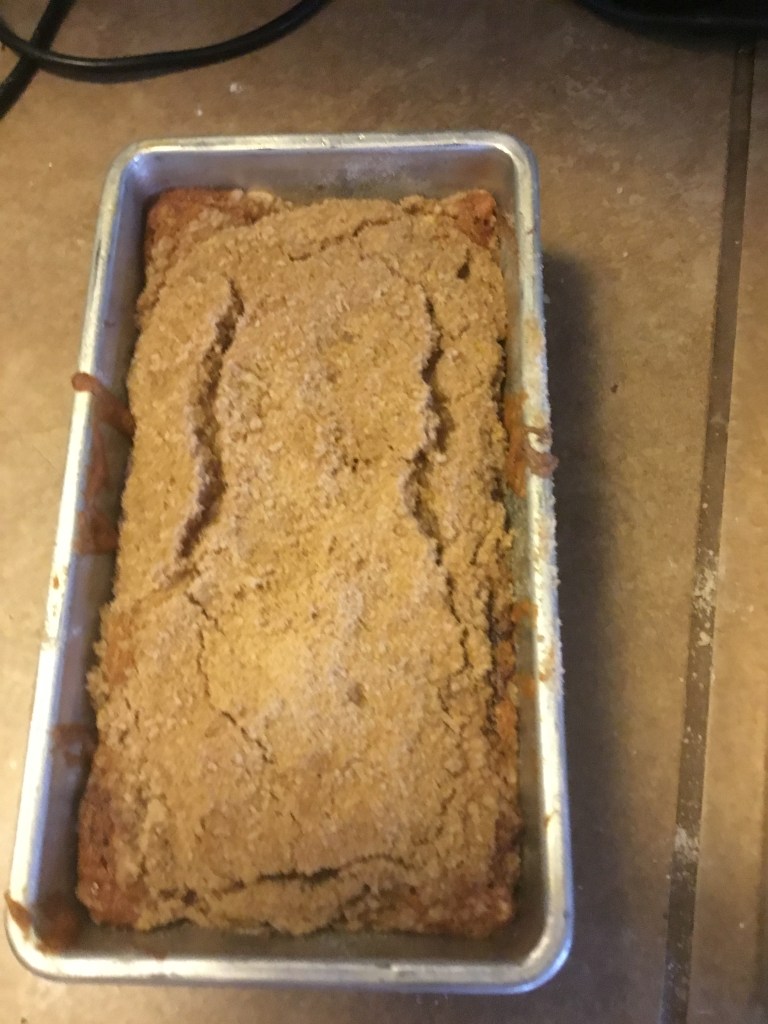
- Put in the oven for 12 to 15 minutes
- Make your frosting by beating together all ingredients
- Let the cookies cool and then frost them.