This is the first post on my new blog. I’m just getting this new blog going, so stay tuned for more. Subscribe below to get notified when I post new updates.
I dedicate this blog to my Ada Mike. I love him and miss him very much!
Hello everyone! It’s been a minute, but I am back in the kitchen. 🙂 Today I am dedicating this post to my Grandma Vanda, who passed away.
Recently, my Mom and Nana went to Arizona to stay with my Papa Don and Grandma Vanda. My Grandma was very sick and thankfully they got there in time to be with her so that they were able to say goodbye.
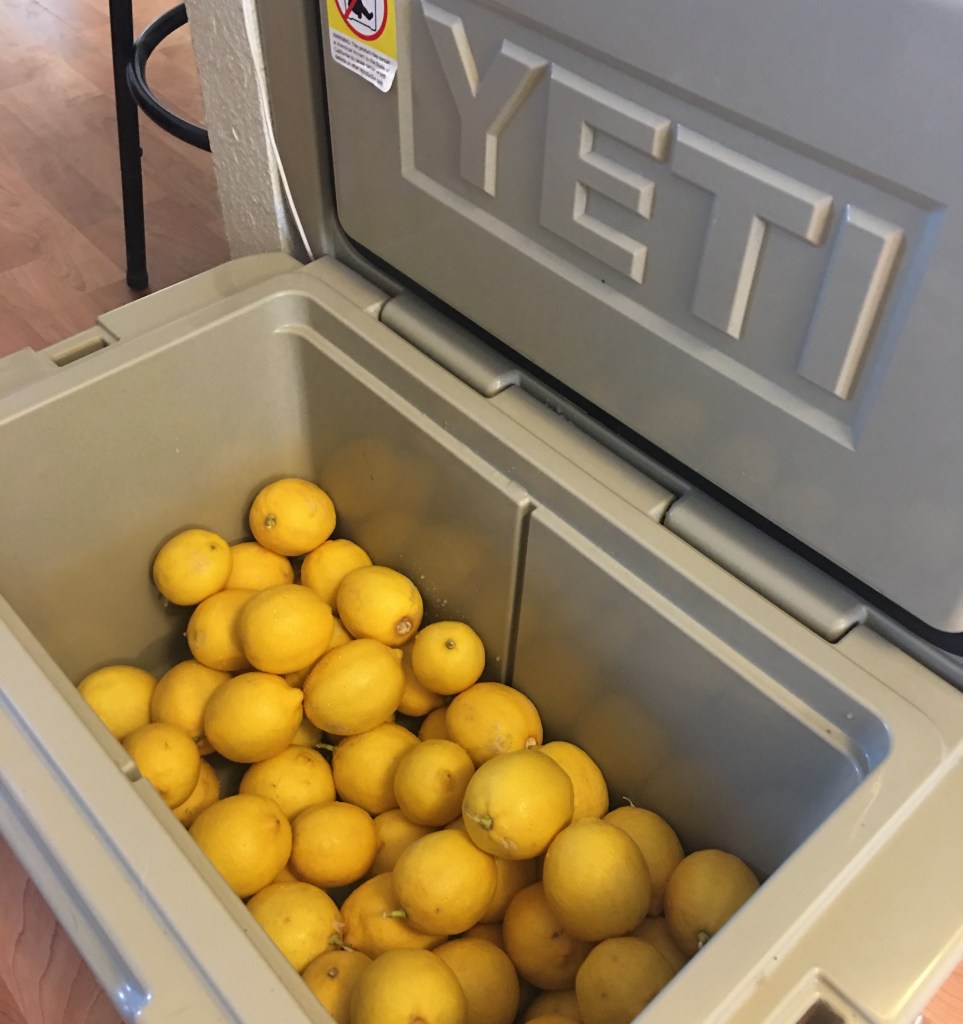
In Grandma and Papa’s back yard they have a lemon tree so Papa told my mom to take some home with them. We got an entire Yeti cooler full of lemons from Papa Don’s lemon tree! I was pretty excited, because getting a whole bunch of lemons means 2 things; lemon curd and another special treat (which will be in my next post)! Today I get to make lemon curd with my sister Kalani and my Mom. I’m very exited for this, especially because this is naturally gluten free, so I don’t have to experiment and make sure if works with GF flour or anything. So lets go ahead and start making this delicious sweet treat!
Btw, this is fine to make with limes if that’s what you prefer, but I’ve never tried to do it with limes so i’m not sure if you’ll have to do something different. If you do end up using limes, please comment and tell me how it went.
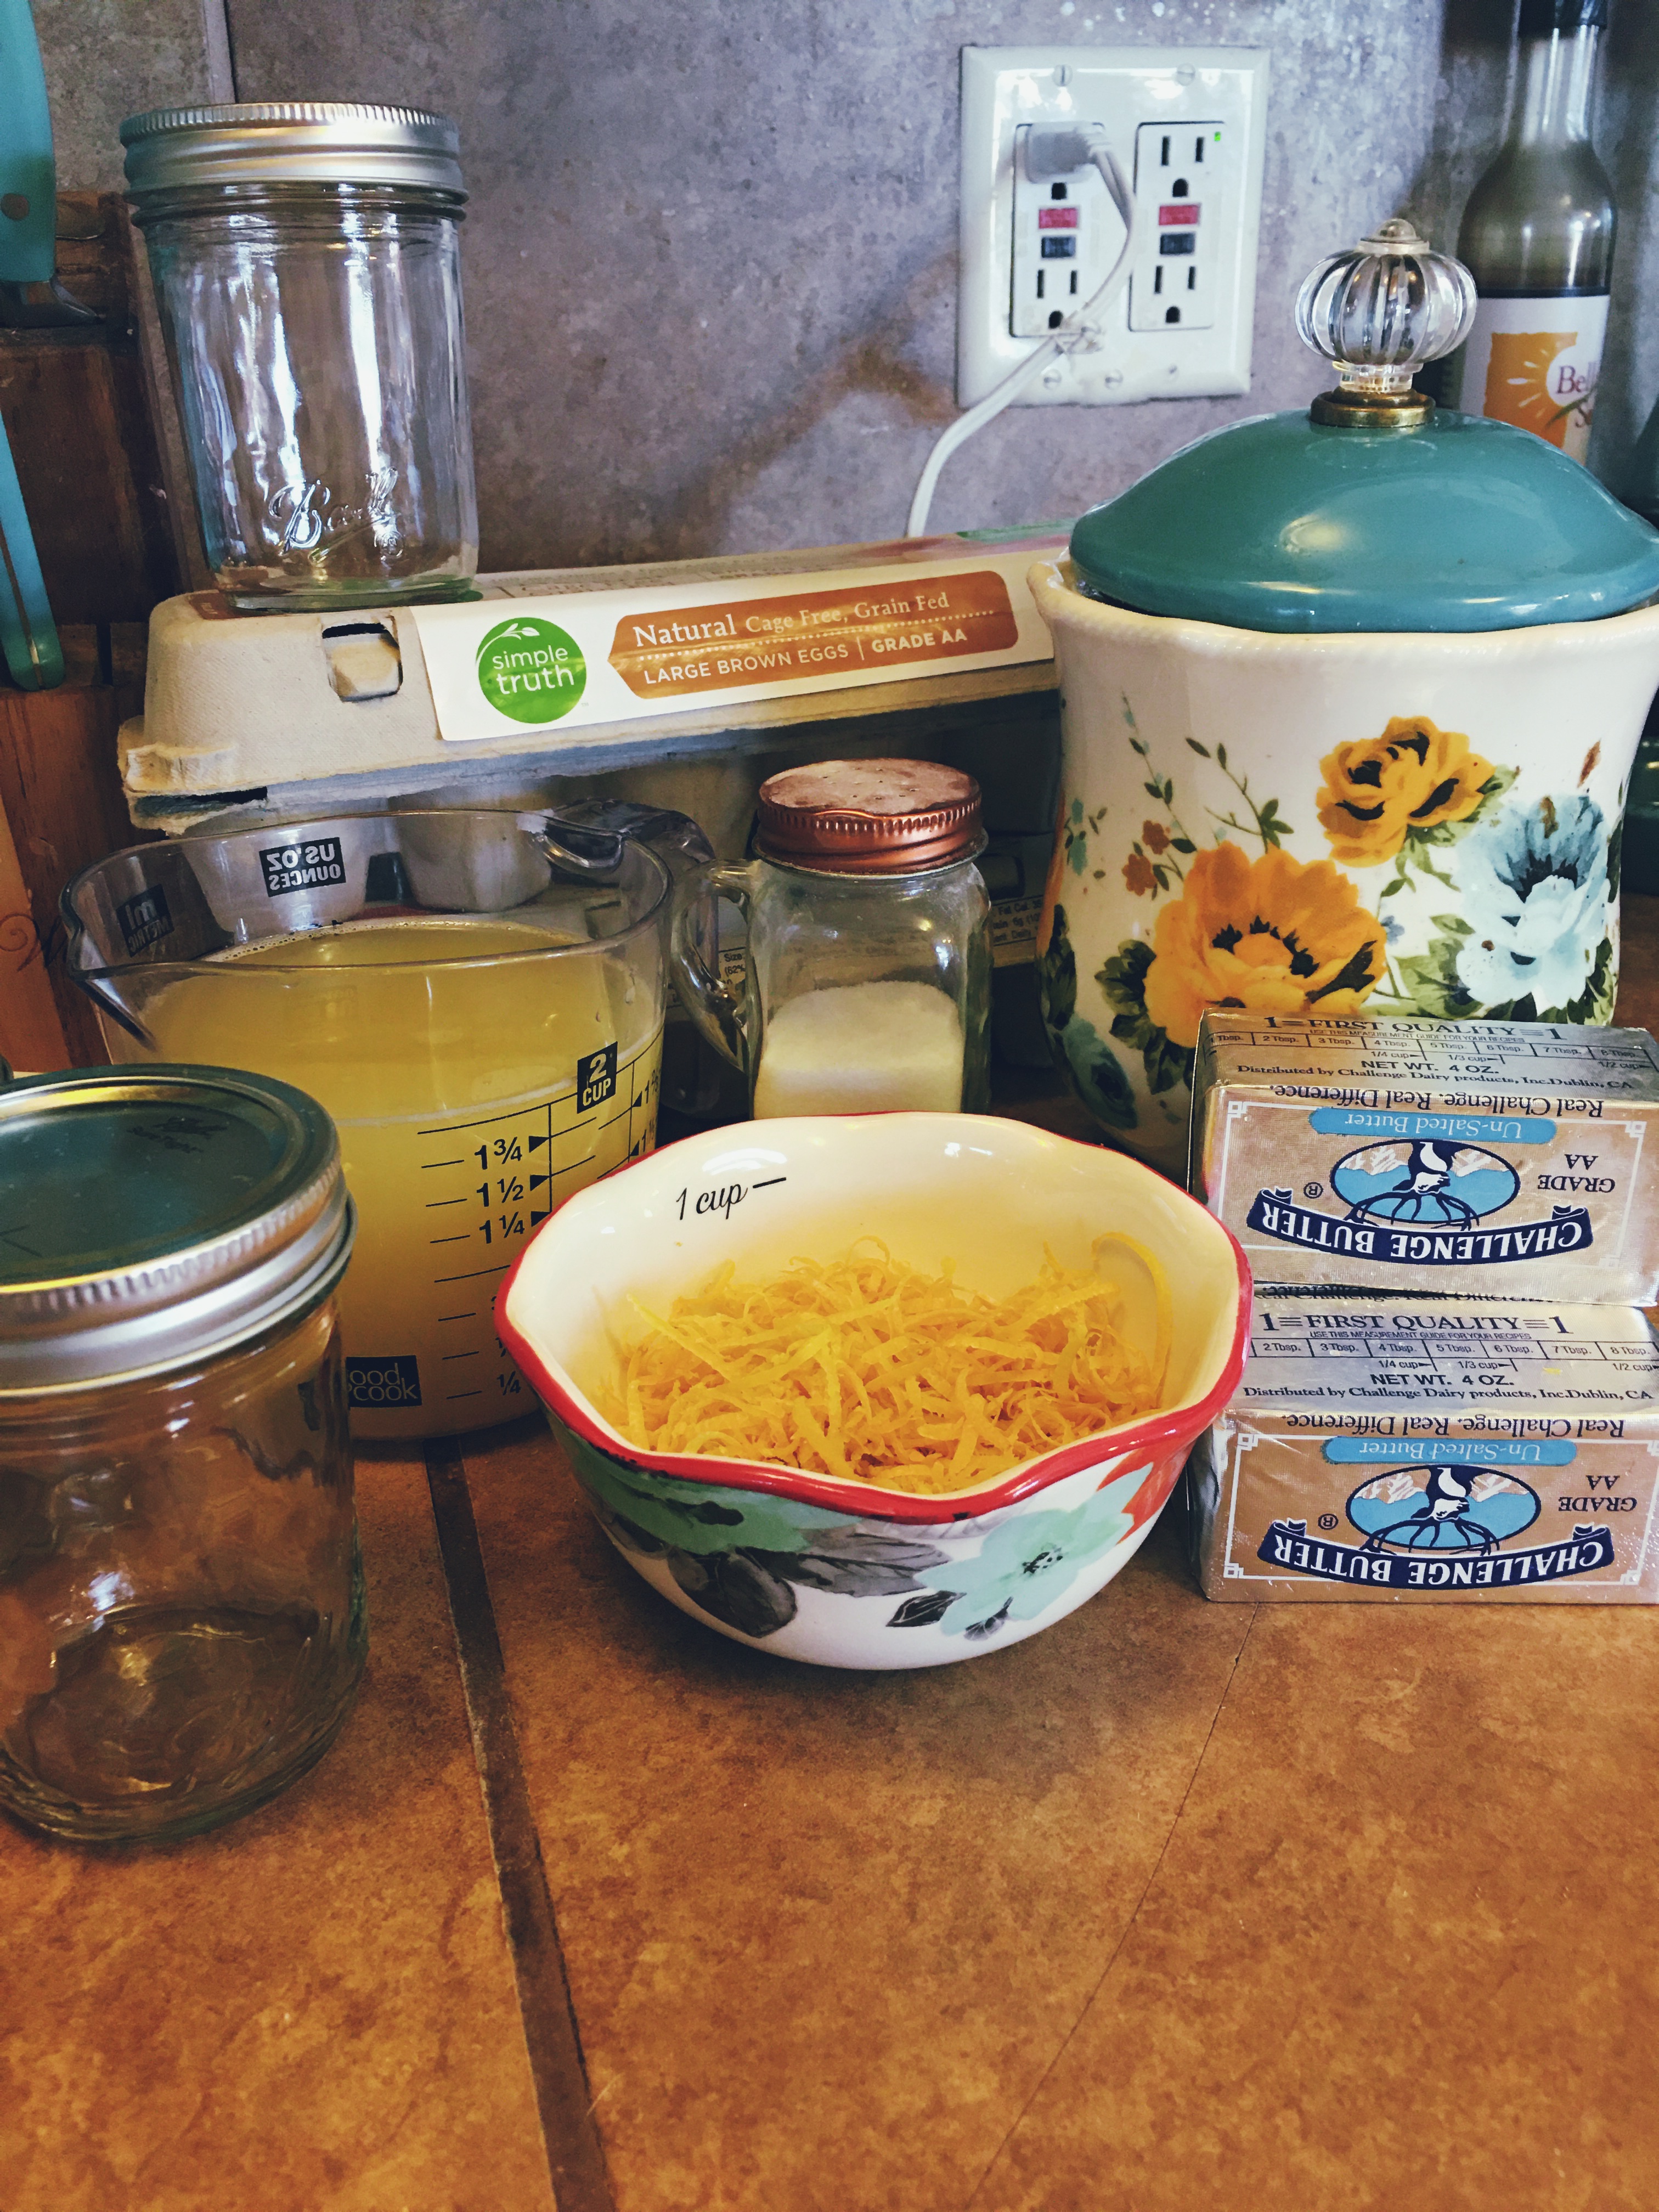
Ingredients
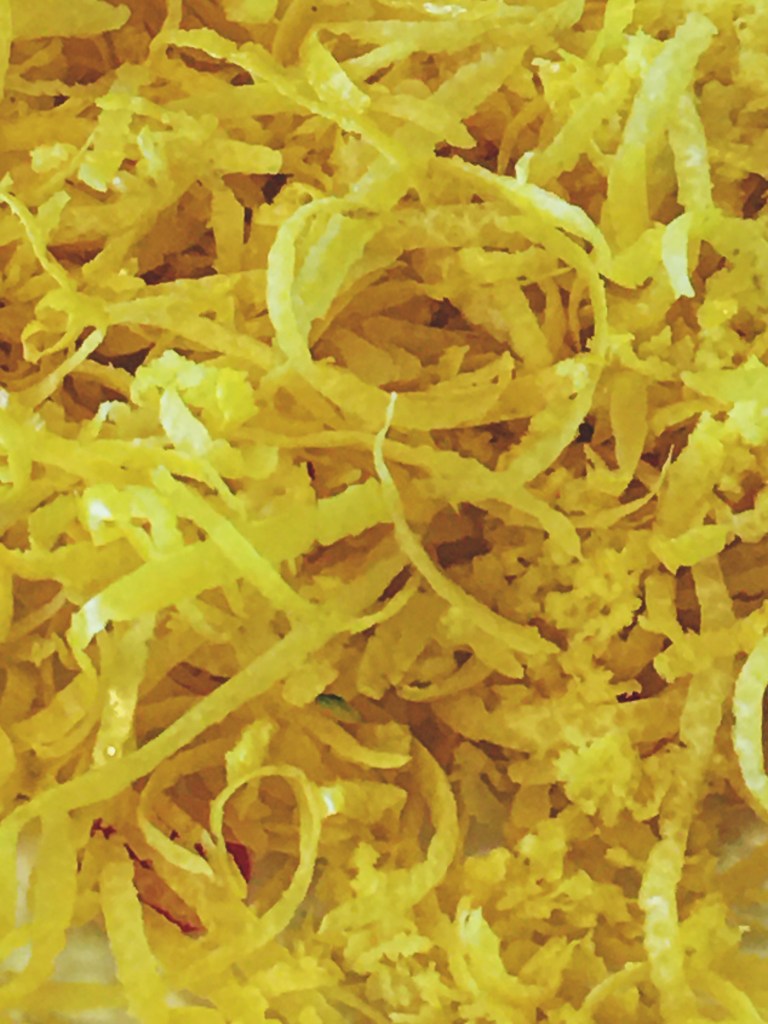
Zest of 10 lemons
2 cups of lemon juice (the juice of about 10 lemons.)
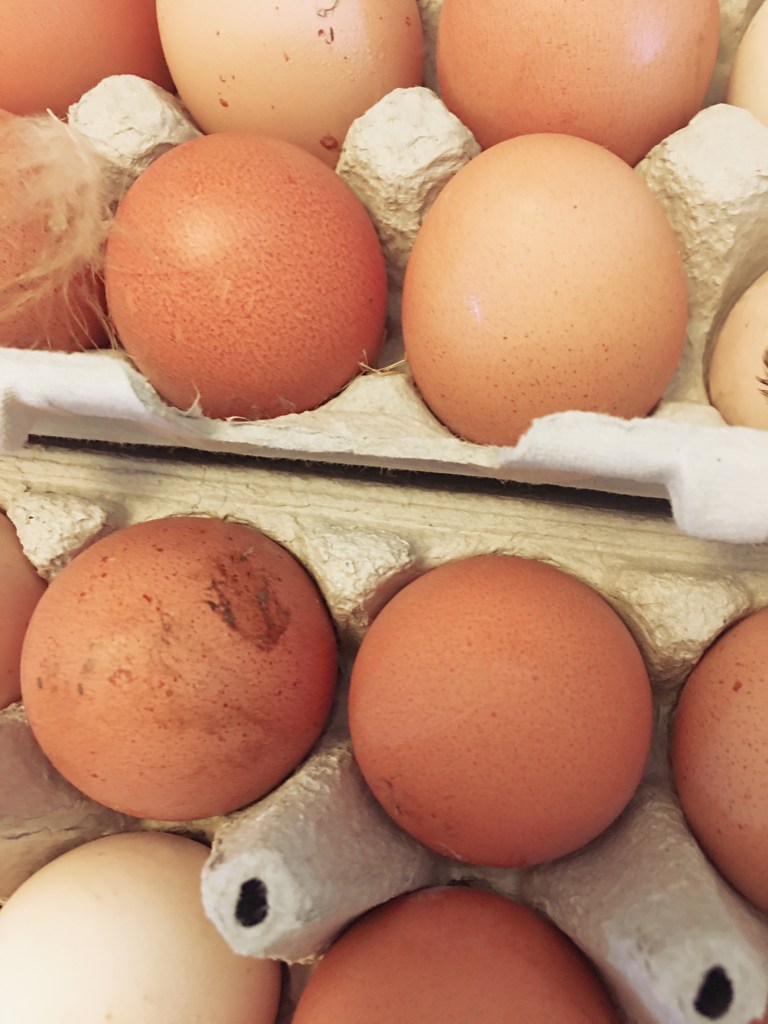
8 whole eggs
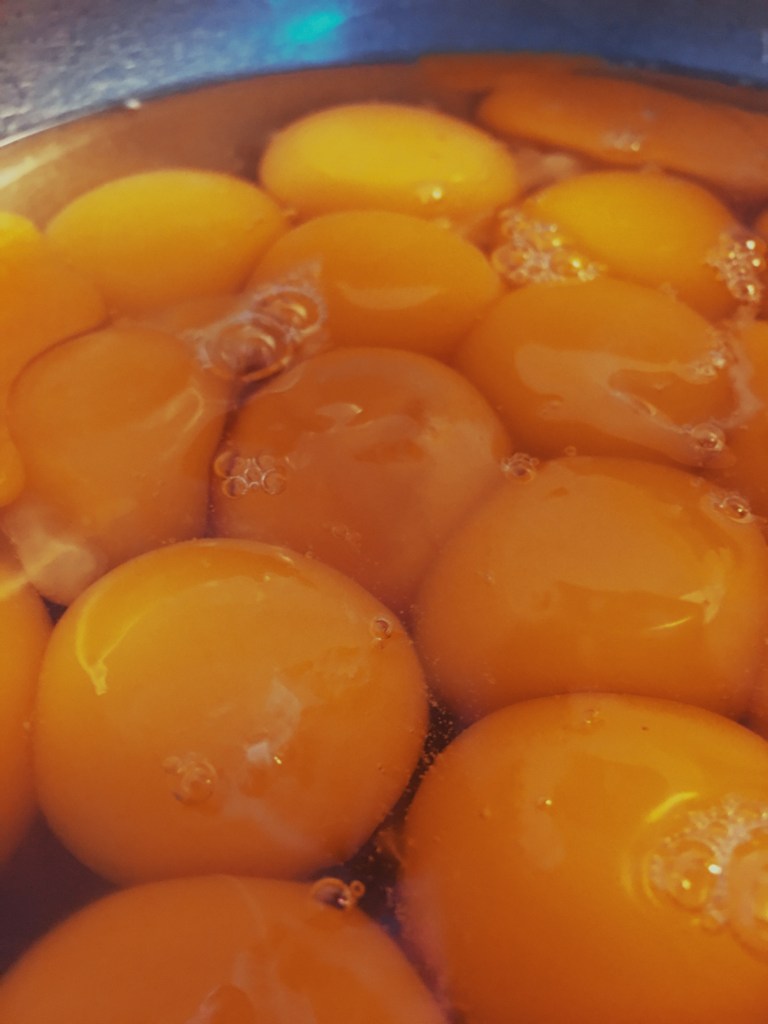
14 egg yolks
2 tsp salt
5 cups sugar
1 1/2 cups butter (or three sticks)
Instructions
Wash & dry the lemons. Then zest them.
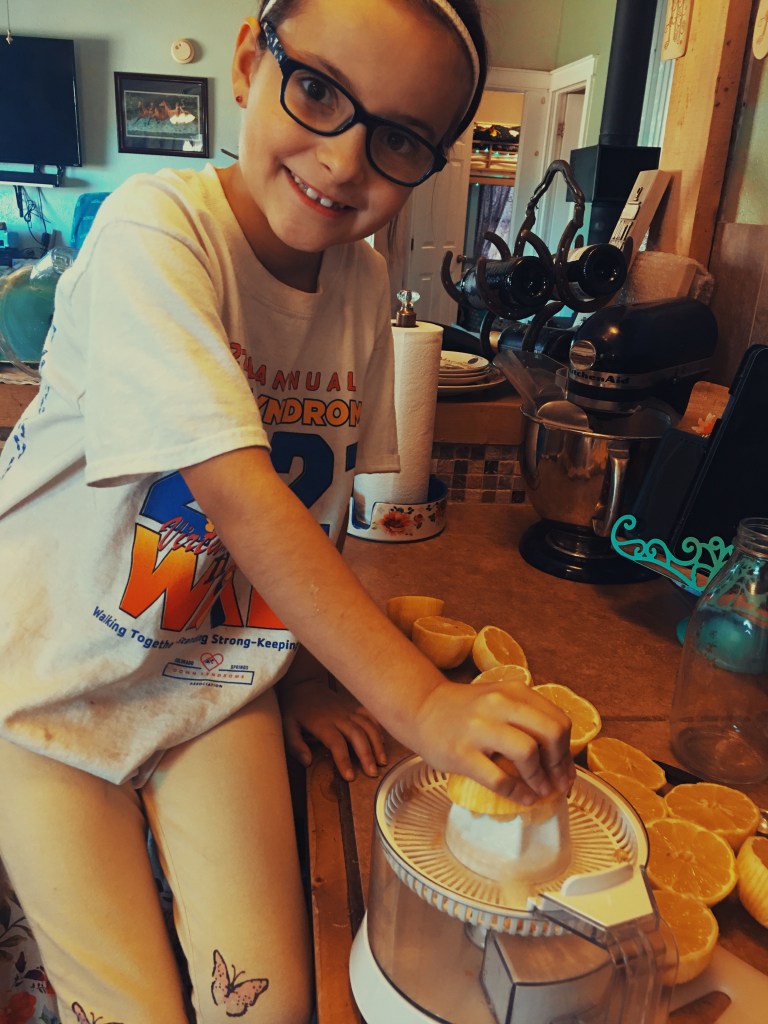
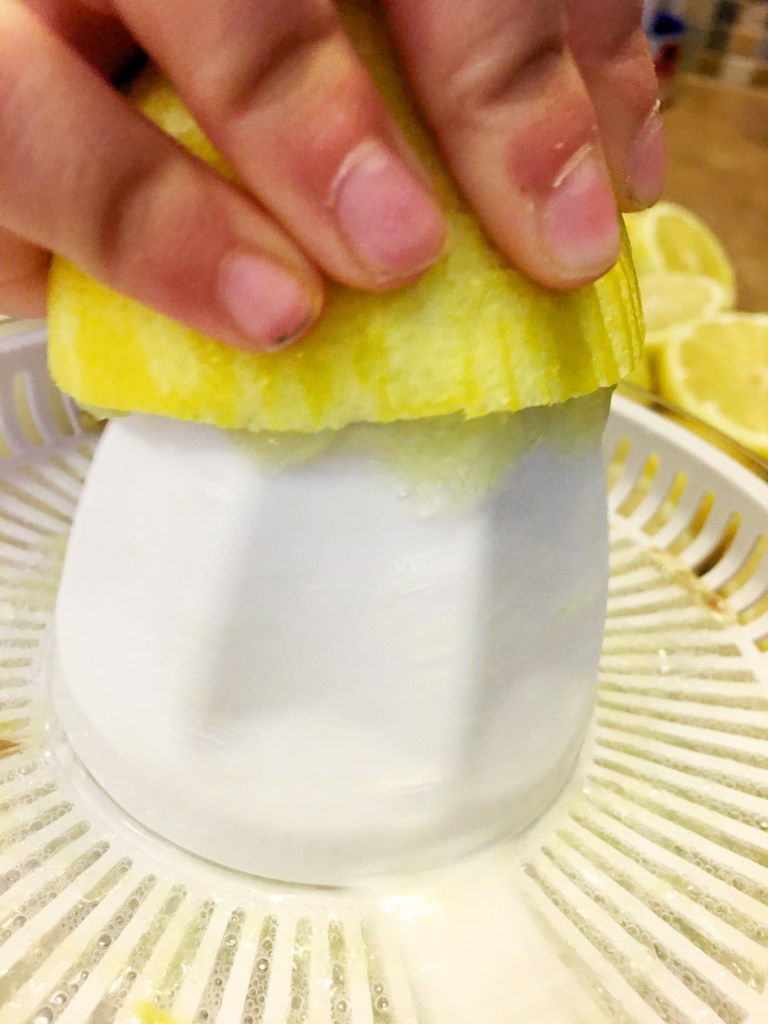
Cut the lemons in half and juice them.
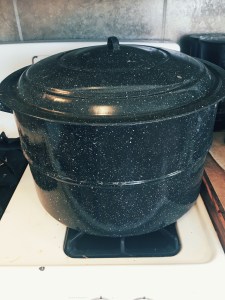
Heat up your double boiler.
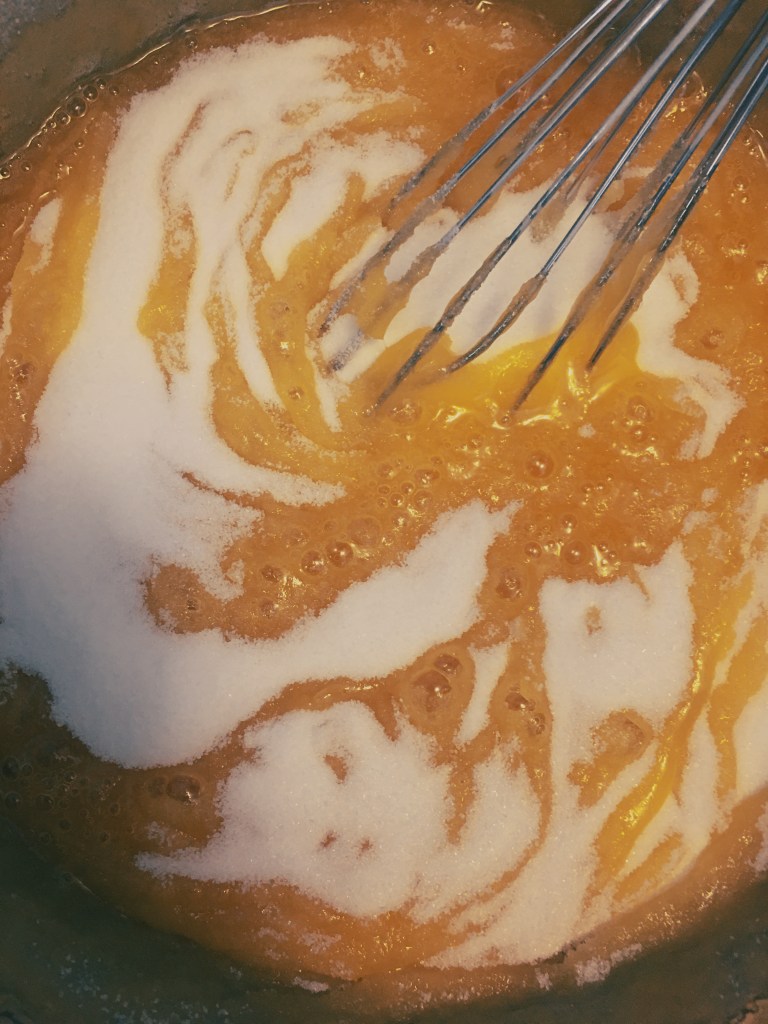
Add the sugar, whole eggs, egg yolks, salt and lime zest to your double boiler bowl. Whisk ingredients thoroughly. When fully mixed put bowl onto your double boiler to start cooking.
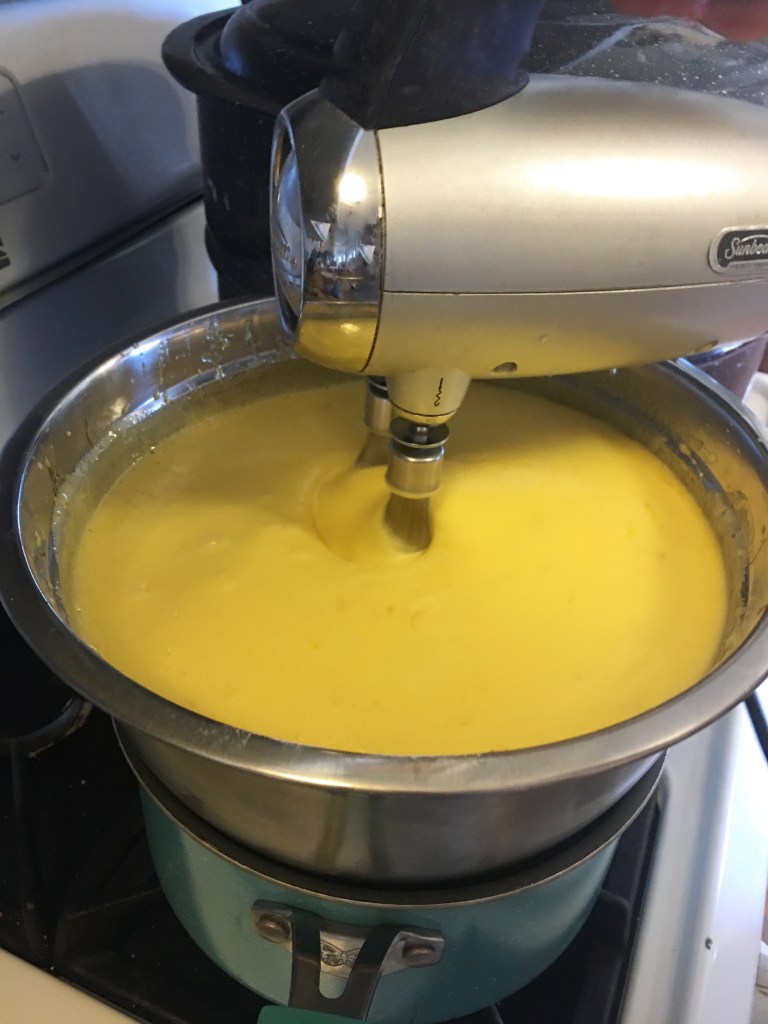
Over a medium heat, keep whisking egg mixture as you add the juice. When the juice is fully incorporated add the melted butter.
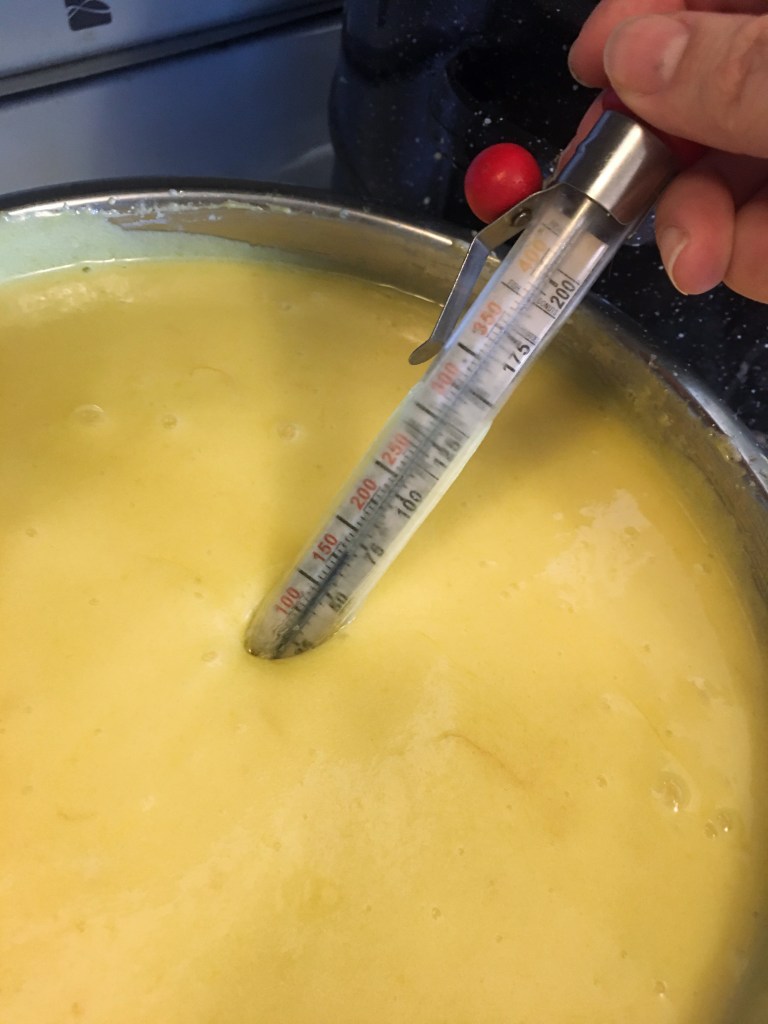
Continue cooking the mixture slowly while whisking and checking the thermometer regularly. Once it starts to thicken up and it reaches 170*F turn off the heat and remove the pan from the stove.
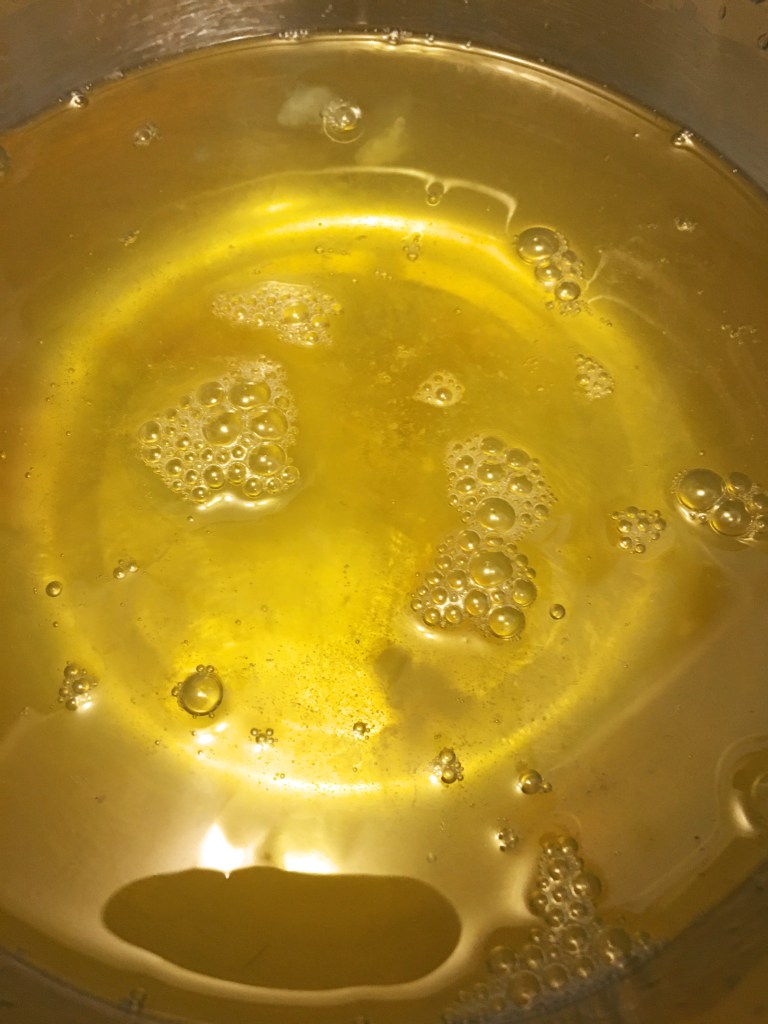
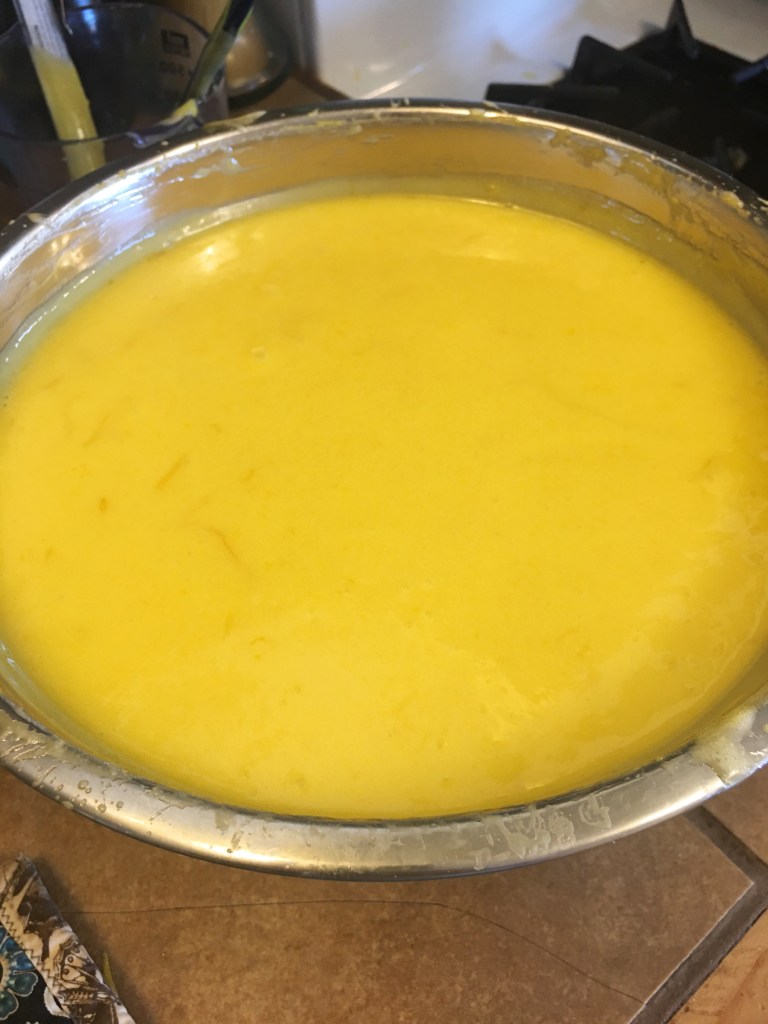
Strain the curd into a clean bowl. We used a fine mesh strainer.
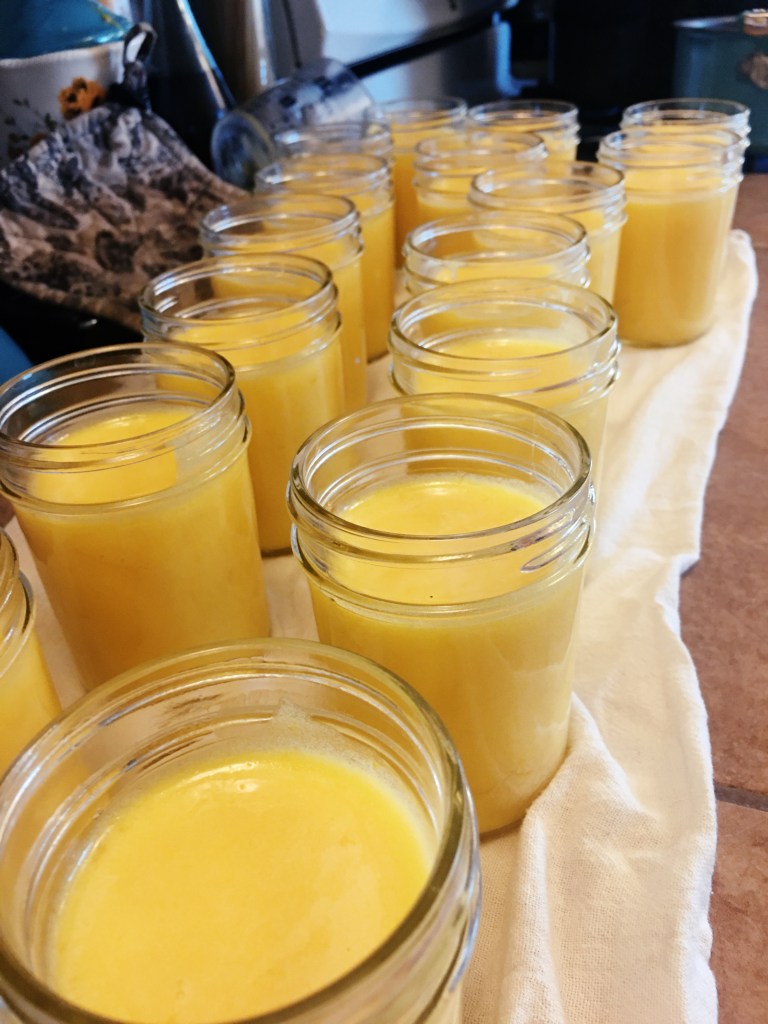
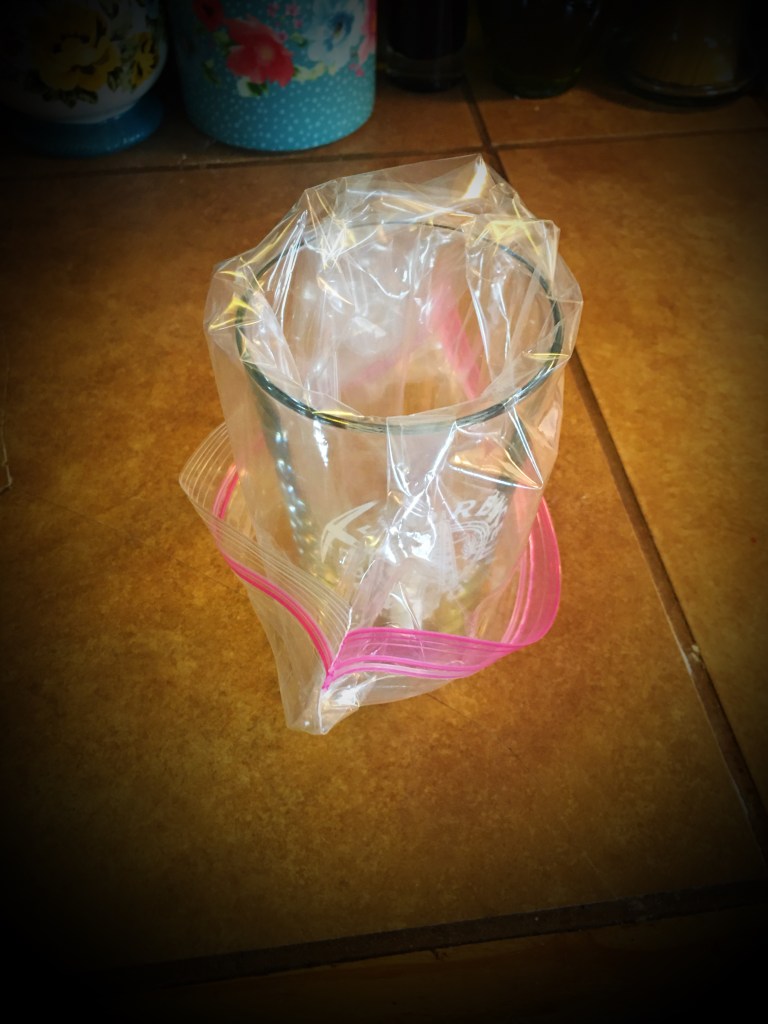
Now you are ready to can your curd! With this big of a batch its great to can it and have it preserved for any time you want a treat.
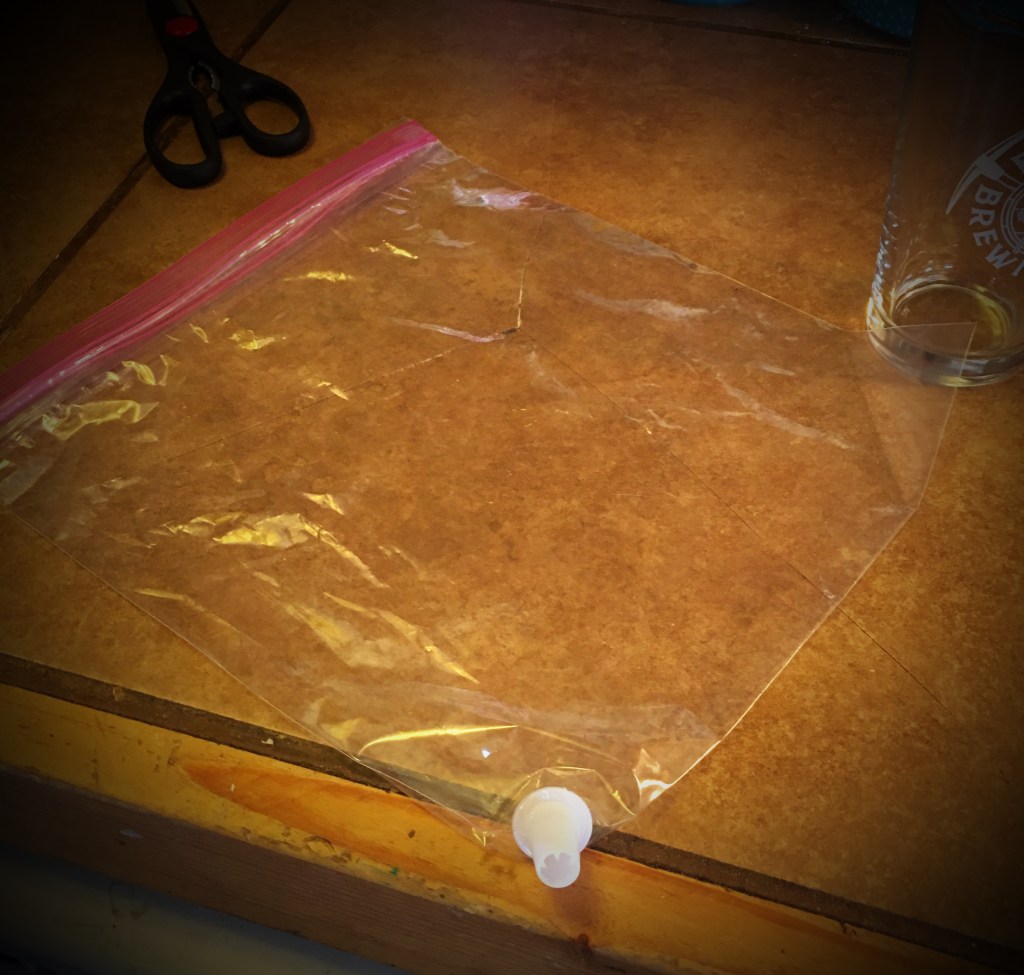
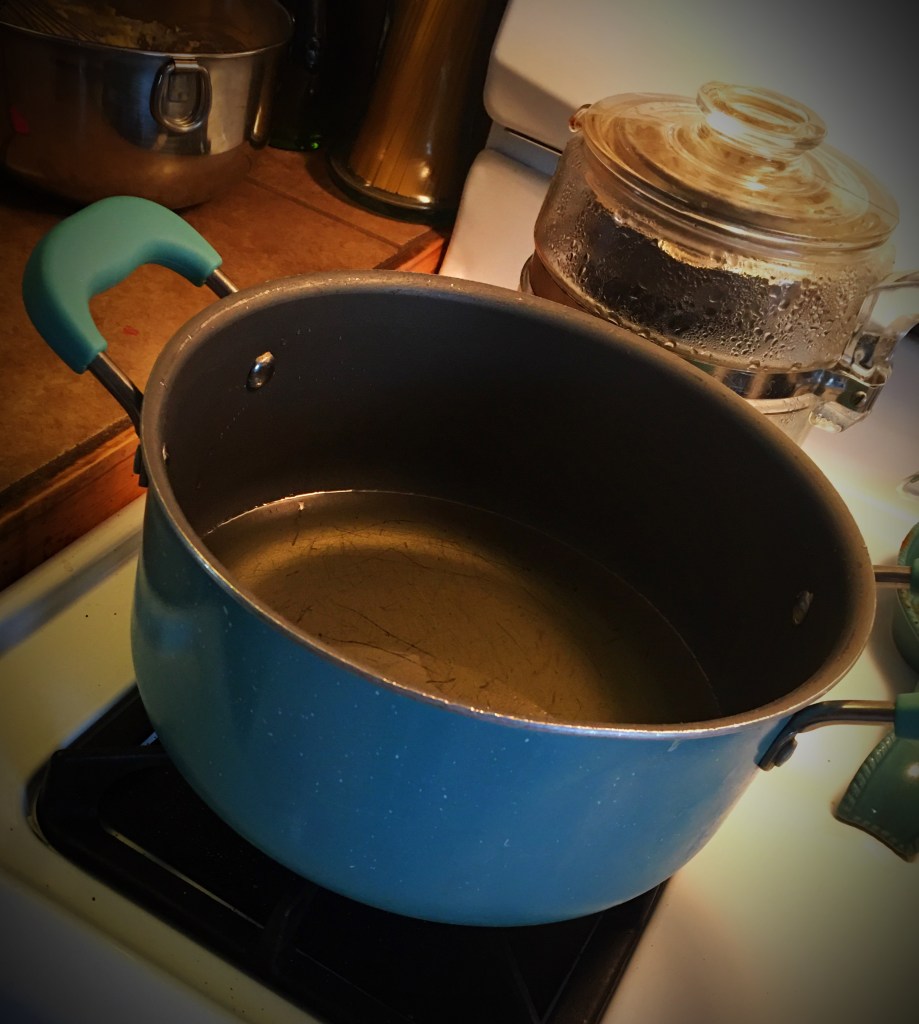
Sterilize your canning jars and lids in boiling water for 10 minutes.
Remove the jars, and fill with the lemon curd. Leave a 1/2″ head space.
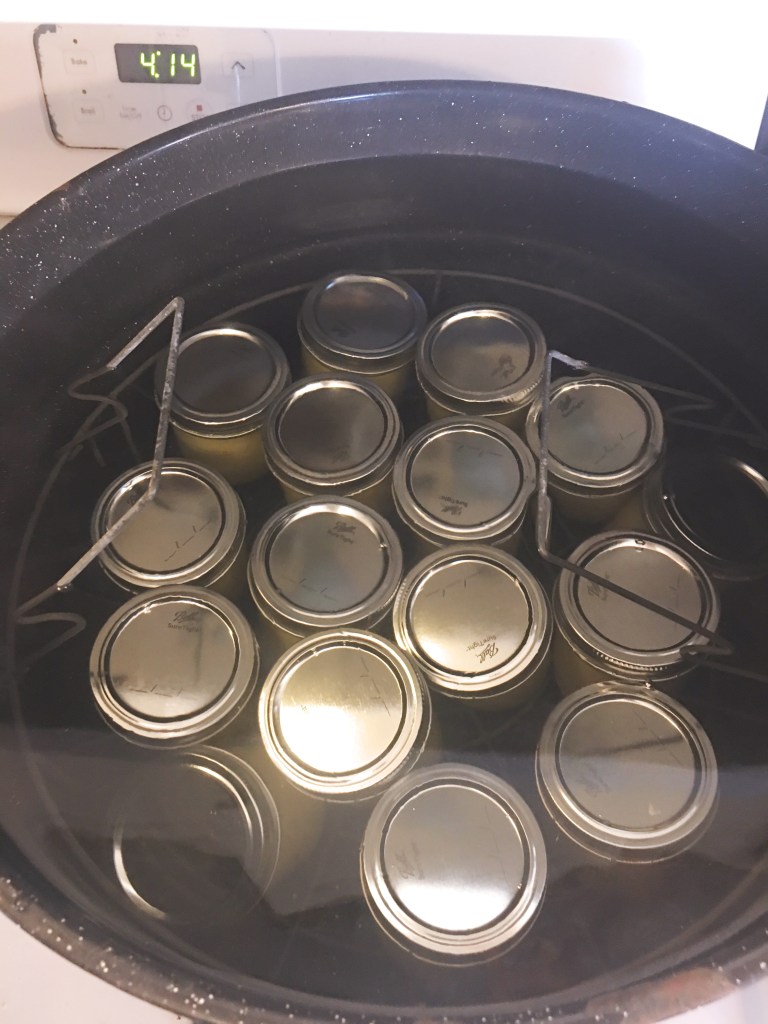
Put the lids on TIGHT! make sure the water is no hotter than 180*F. Add the jars into the water and bring to a boil. Once boiling let the jars process for 15 minutes.
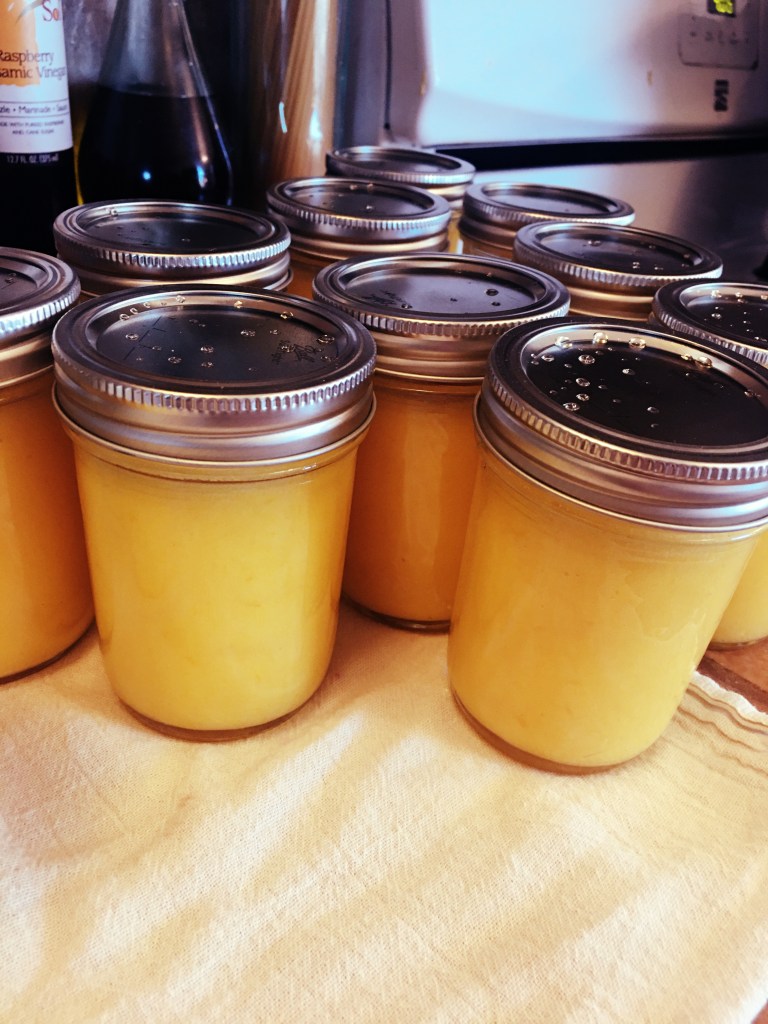
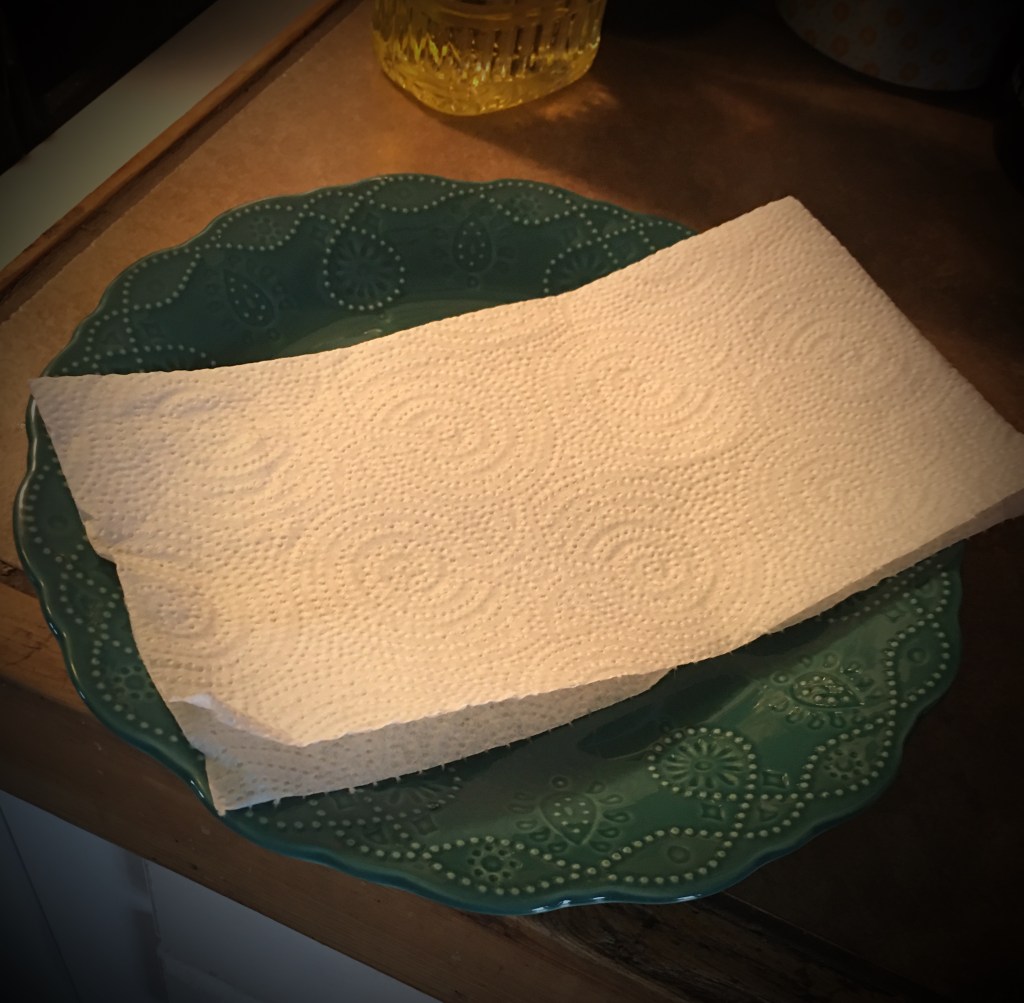
Take the jars out and let them cool on a towel at room temperature. Don’t disturb them, after maybe half an hour you hear this popping, that is the jars sealing themselves. So don’t mess with them or think their about to explode, because its actually a good thing. 🙂
This is my sister, Kalani.This electric juicer made our work SO much easier!These are fresh eggs from our chickens. If you use fresh eggs, remember to wash them first.Canning! 🙂
So there it is! This delicious treat is amazing to put on toast or even get a spoon full of it. 😉 (which, if you know me by now, was the very first thing I did once they were cool!)
These can be frozen and stay good for a year but otherwise as long as their sealed they stay good for 3-4 months.
I had a great time making these and hope you do to! Have a great day!
Hello everyone! I am back with another delicious recipe. Today we’re making loft house cookies. These delicious cookies are fluffy and sweet but not sickeningly sweet. As you might know I’ve been starting to experiment with different recipes making them gluten free. This recipe turned out to taste good but because they are gluten free they turned out a bit crumbly, which then turned into a real problem when frosting them. Frankly they didn’t turn out as pretty as I had hoped, but that doesn’t take away from them being delicious! So pull your hair back, grab you mixer and get ready to bake!
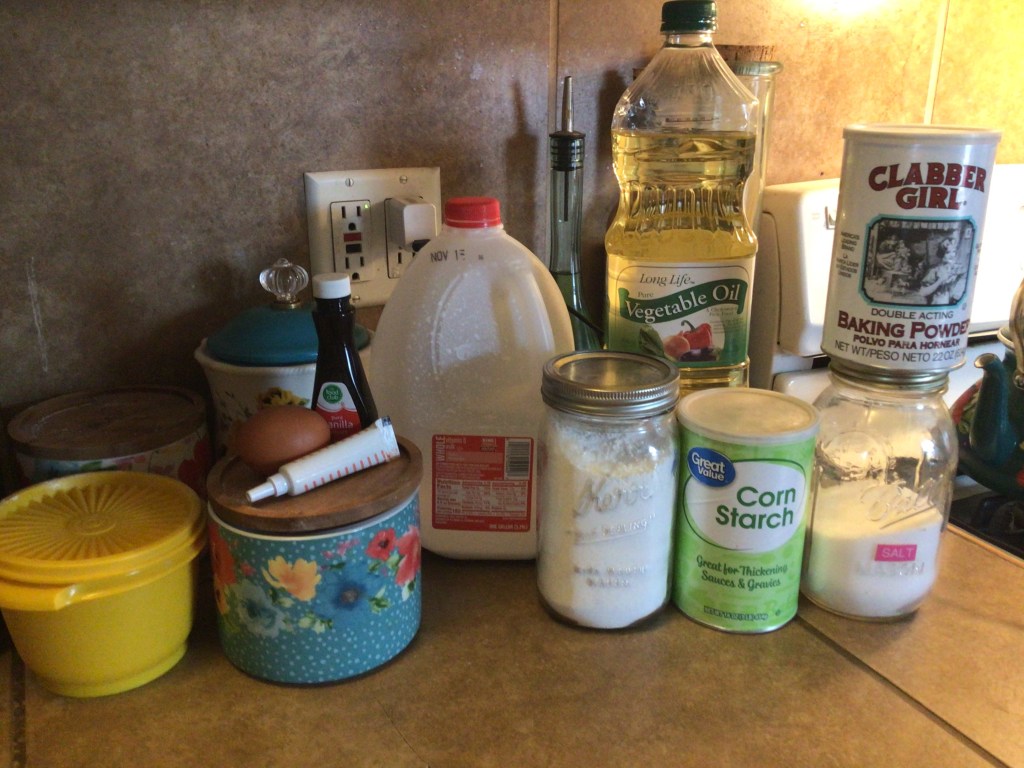
INGREDIENTS for cookies
3/4 cup (soft) butter
1 1/2 cups powdered sugar
1 egg
1/4 cup of canola oil
1 tsp of vanilla extract
2 cups AP flour (I used an all purpose gluten free blend)
1/4 cup of corn starch
2 tsp baking powder
1/2 tsp salt
INGREDIENTS for frosting
1/2 cup (soft) butter
1 1/2 cups powdered sugar
1tbsp milk
1 tsp vanilla
food coloring
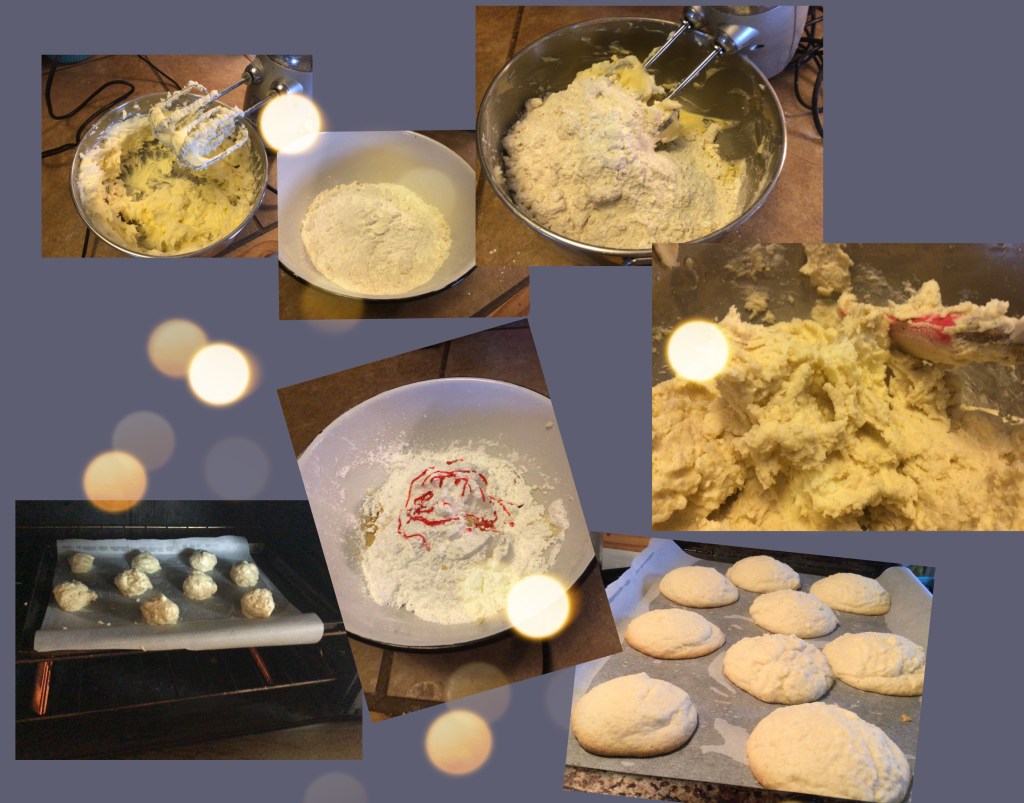
INSTRUCTIONS
Preheat oven to 340
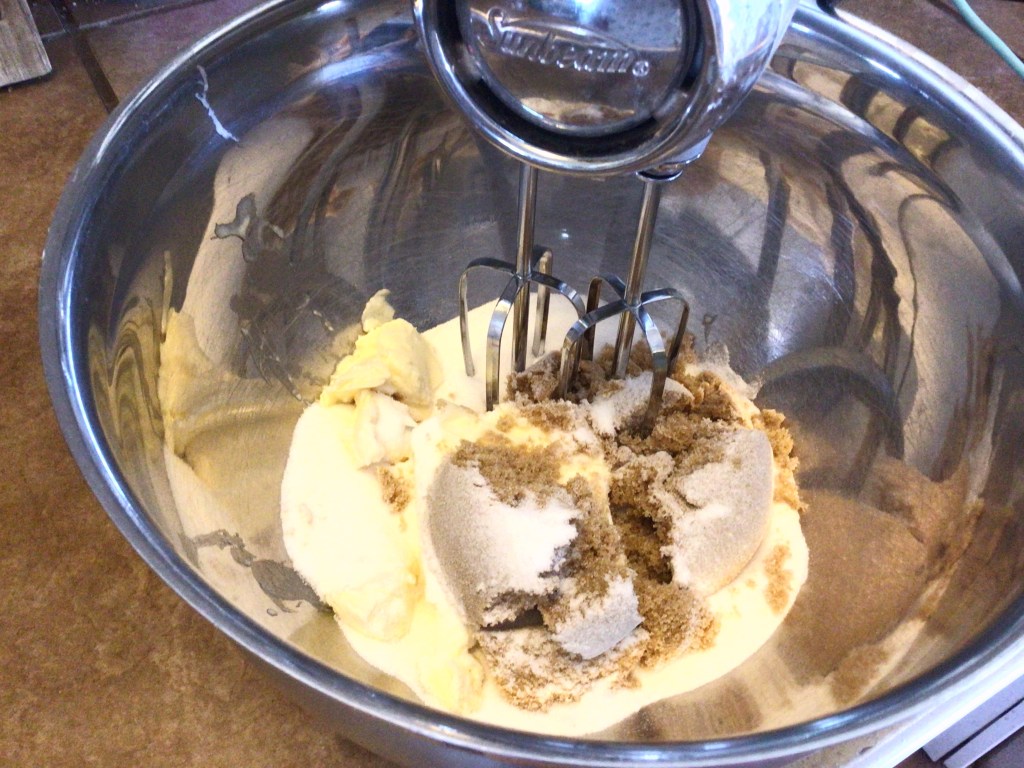
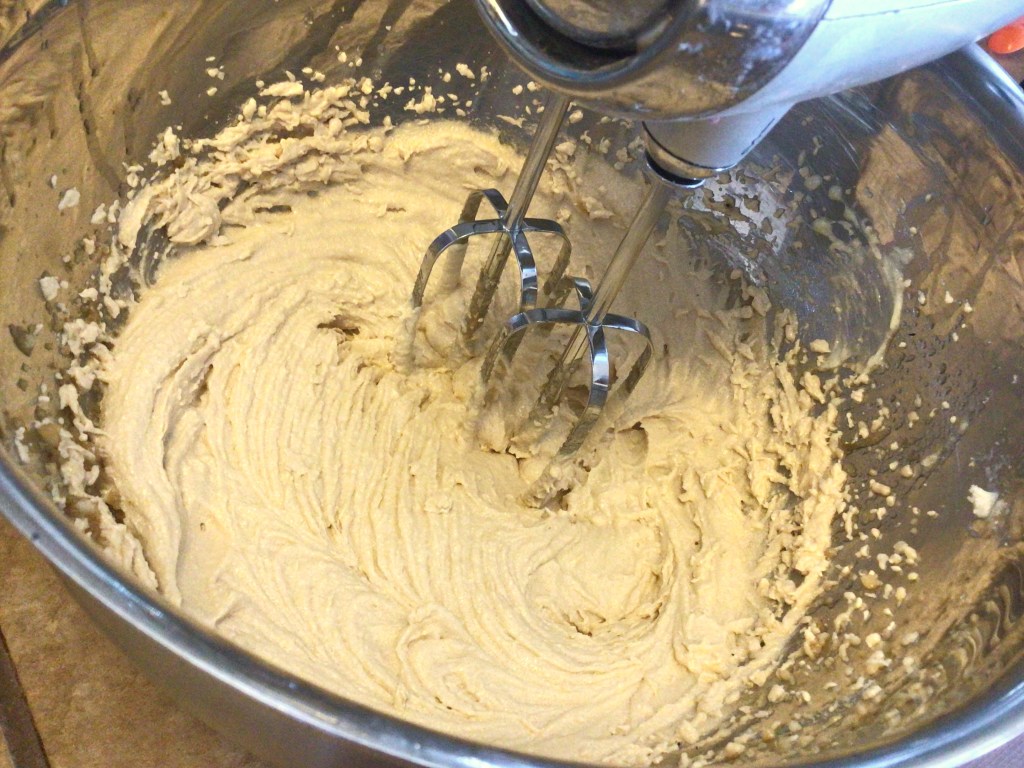
In a large bowl, mix butter and powdered sugar until creamy using a hand mixer.
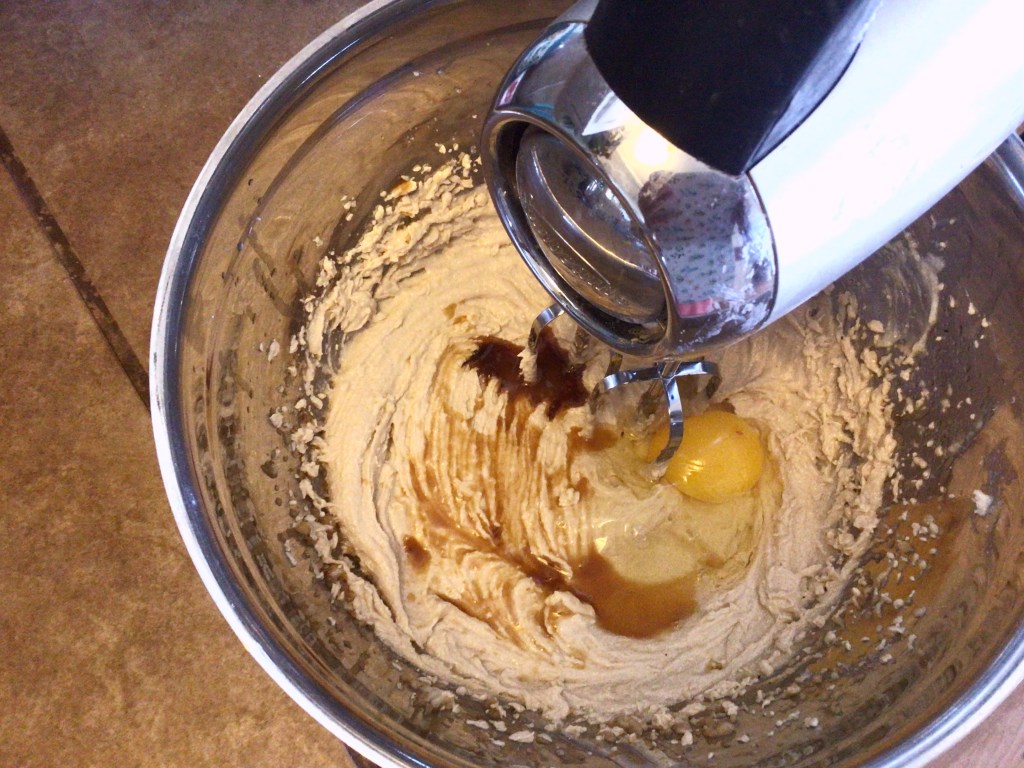
In a separate bowl, mix the egg, canola oil & vanilla.
Add the egg mixture to the butter mixture.
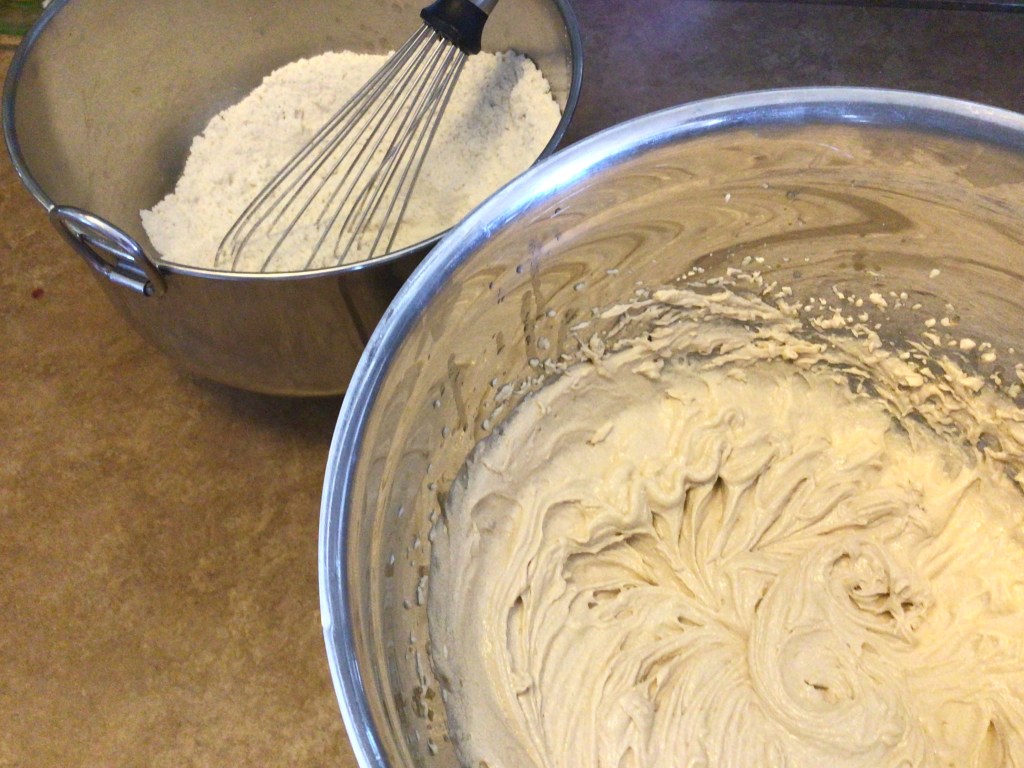
In a separate bowl, mix your dry ingredients.
Fold your dry ingredients into the wet ingredients.
Prepare your cookie sheet with parchment paper and cooking spray.
Roll the cookie dough into balls and set on the cookie sheet.
Put in the oven for 12 to 15 minutes
Make your frosting by beating together all ingredients
Let the cookies cool and then frost them.
And their you have it! Delicious homemade loft house cookies. I hope you enjoy this recipe!
Hello everyone, what’s up? Today I am making the fluffiest M&M cookies. These cookies are the richest fluffiest giant cookies ever! They are amazing!! With my mom being gluten free I’ve really started to experiment with more sweets to make them GF, so I will be using gluten free flour. So if your ready, let’s bake!
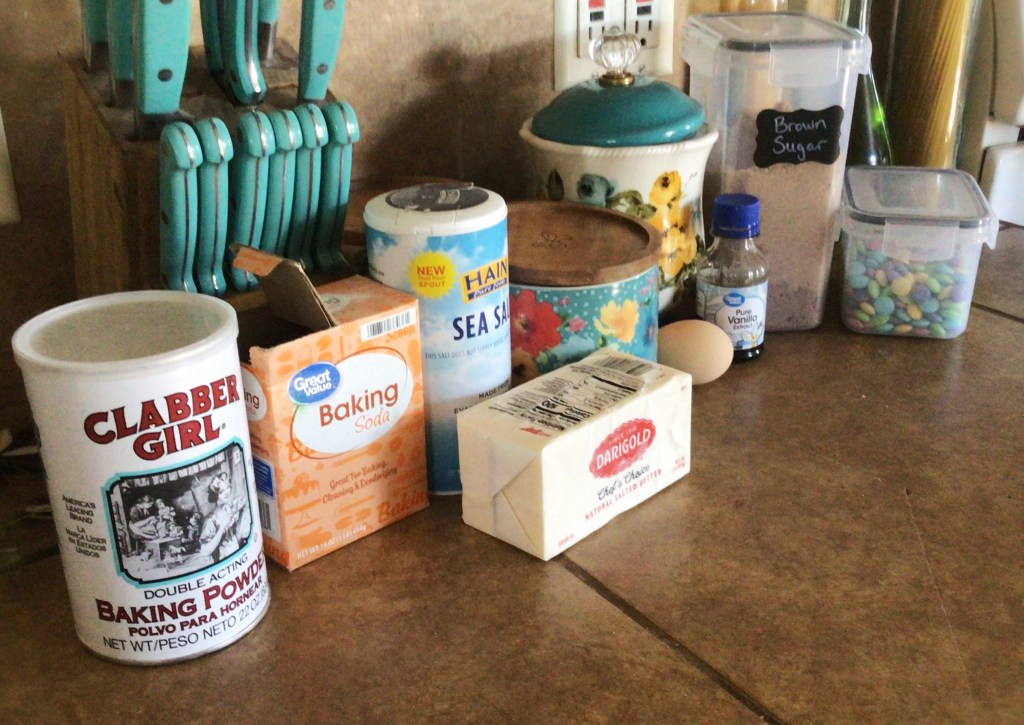
INGREDIENTS
2 1/3 cups AP flour (Im using gluten free)
2 tsp baking powder
1/2 tsp baking soda
1 tsp salt
1 stick + 2 TBS butter ( your going to want this soft so its easier to mix)
2/3 cup brown sugar
1/3 cup white sugar
1 egg
2 tsp vanilla extract
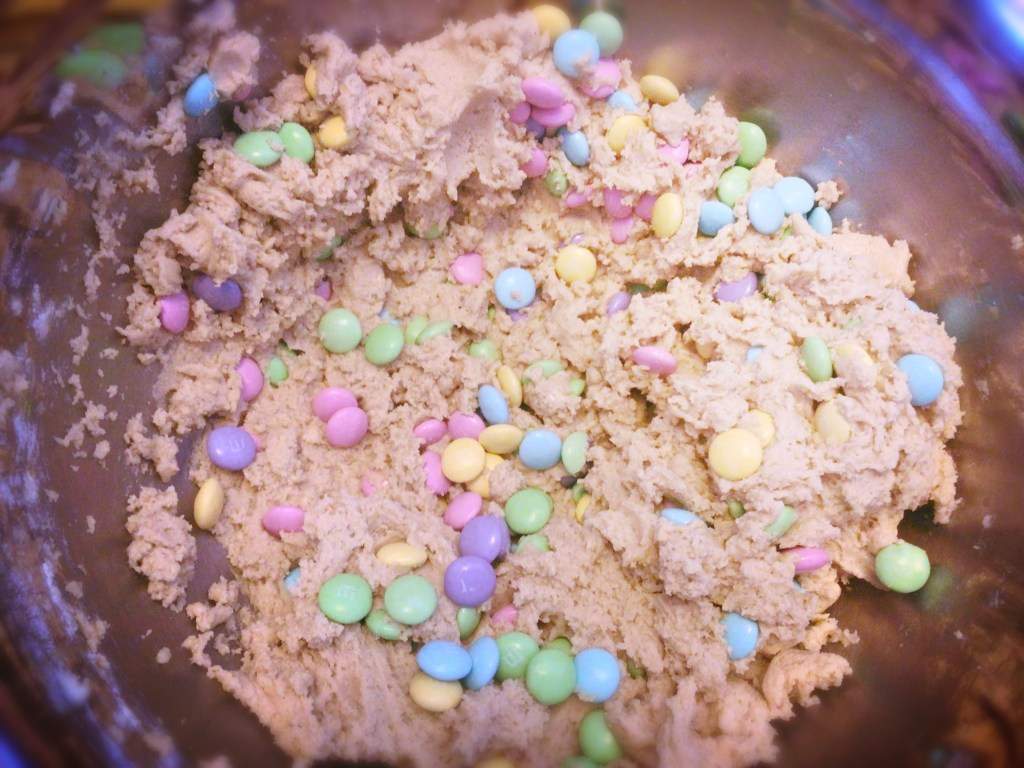
1 cup of M&M’s
INSTRUCTIONS
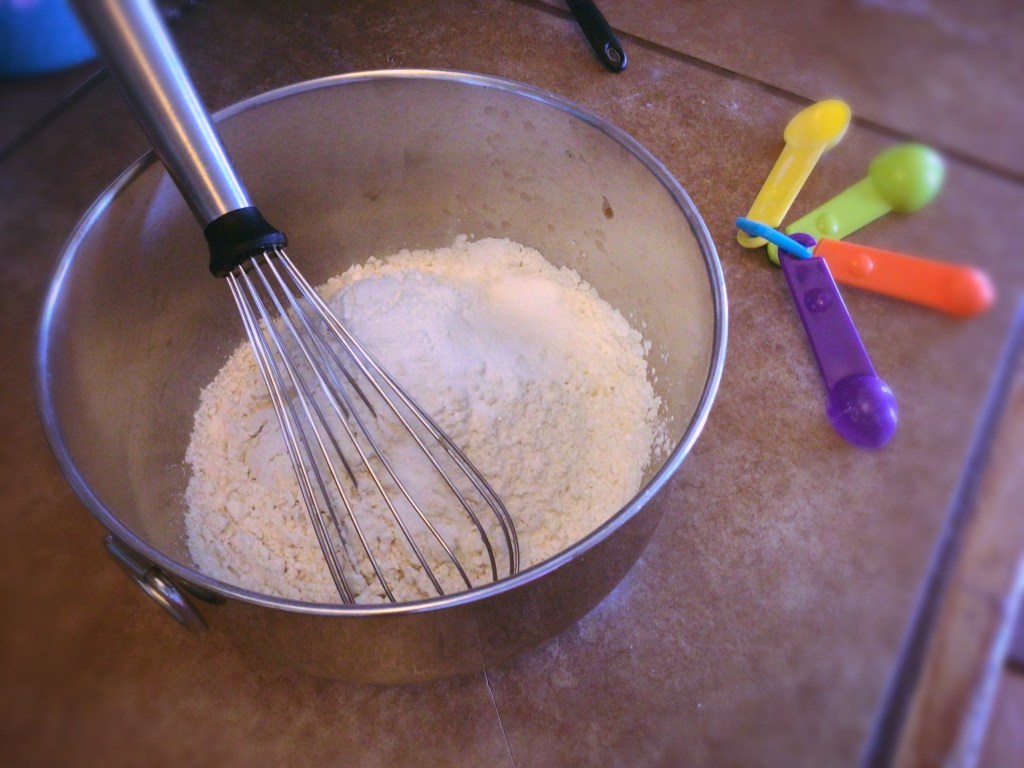
Start by whisking together the dry ingredients, flour, baking powder, salt & baking soda.
Now cream together the butter and sugars together.
Once the butter sugar mixture has a light color & fluffy texture, add the vanilla and eggs until fully combined.
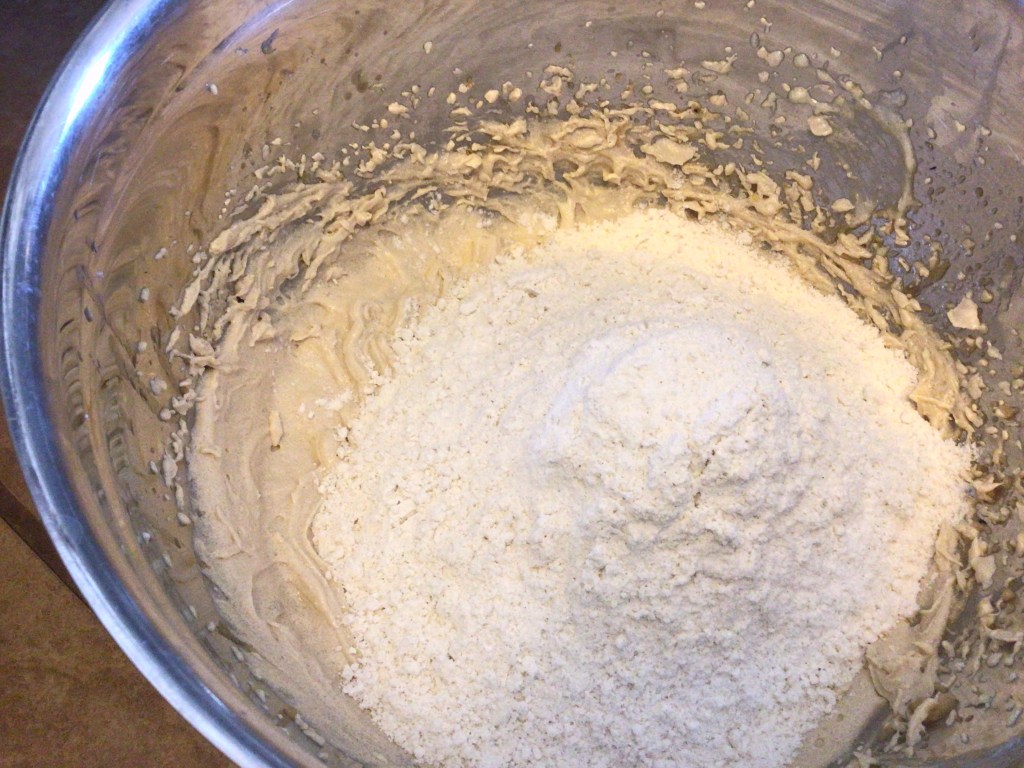
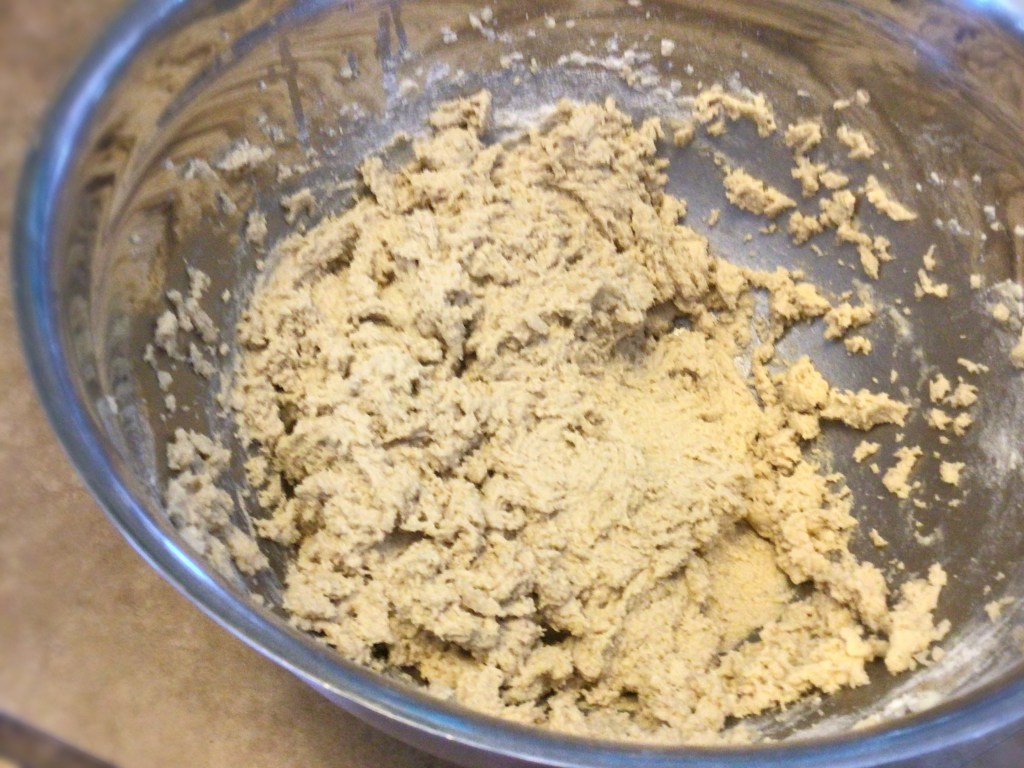
Now add your flour mixture until it turns into a dough.
Using your hands create 12-14 even balls of dough.
Put them on a greased cookie sheet and cover with Saran Wrap and chill for two hours.
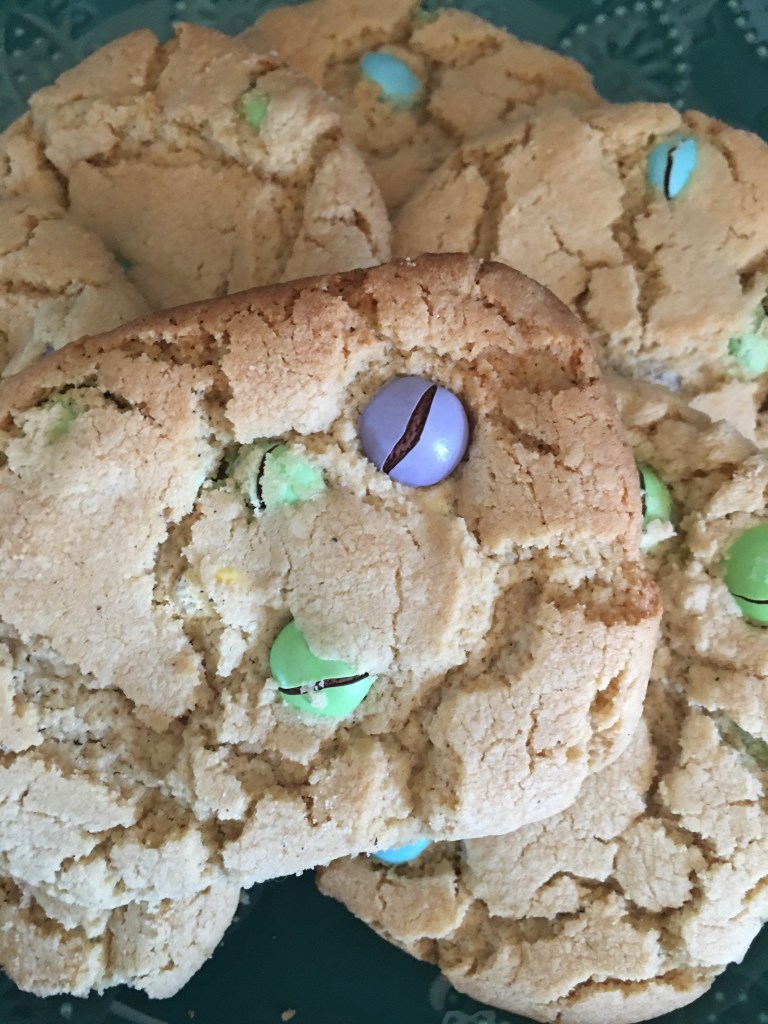
Preheat the oven to 400 degrees F and bake for about 16-17 minutes or until golden brown.
And there you go, you have some delicious M&M cookies. I hope you enjoy them!
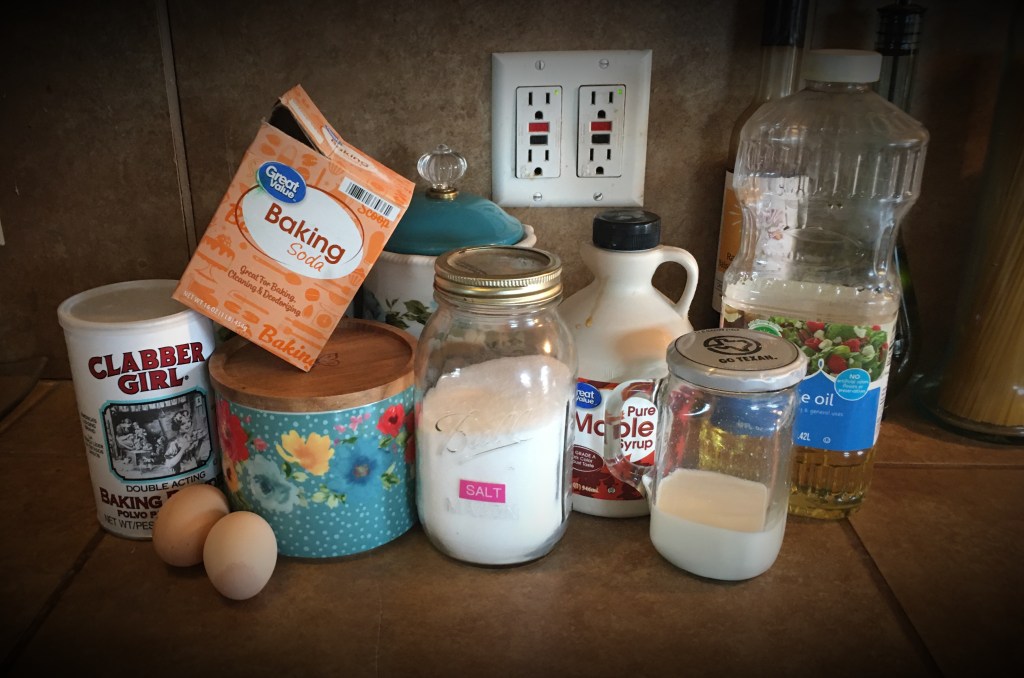
Hey everyone! I’m back with another amazing dessert! It’s been a while since I last posted, but hopefully you will forgive me once you try this awesome recipe. LOL! One of the best things about this is that it’s gluten free! Now I will warn you before hand that the dough will not go through the funnel and is a bit hard to get through a plastic bag with a piping tip on it so if you want to be able to do that, add some more milk to it. So without further ado lets get on with this amazing iconic recipe… the funnel cake!
INGREDIENTS
1 1/3 cups gluten free flour blend of your choice
1 tsp baking powder
1/2 tsp baking soda
1/2 tsp sea salt
2 eggs
1 tsp maple syrup (you can also use vanilla)
1/2 cup milk plus some (add more until its a good consistency to pipe out)
4 cups of vegetable oil
INSTRUCTIONS
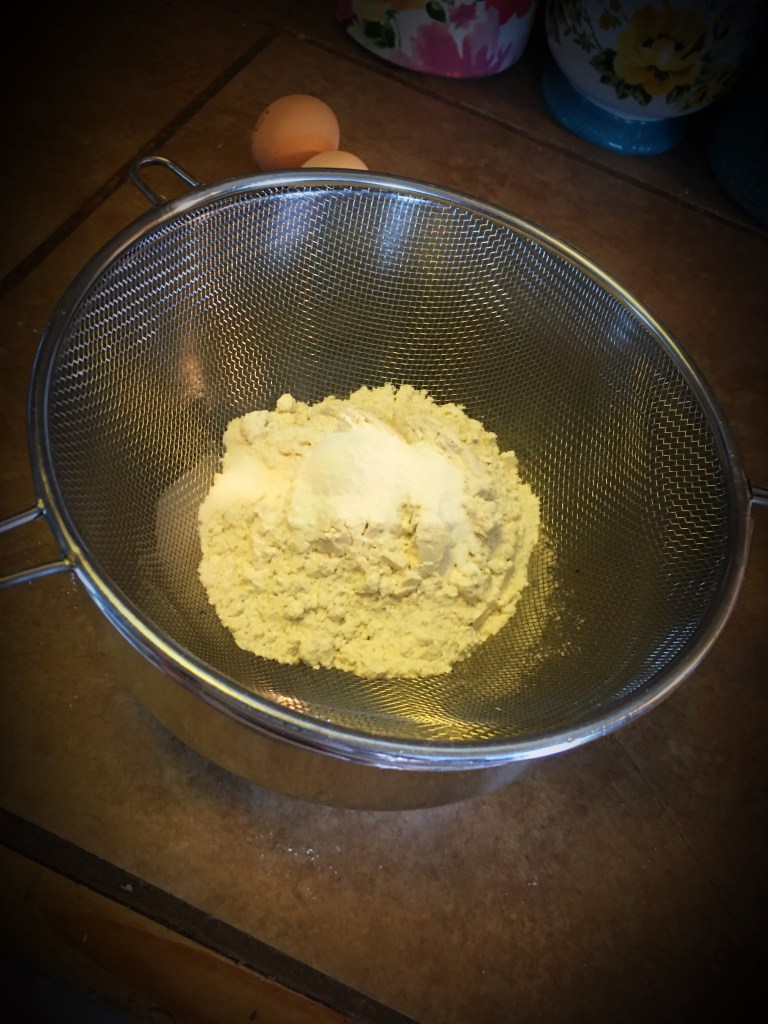
In a large mixing bowl, sift together all your dry ingredients. (flour, baking soda, baking powder, and salt)
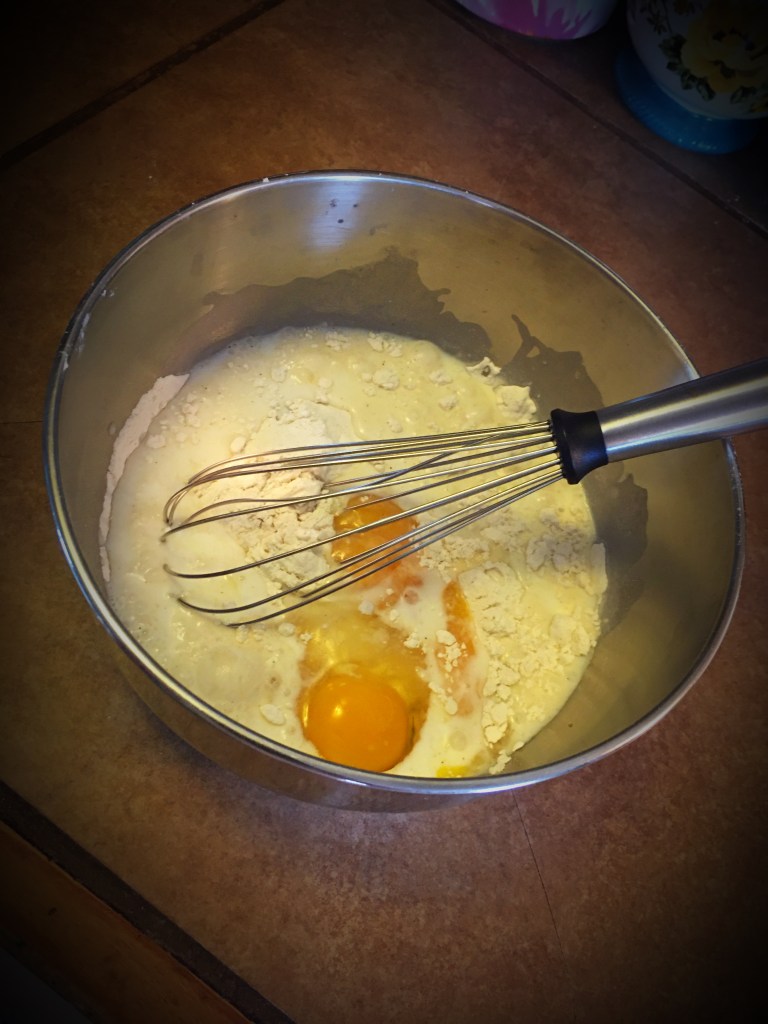
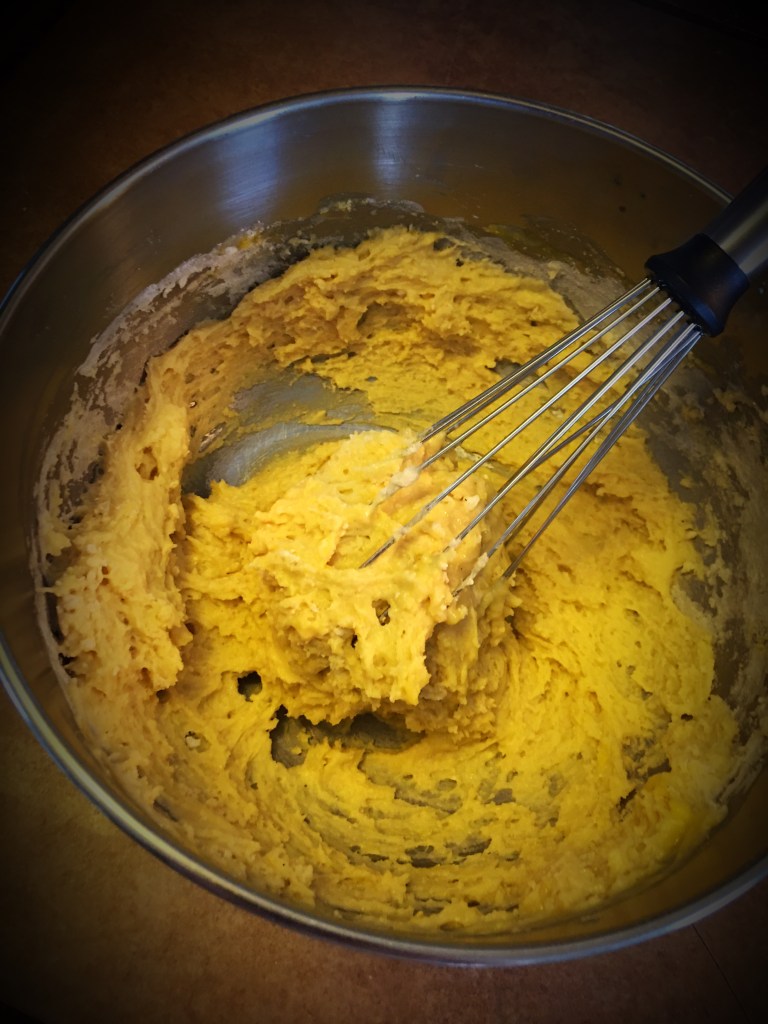
Next, add the wet ingredients to a bowl. (eggs, milk, maple syrup) and whisk well. Then add to dry ingredients and mix.
Now let the mixture sit for 20 minutes before frying.
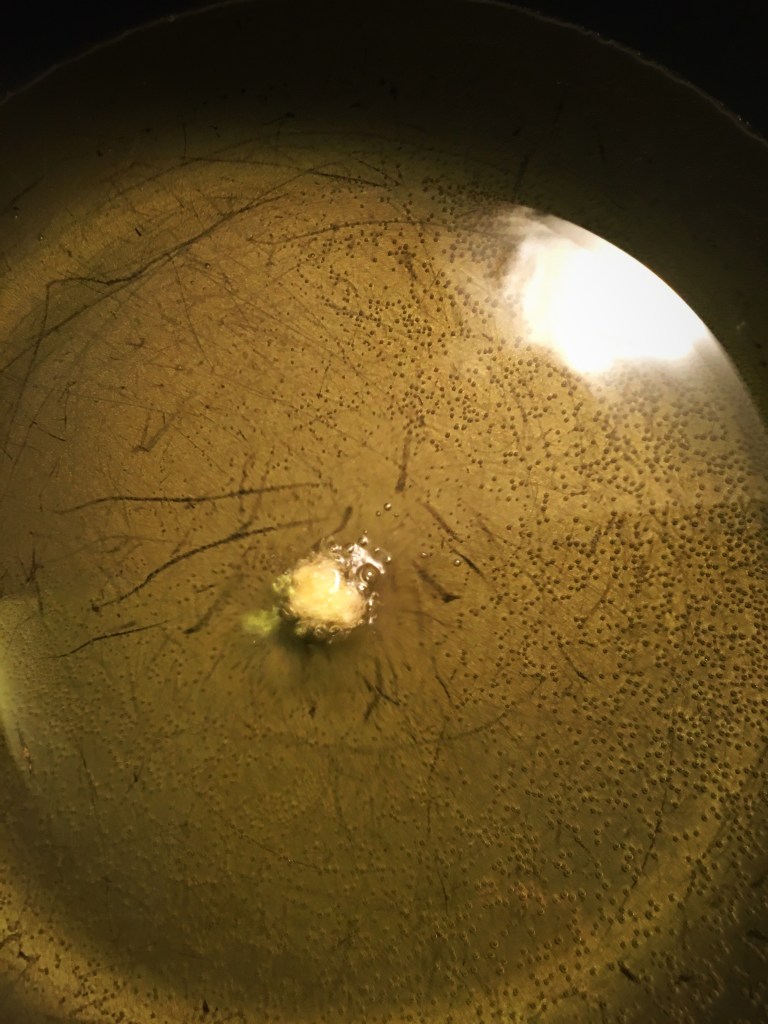
In a large pot heat the oil. It will take about 5 minutes to come up to the right temp. You will know its ready when it bubbles if you put a small ball of the batter in.
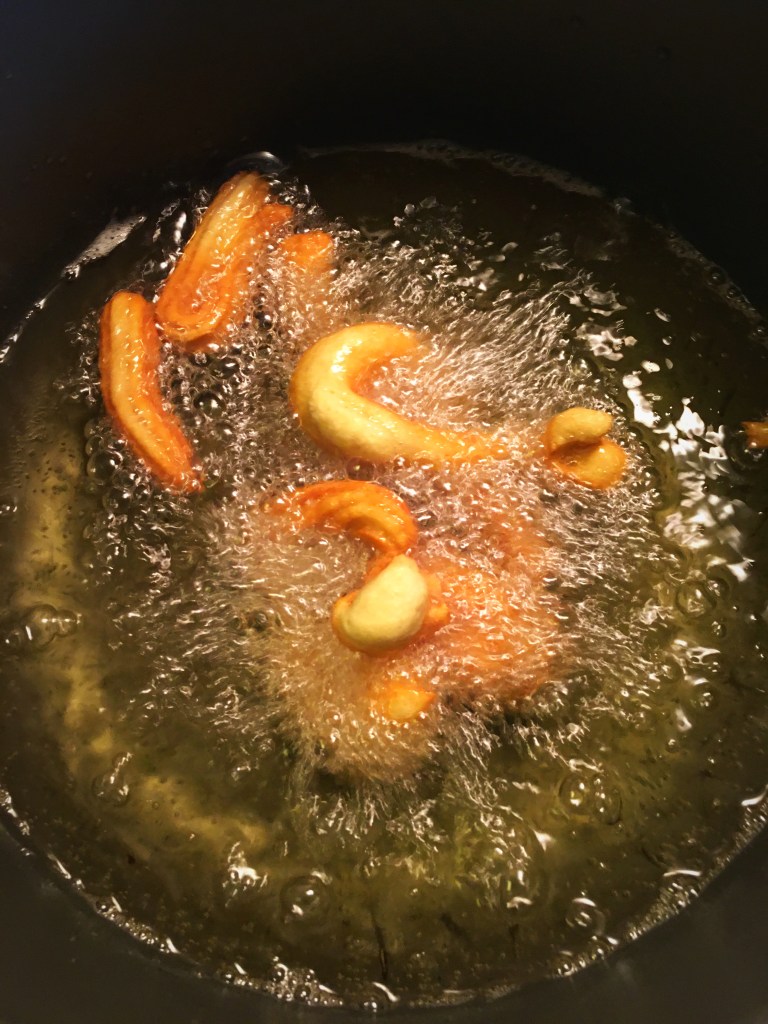
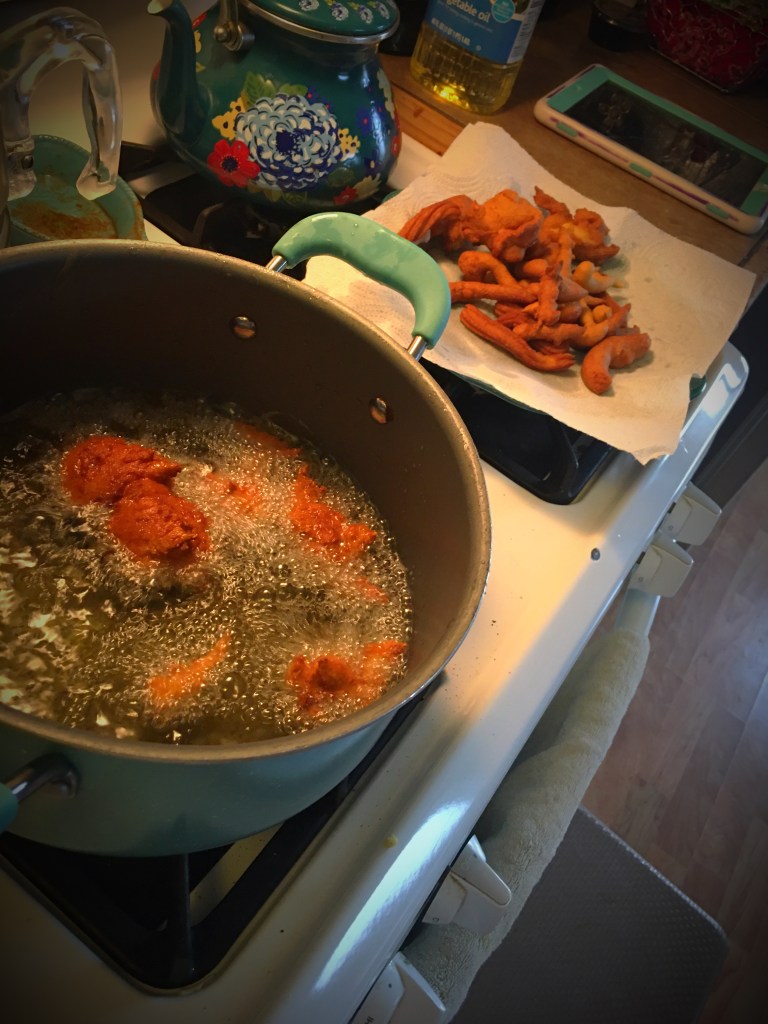
To fry them, you can put the batter in the funnel and drizzle it in the hot oil and fry for about a minute to a minute and a half on each side. If its too thick you can make some fun shapes and them drop them into the oil.
For a more traditional looking funnel cake you will need it be be a texture a bit thicker than pancake batter. I cooked mine from a thicker batter so I was only able to do small pieces, but they were still delicious!
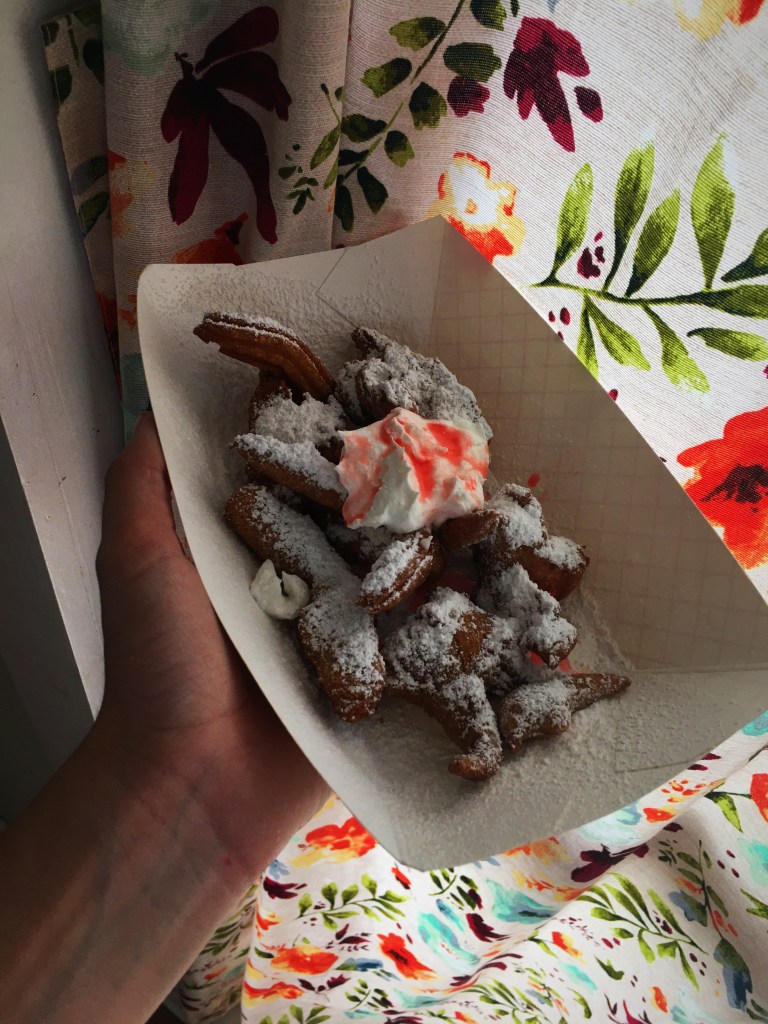
Enjoy them while they are warm and top with some powdered sugar, whipped cream and maybe some cherry pie filling.
Thanks so much for reading. Hope you had fun making this! Make sure to stay tuned for more, so you can make more delicious foods of a hummingbird.
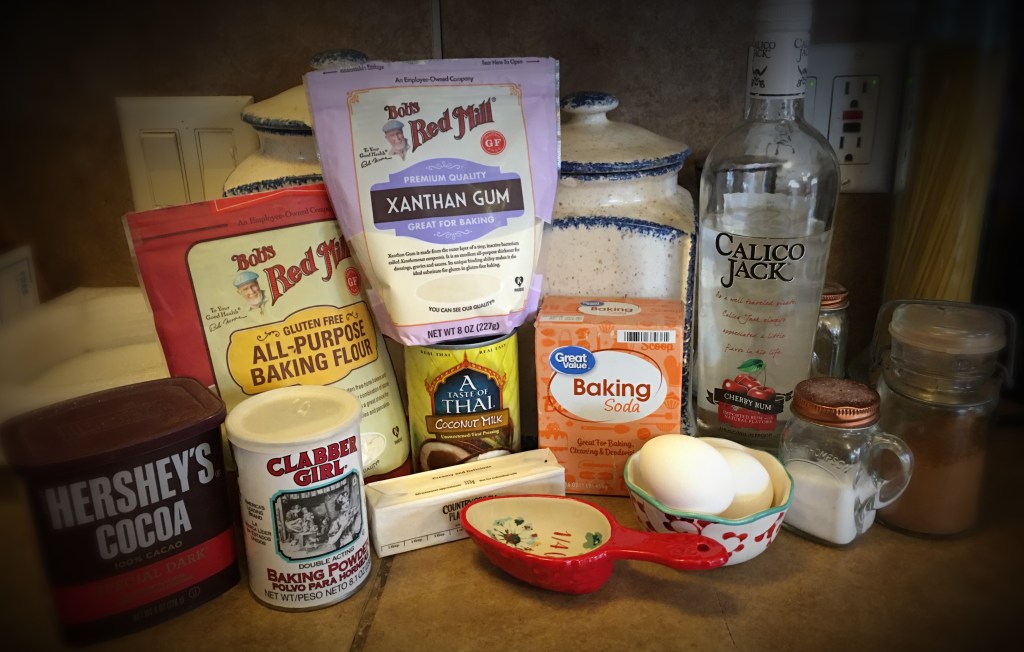
Hey guys! welcome back. Today is a cold day so the perfect time to turn on the oven and make something sweet. So I’m going to show you how to make a delicious chocolate cake! It’s not only gluten free, but it’s also dairy free! It’s so delicious, sweet and rich. So, if your ready to be blown away by this delicious cake, then keep on reading!
By the way, I am cutting the cake recipe in half but giving you guys the full measurements. Also, even though I’m cutting the cake recipe in half I’m doing the full frosting measurement’s. I decided to do this for two reasons, first I love the frosting and second I love to decorate my cakes so having extra frosting is helpful!
Cake Ingredients
2 cups all purpose gluten free flour
1/2 teaspoon xanthan gum
1 teaspoon baking soda
1/2 teaspoon baking powder
1 teaspoon salt
1/2 teaspoon ground cinnamon (optional)
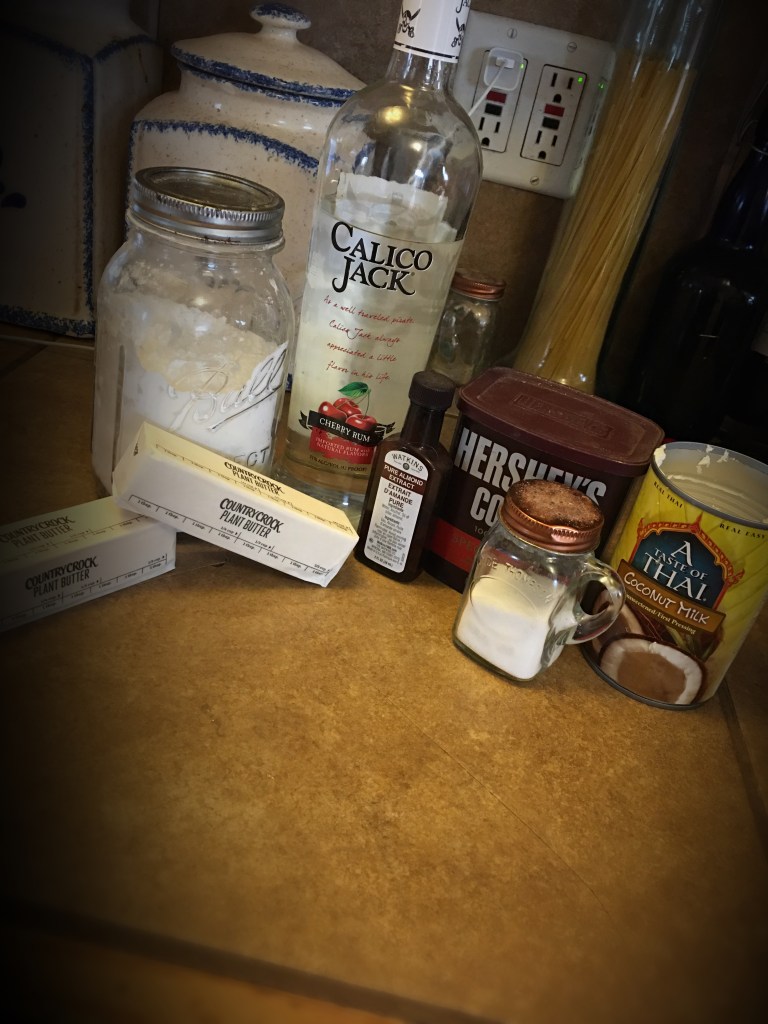
1/2 cup dairy free butter plus 1 tablespoon (I’m using plant butter made with avocado oil)
2 cups granulated sugar
1 teaspoon cherry rum
1 cup butter milk (to make it dairy free add 1 tablespoon of lemon juice to 1 cup of coconut milk and let it set for a few minutes)
2 room temperature eggs
3/4 cup cocoa powder
3/4 cup boiling water
Frosting Ingredients
1 cup dairy free butter
2 teaspoons cherry rum
1/4 teaspoon pure almond extract
1 cup cocoa powder
Pinch of salt
4 cups powdered sugar
3 tablespoons almond milk (you could also use cashew or coconut milk)
Cake Instructions
Preheat your oven to 350 F
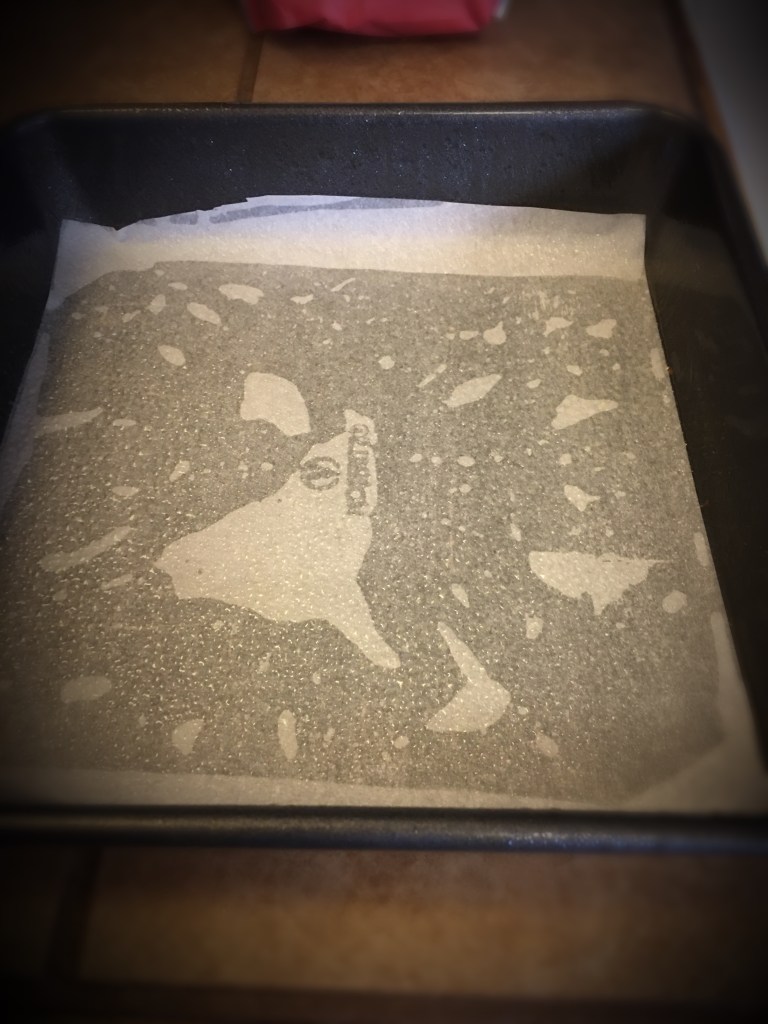
Cut parchment paper for the bottom of two 8″ cake pans and spray with some gluten free cooking spray (since I cut the recipe in half I only had to use one cake pan)
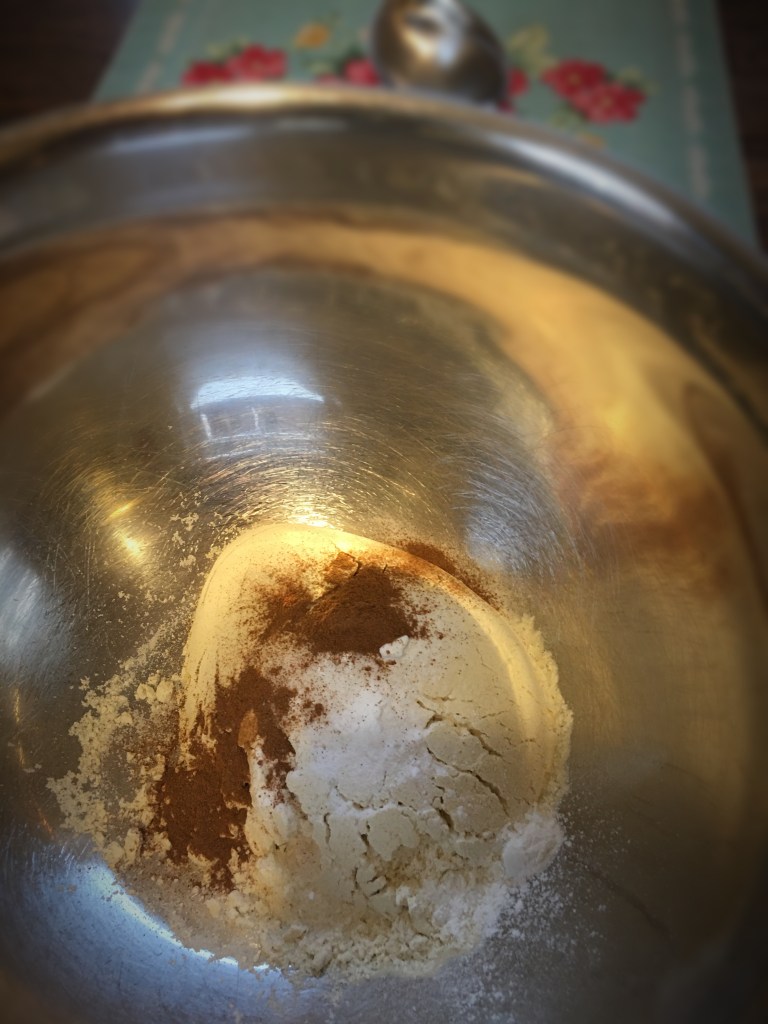
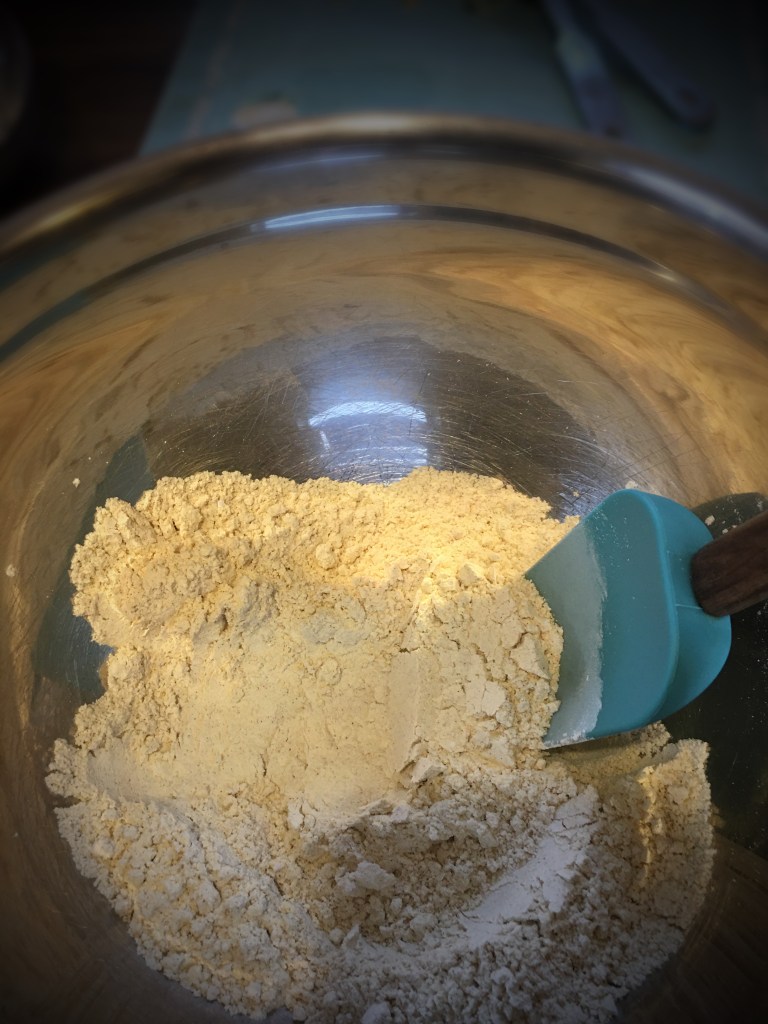
In a medium sized bowl mix together your gluten free flour, Xanthan gum (if your flour already has Xanthan gum than just leave it out) mix in salt, baking soda, baking powder, and cinnamon.
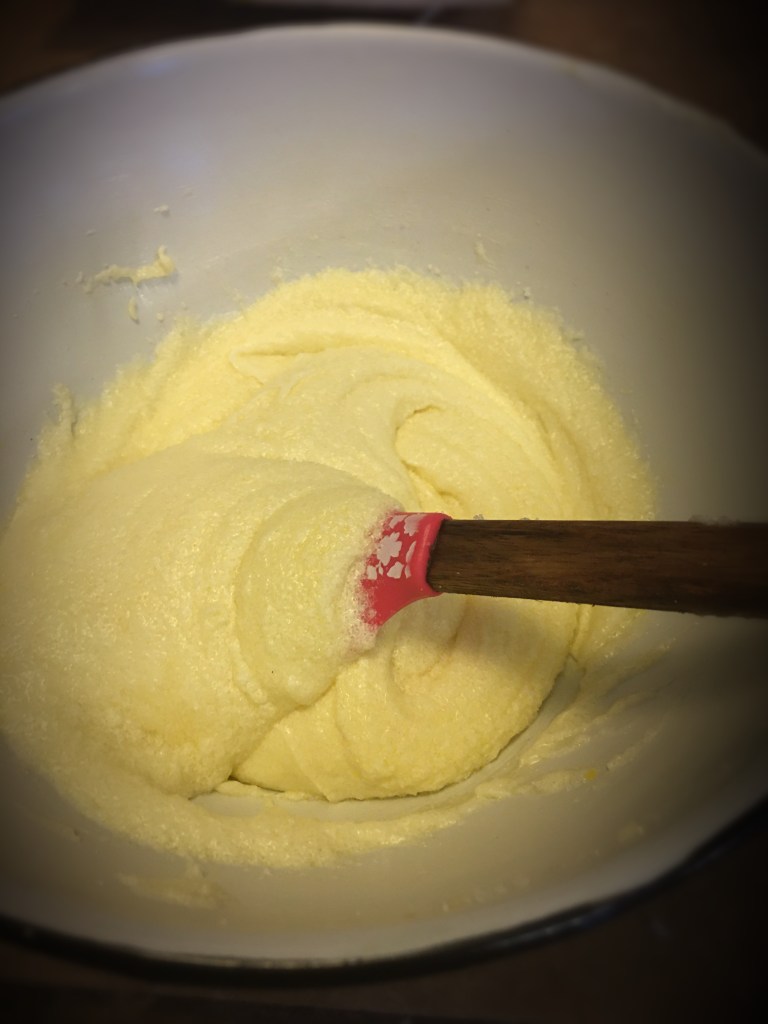
In a large bowl cream butter and sugar with a hand mixer.
Add eggs and cherry rum to the butter mixture and make sure you mix it in completely.
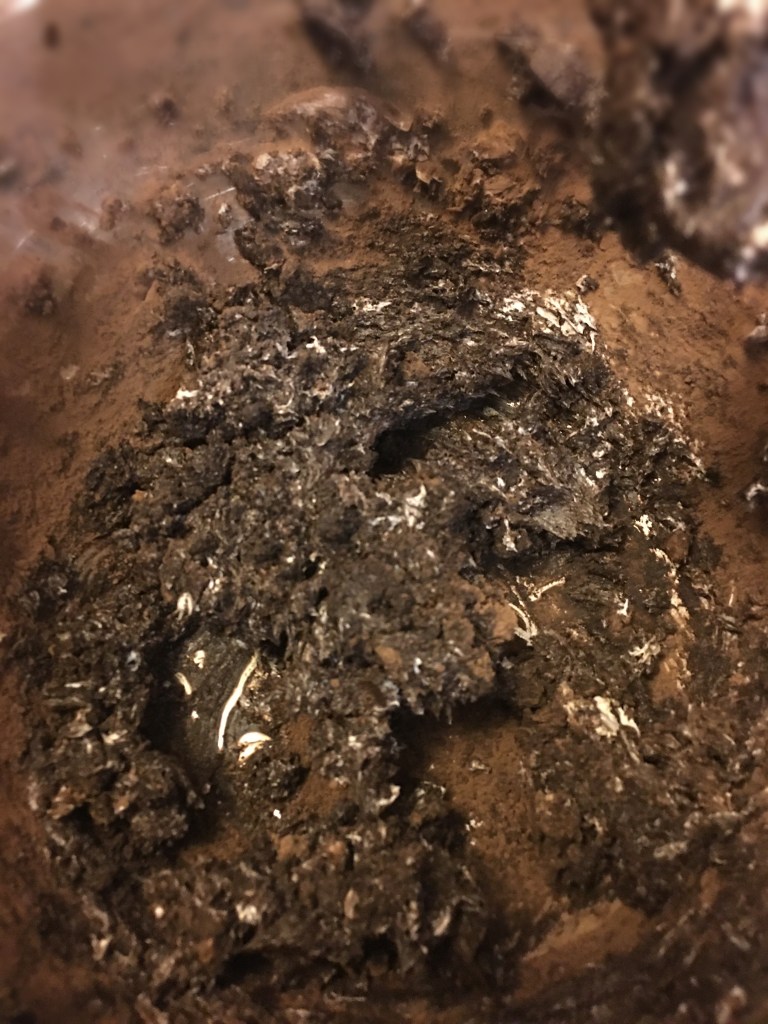
Add the flour mixture to the butter mixture and mix until fully combined, you will also have to scrape down the sides of the bowl to make sure everything gets mixed in.
Add the butter milk and mix until completely combined.
Pour in half of the batter into the cake pan and put the other half in the other pan.
Bake on the middle rack for 30-35 minutes but make sure you watch it or it could burn, you can never be to sure because all ovens are different.
Allow the cakes to cool completely before frosting
Frosting Instructions
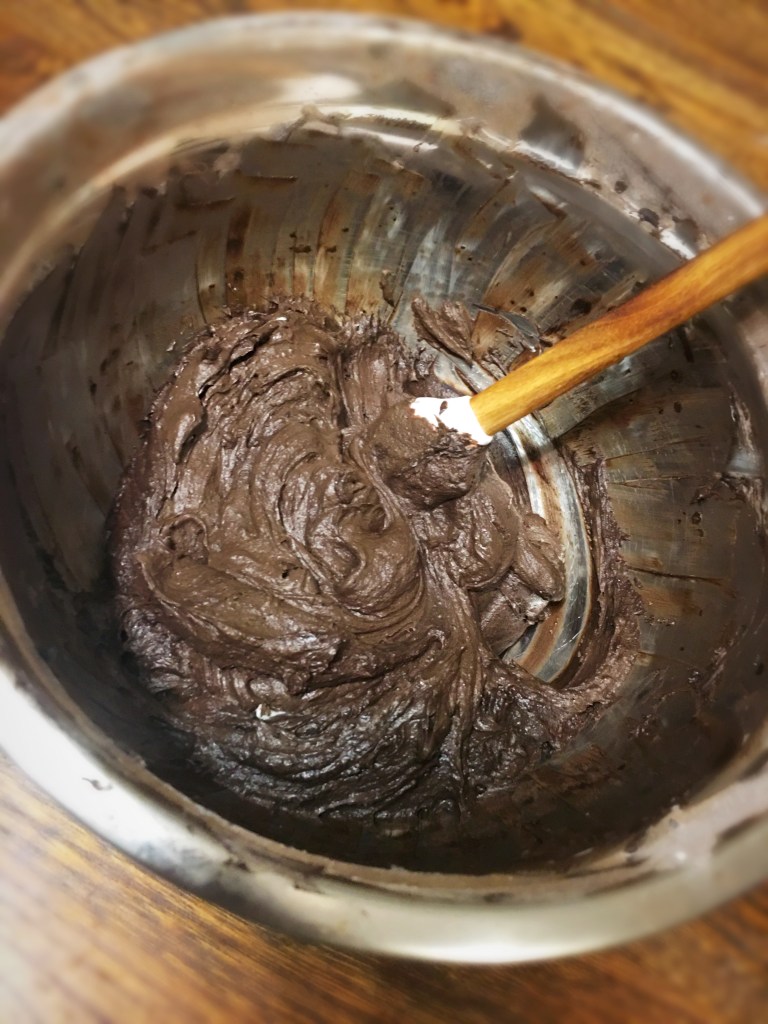
In a large bowl cream butter until nice and smooth.
Add the cherry rum and almond extract to the butter and mix until fully combined.
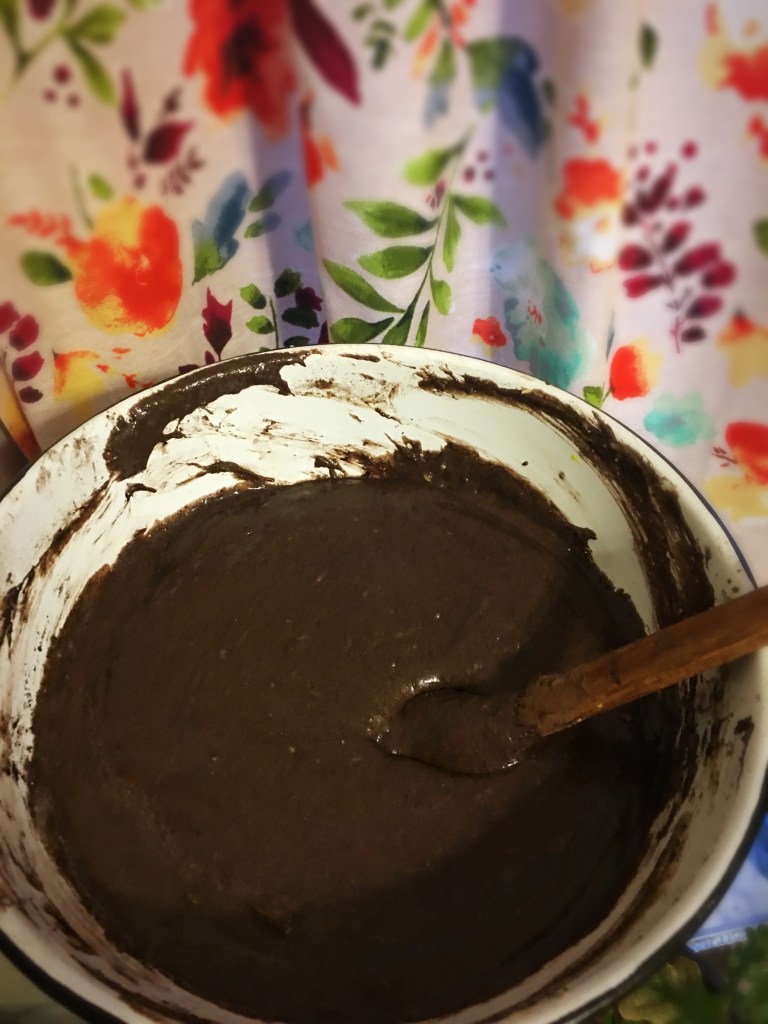
Add the cocoa powder and mix.
Add the powdered sugar 1 cup at a time.
Finally, add the milk to the frosting and mix until smooth and spreadable.
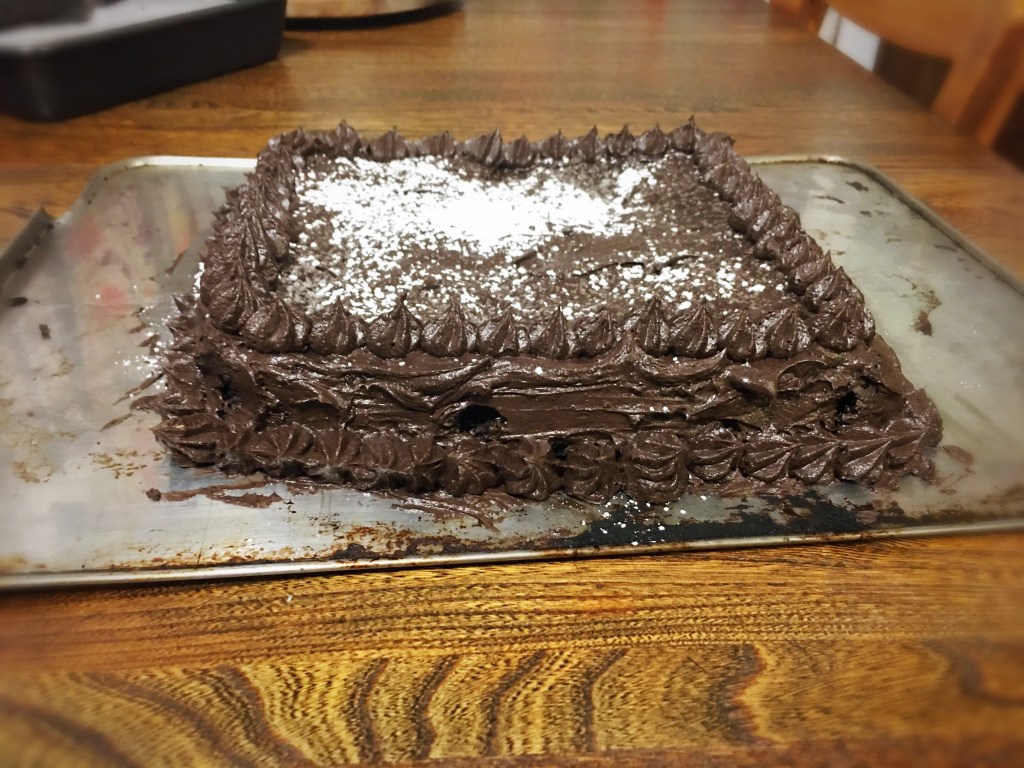
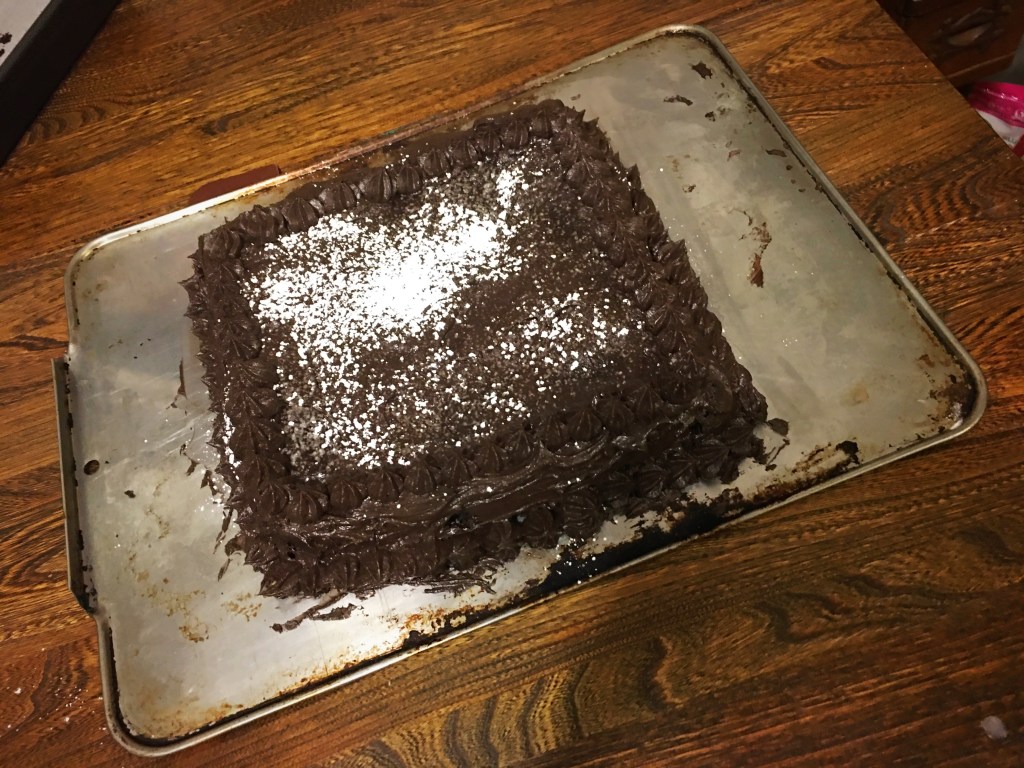
Then frost the cake. I started out by using a spatula to make it nice and smooth then used a piping bag to decorate and use up the extra frosting.
Here are some ideas for decoration…
You could dust with powdered sugar, or use a zip lock bag and a piping bag, add decor, add fake or edible flowers or make for a special occasion and write… Happy Anniversary or something like that.
Finally ENJOY! I hope you guys like this recipe and have fun making it! Thank you guys for reading and don’t forget to come back for more Favorite Foods of a Hummingbird.
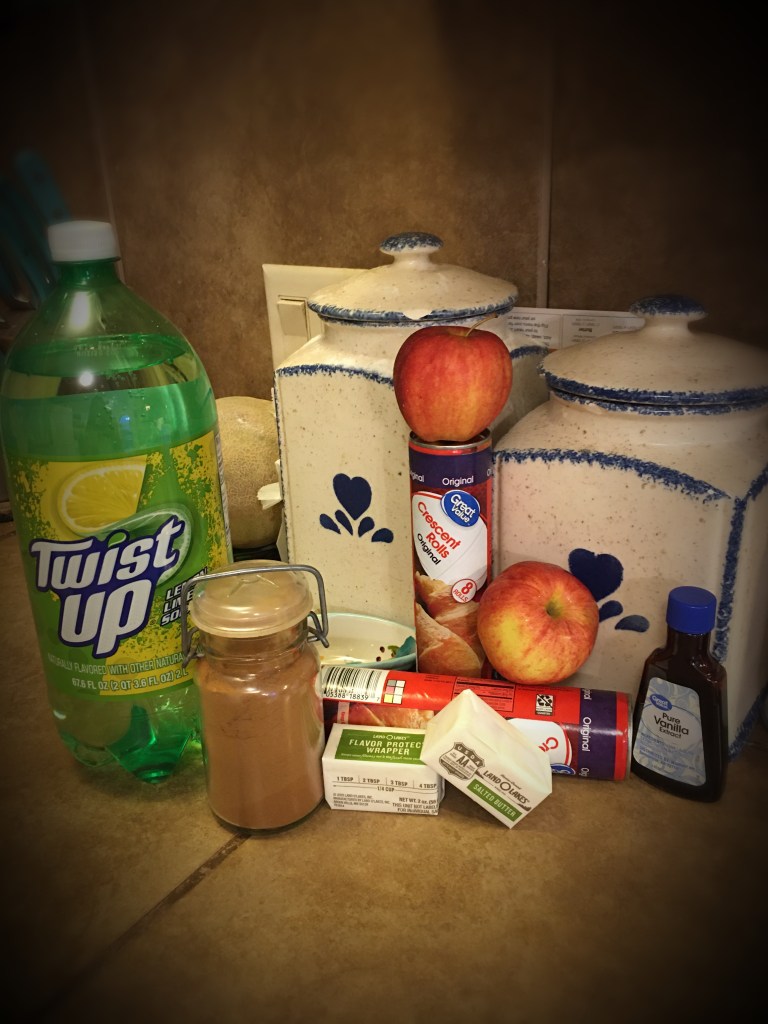
Hey guys! I am back with another delicious recipe! Not surprisingly, this is a Pioneer Woman Recipe that I decided to try out because of my and my Mom’s love for Pioneer Woman cooking supplies and recipes. So let’s get on to this awesome dessert! This is the perfect quick fall dessert!
Ingredients
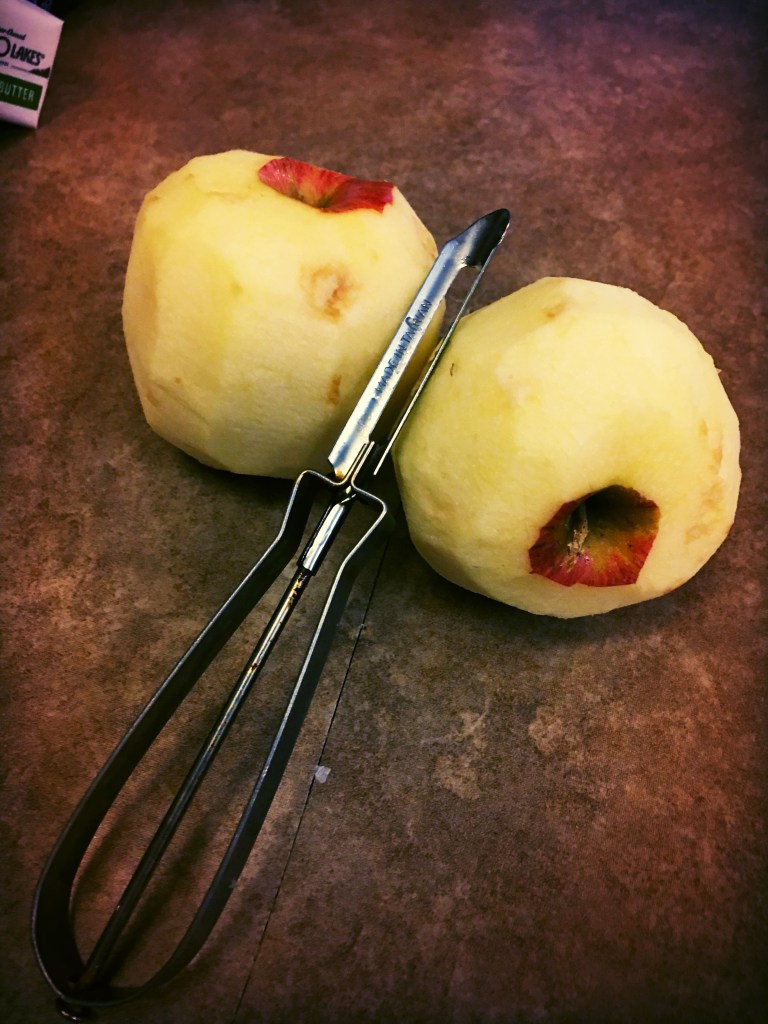
2 Large Apples
2 cans of Pillsbury Crescent Dough
1/2 Cup Butter
2/3 Cup White Sugar
1/2 Tsp Vanilla Extract
3/4 Cup 7-UP Or other lemon lime soda
Instructions
Preheat oven to 350 F.
Grease a 8×8 pan (I used a bit bigger of a pan because I didn’t have a 8×8 on hand when I made this.)
Peel the apples and cut them each into 8 wedges.
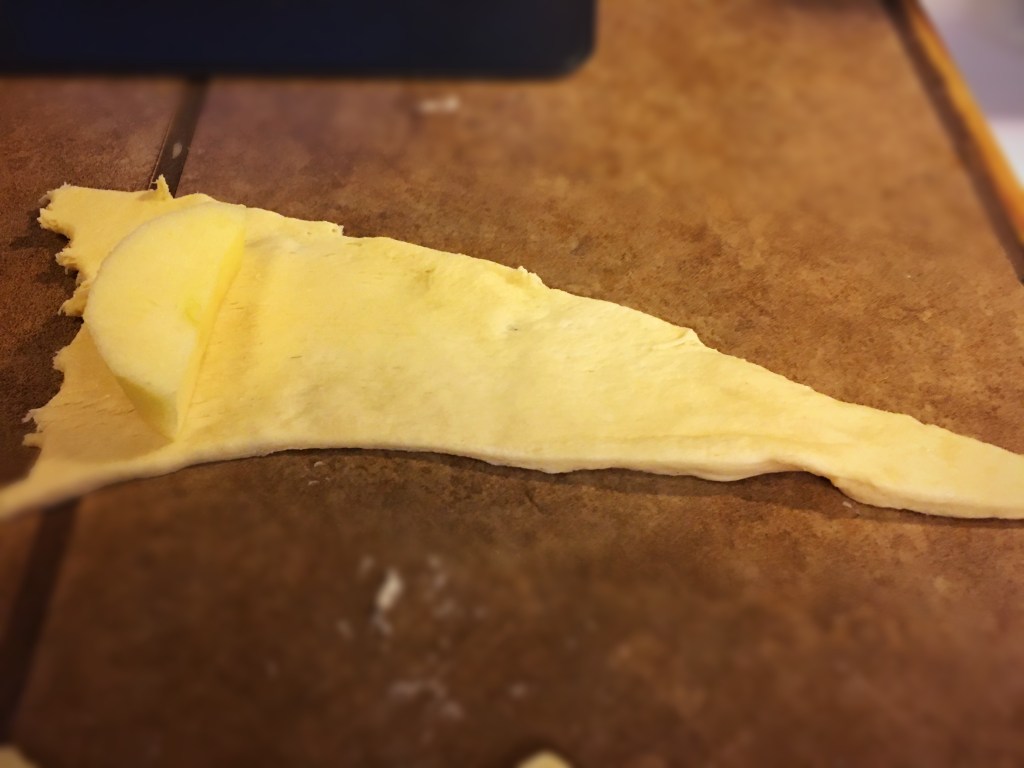
Separate the crescent dough into the triangles.
Roll each apple wedge in the triangles of dough, starting with the apple at the wide end of the triangle.
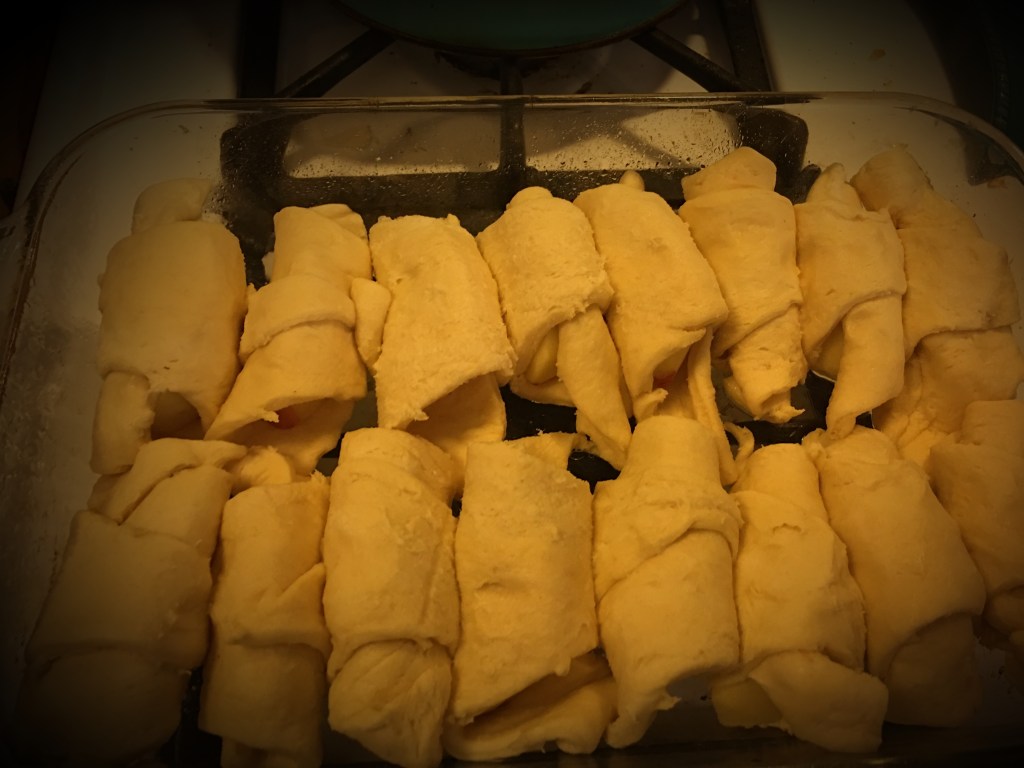
Put the apples side by side in the previously greased pan.
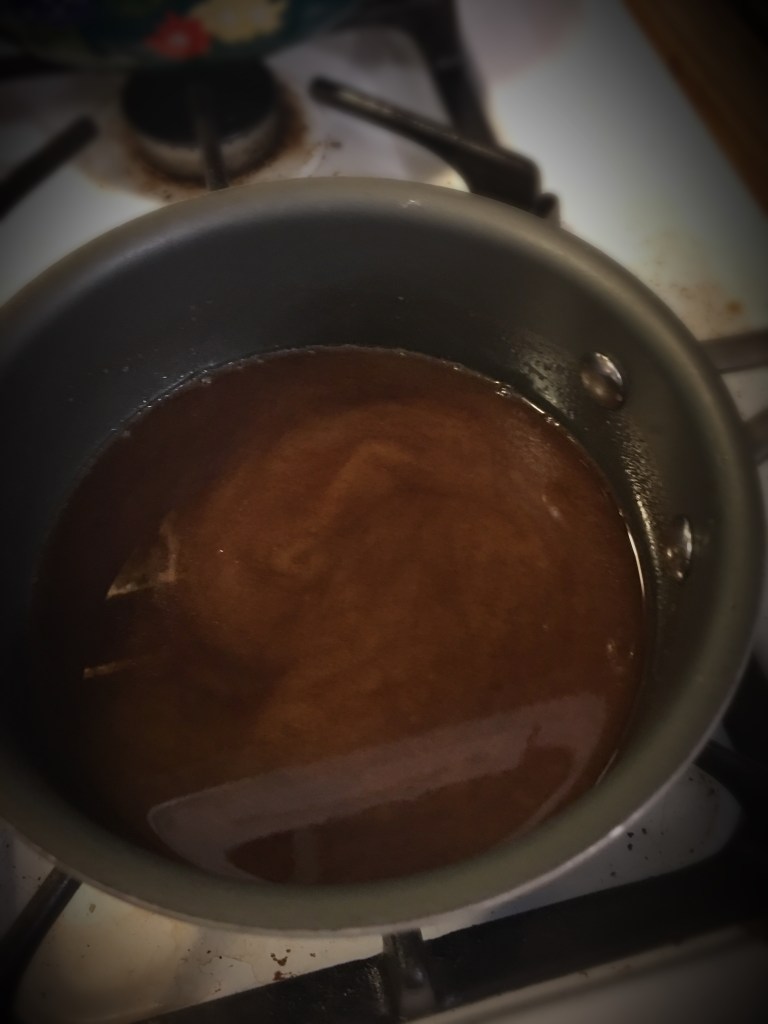
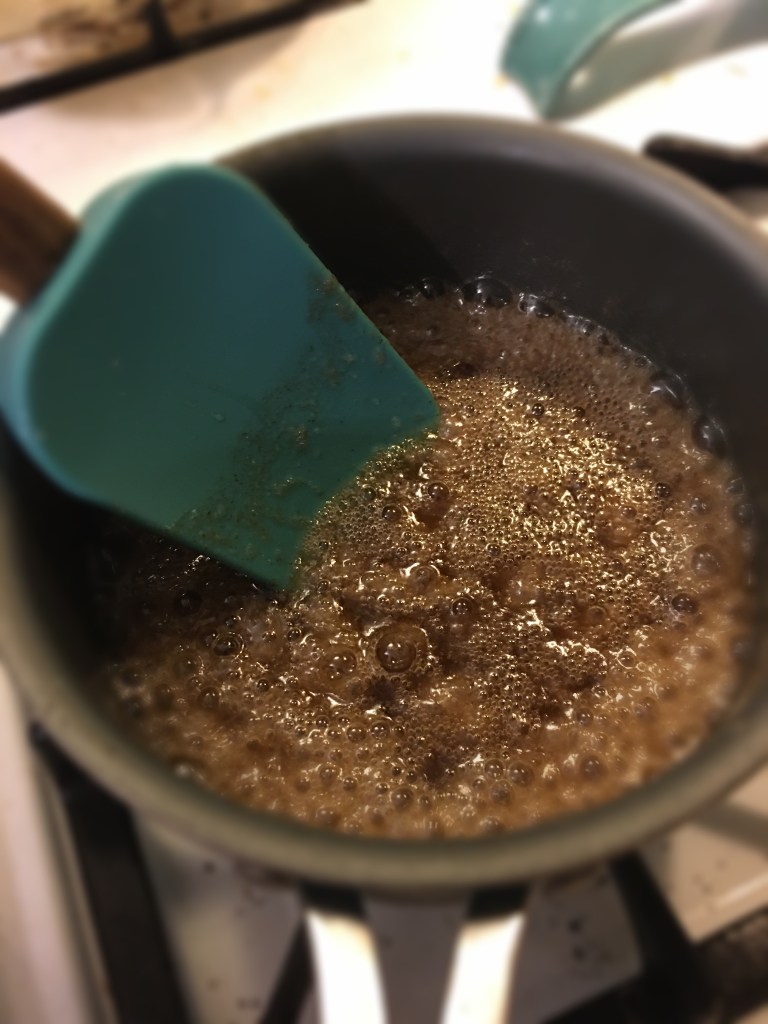
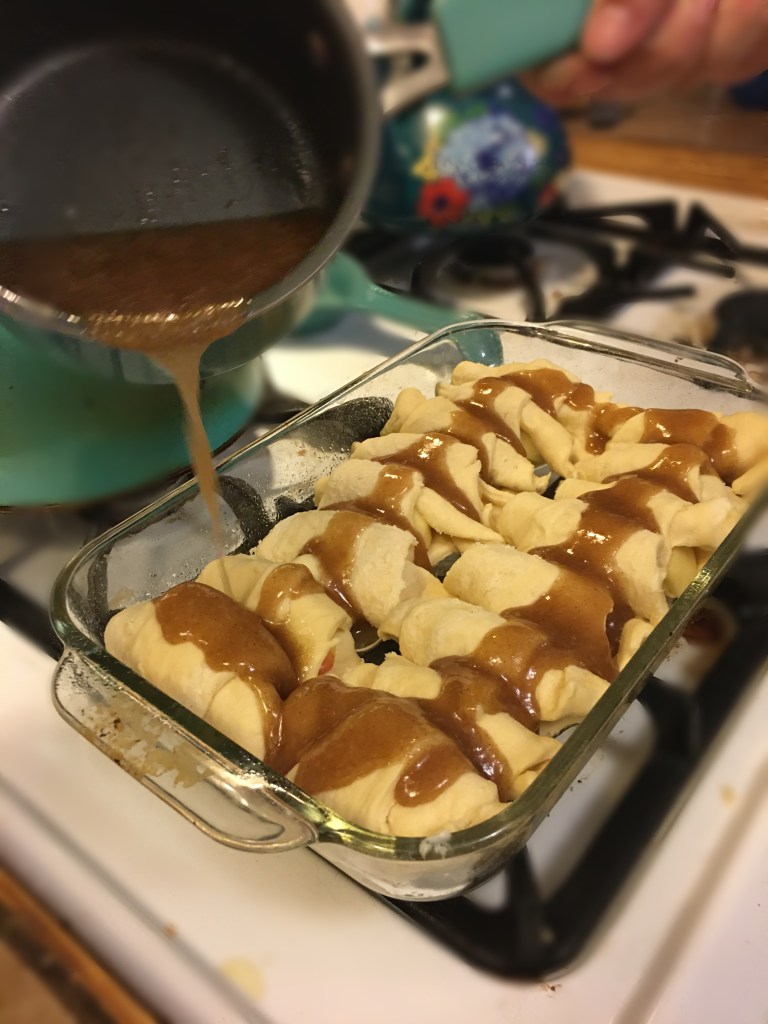
Melt butter in a small sauce pan and stir in the sugar and cinnamon. When it’s thickened remove from heat and add vanilla.
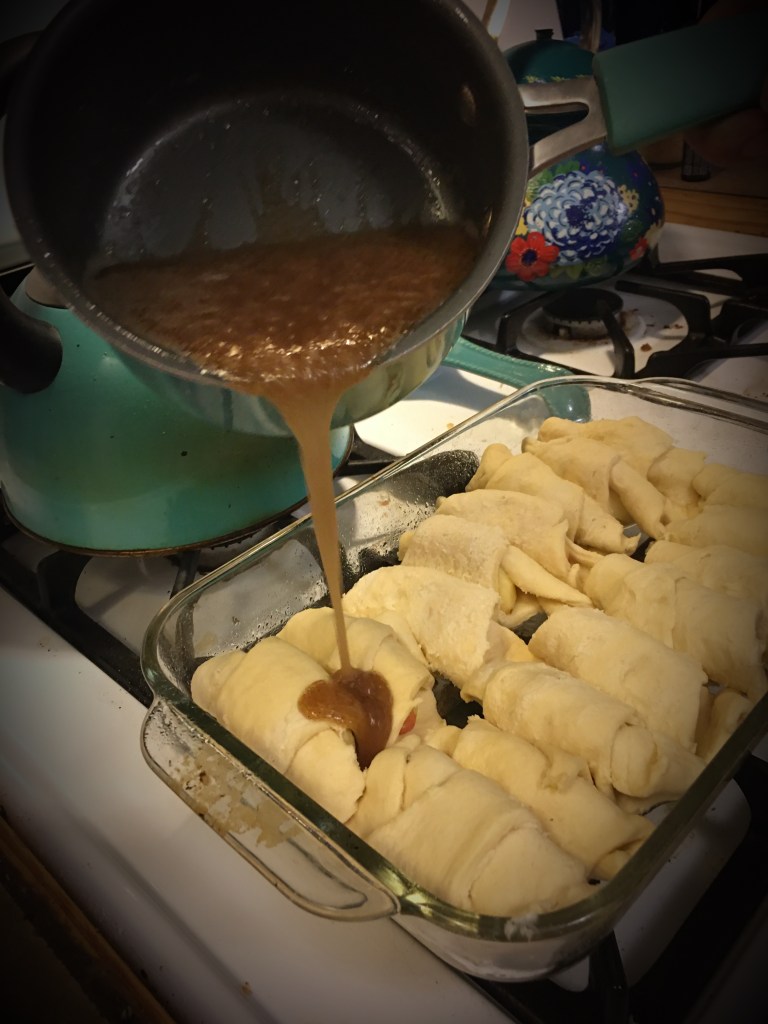
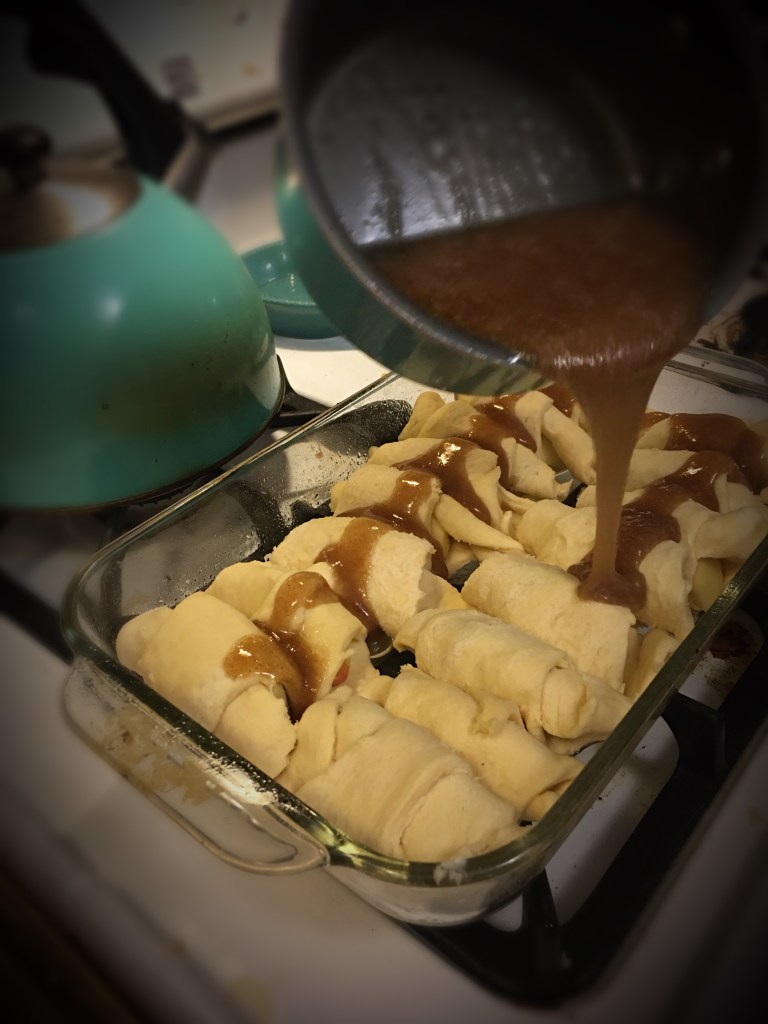
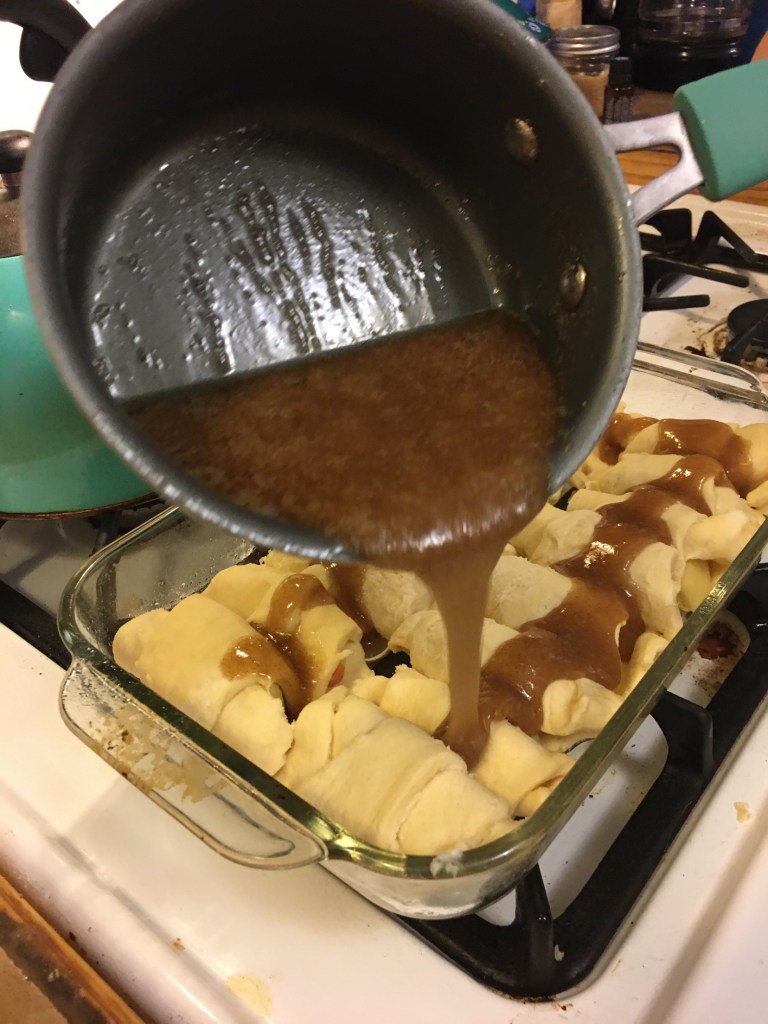
Pour the mixture over the dumplings.
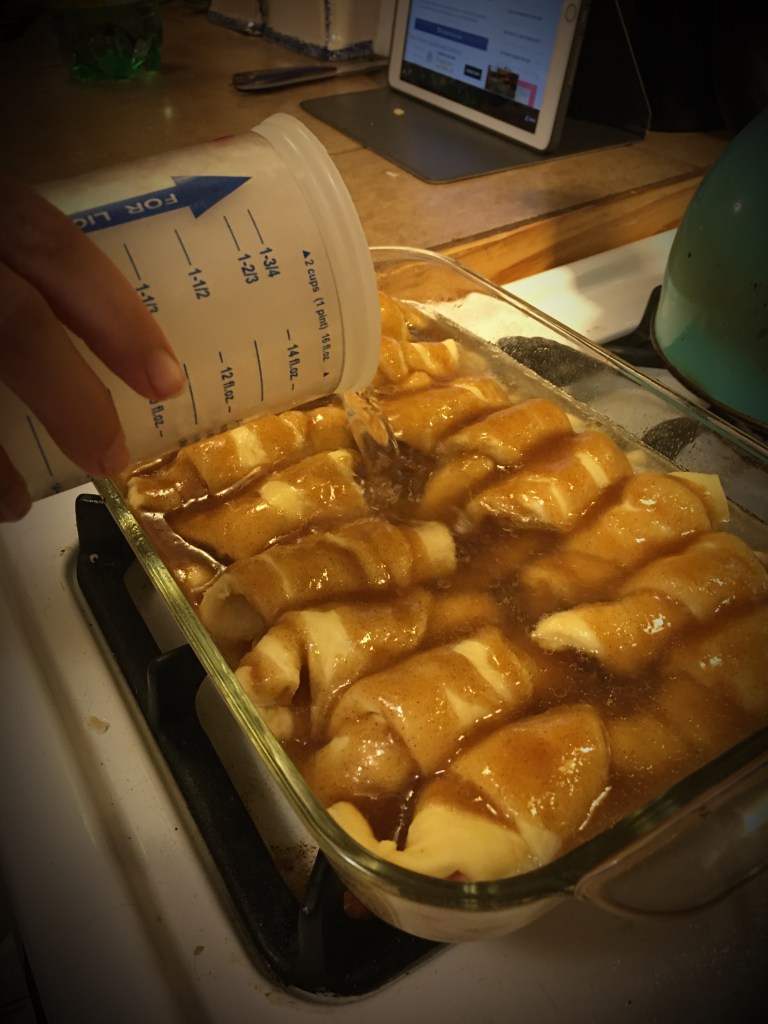
Pour soda over the entire thing.
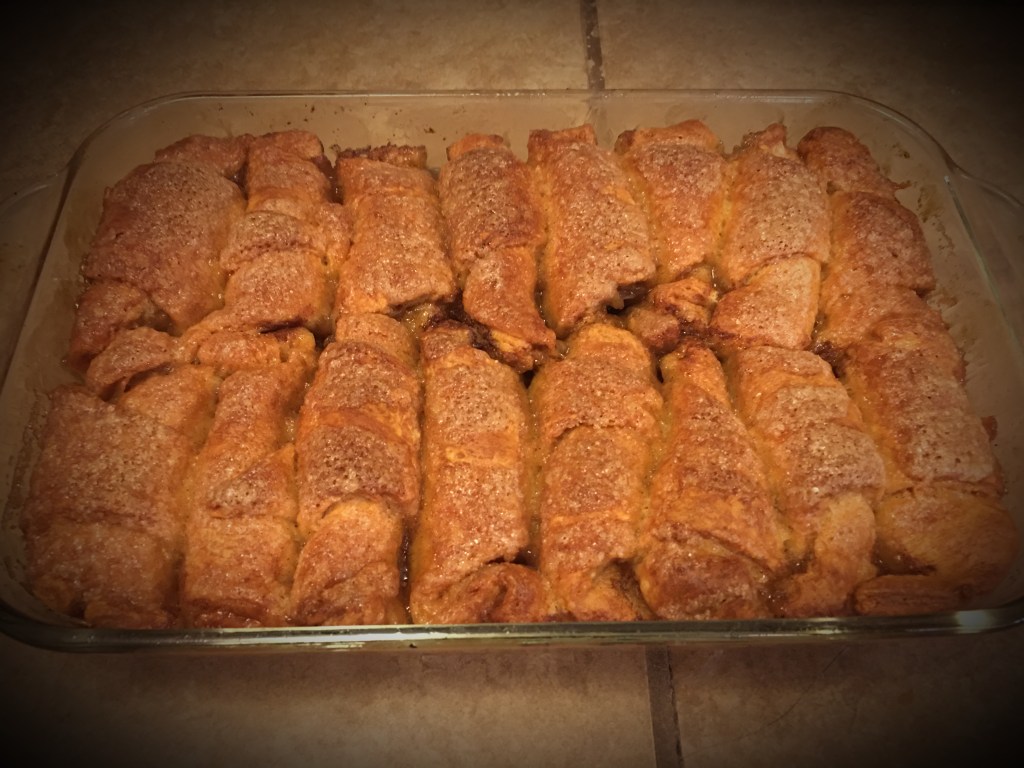
Bake for 40 to 45 minutes or until golden brown.
This is an amazing dessert that is very quick and easy and is amazing with a scoop or two of vanilla ice cream! I hope you guys enjoy this recipe and have fun making it! Don’t forget to subscribe to my blog to have more delicious Favorite Food’s Of A Hummingbird!
Hello everyone. Today I’m making banana bread, but not just any banana bread, this has 2 special twists. First, it is kinda like a coffee cake because it has a coffee cake streusel topping. Second, it has Nutella inside! We had some very ripe bananas so my mom suggested that I make a banana bread. I wanted to do something a little more exciting so we decided to try something new. We found a recipe for the banana bread with streusel topping and thought that would be perfect because my dad loves anything with streusel! Then I thought, what could make this even better? NUTELLA!! It was definitely an experiment but it turned out so good! I’m super excited so lets start making this delicious treat!
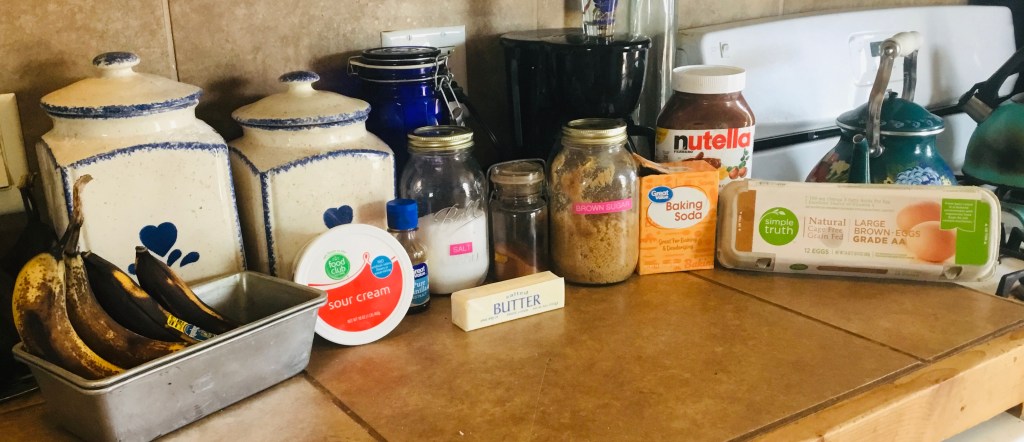
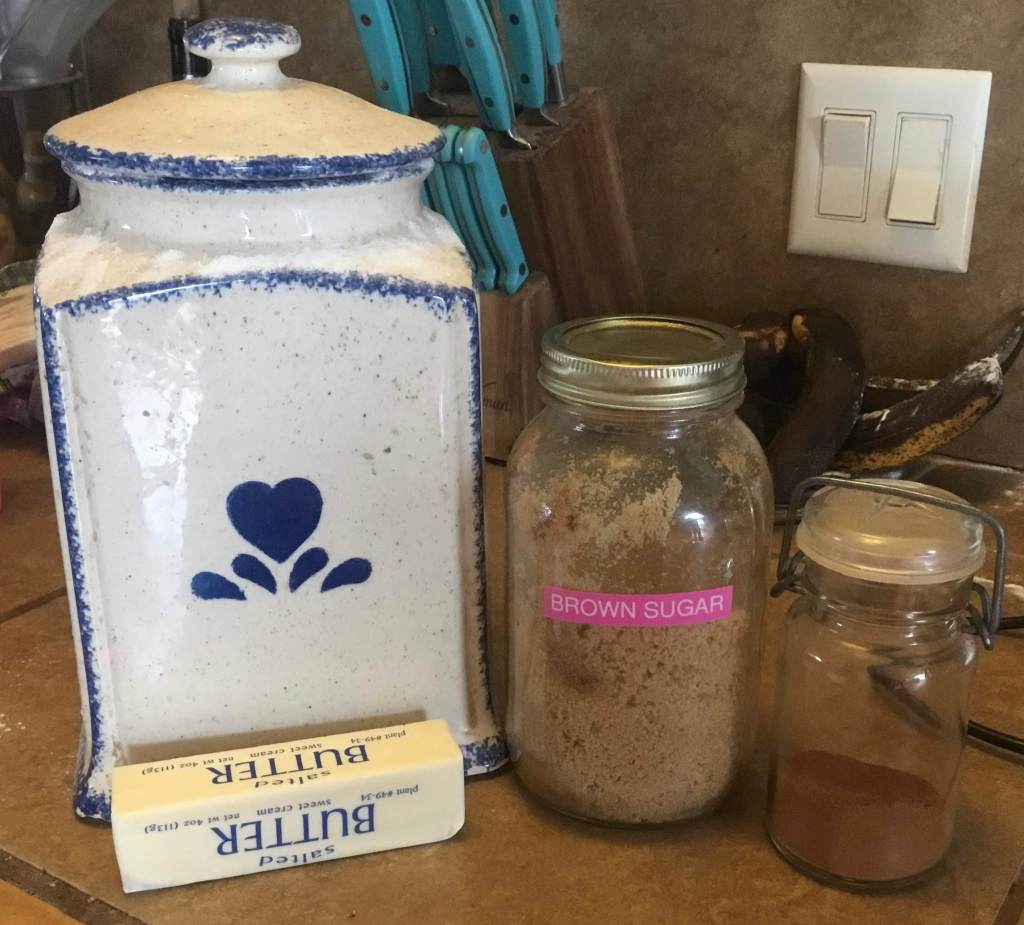
Ingredients
3-4 ripe bananas
2 cups flour
1 tsp baking soda
1/4 salt
3/4 tsp cinnamon
1/2 cup butter
2 TBS sour cream
1 cup white sugar
2 TBS. brown sugar
1 1/2 tsp vanilla extract
2 eggs
Nutella
Ingredients For Streusel Topping
1 tsp cinnamon
1 cup flour
1 cup brown sugar
6 TBS butter
Instructions
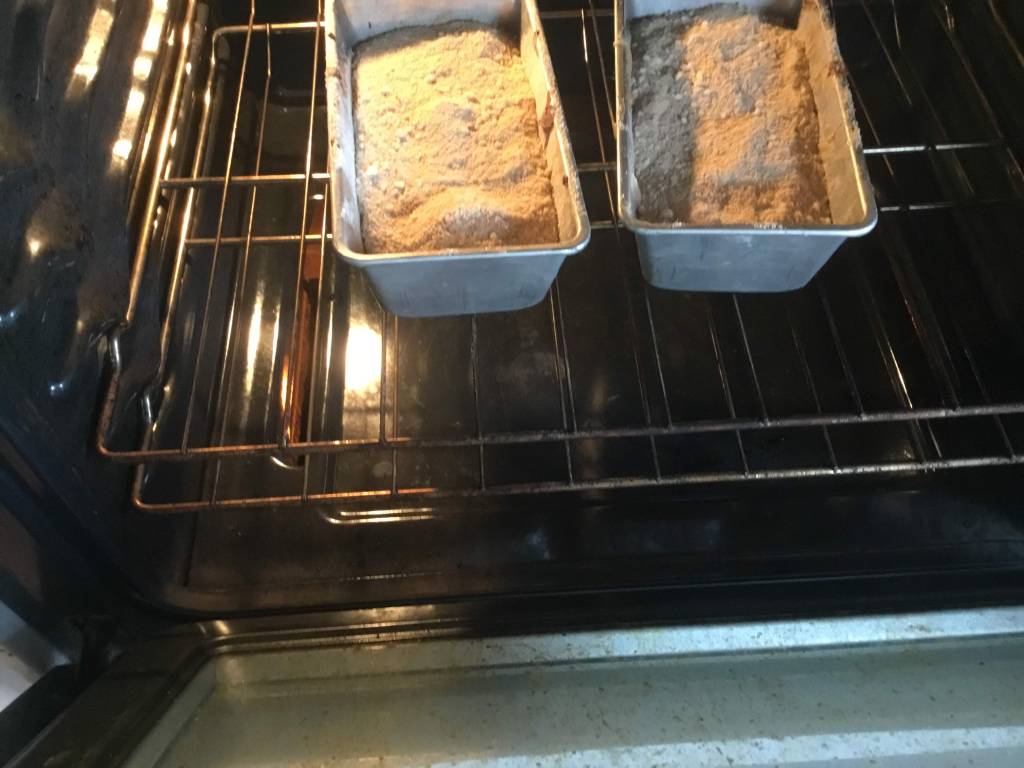
Preheat your oven to 350 or 176 Celsius. Grease 2 loaf pans. (8×4)
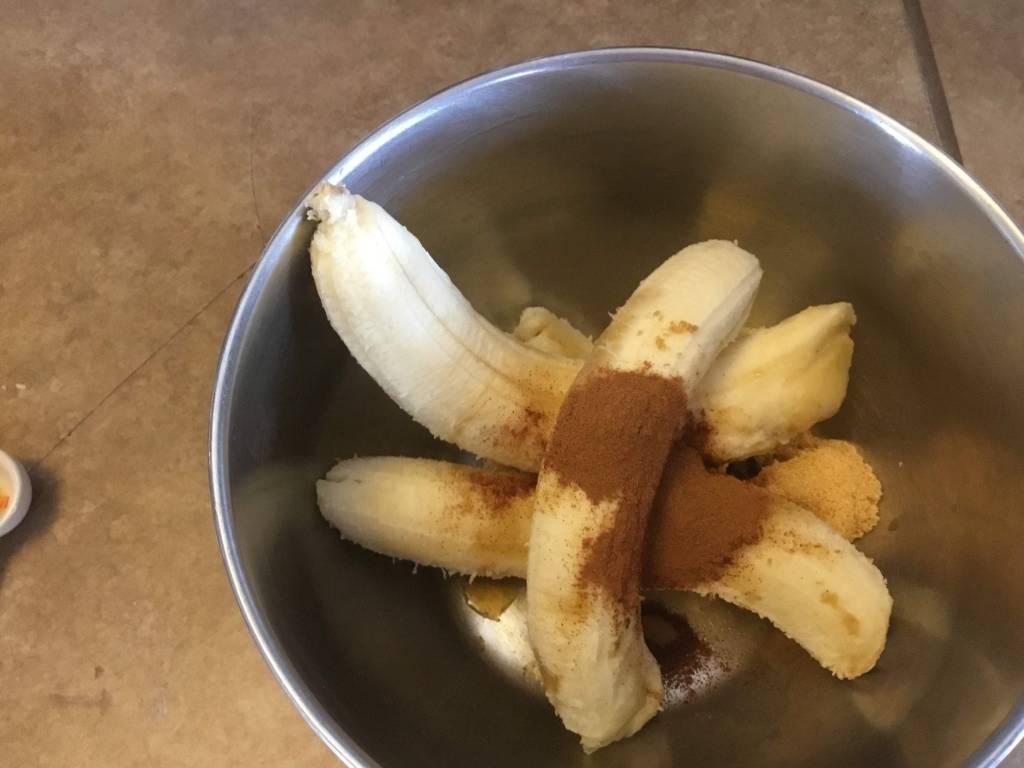
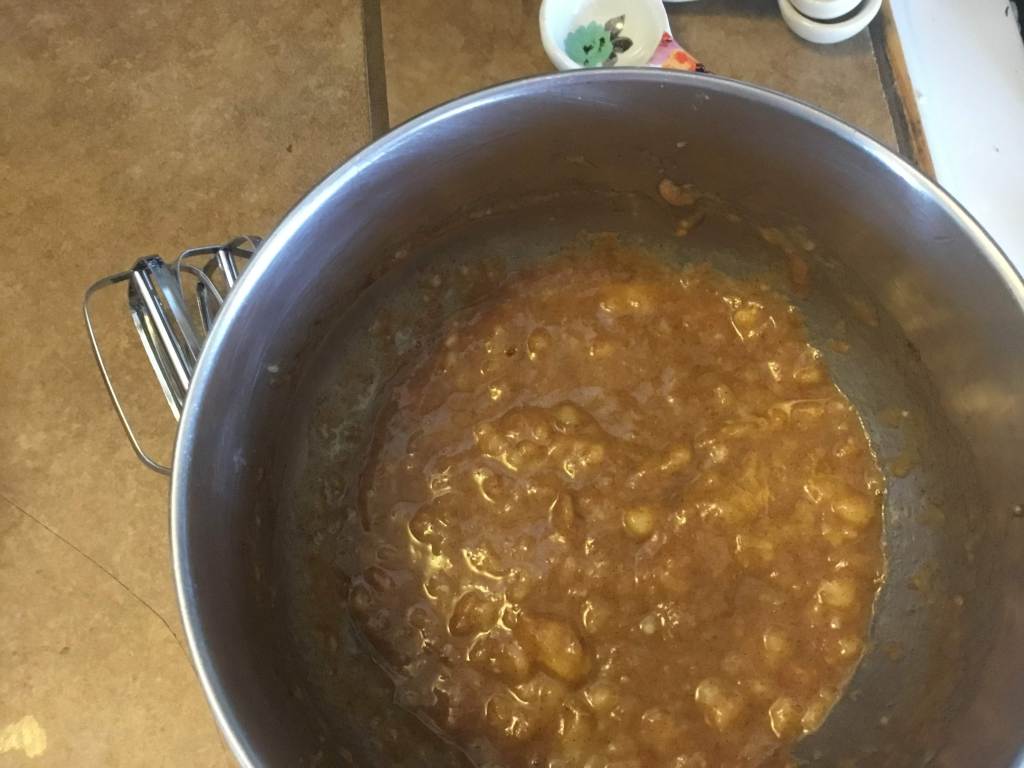
In a small bowl, mash bananas, brown sugar, vanilla and cinnamon and set aside.
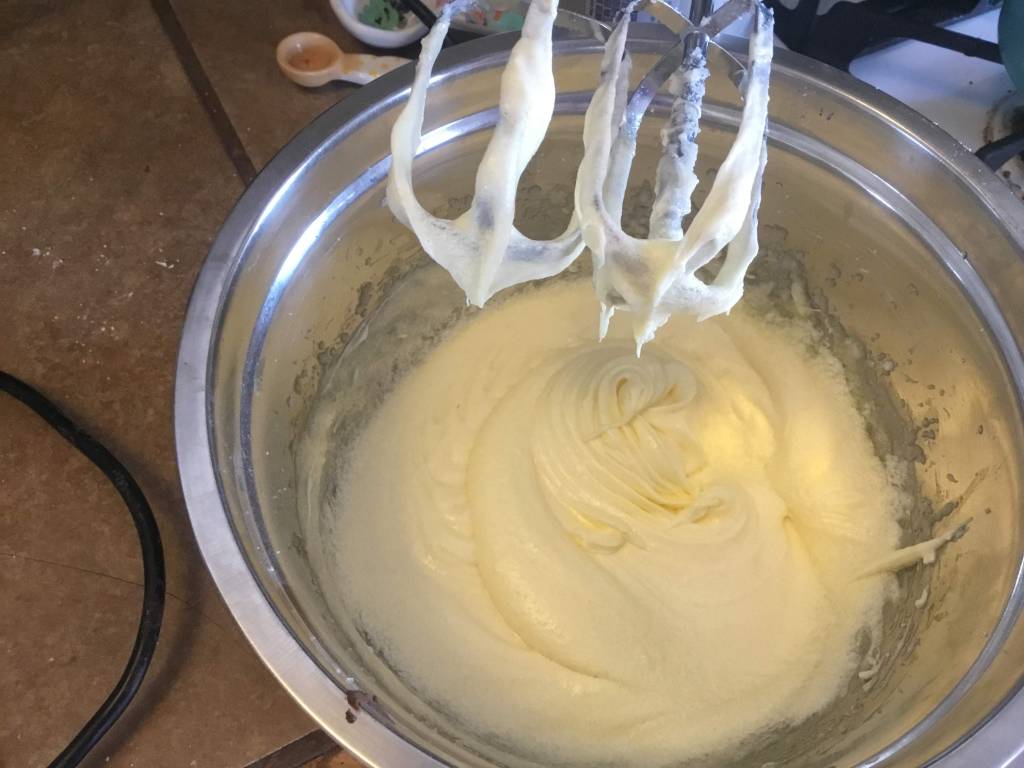
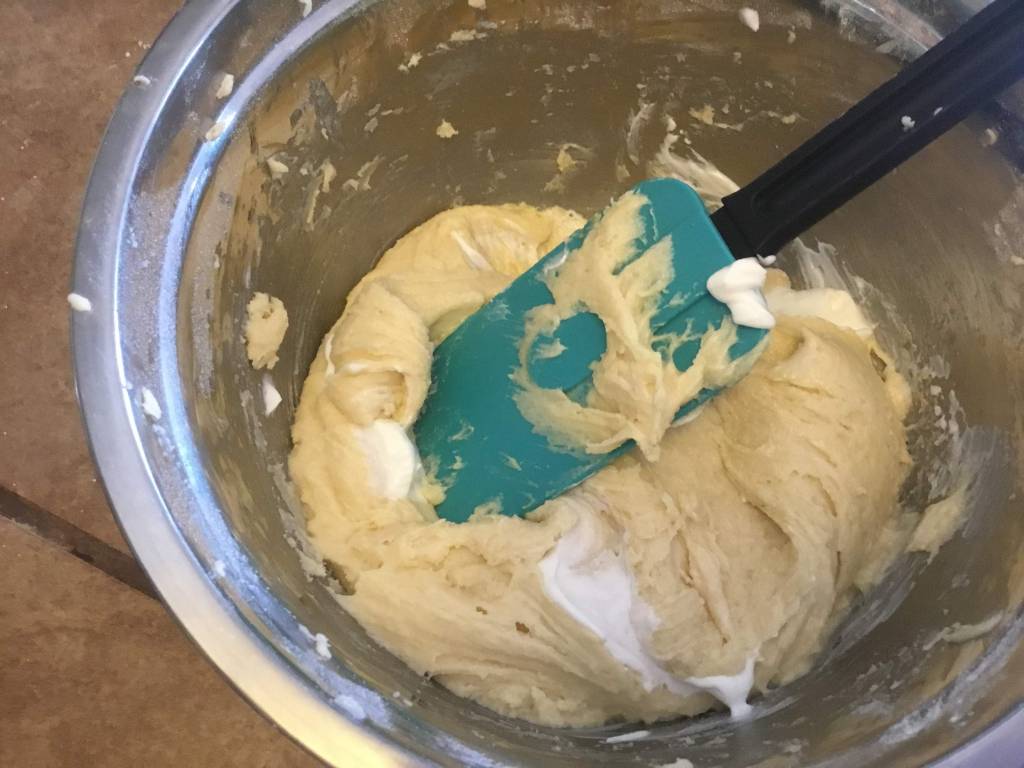
In a large bowl, cream your butter and sugar together until light and fluffy.
Add in eggs and beat until completely mixed.
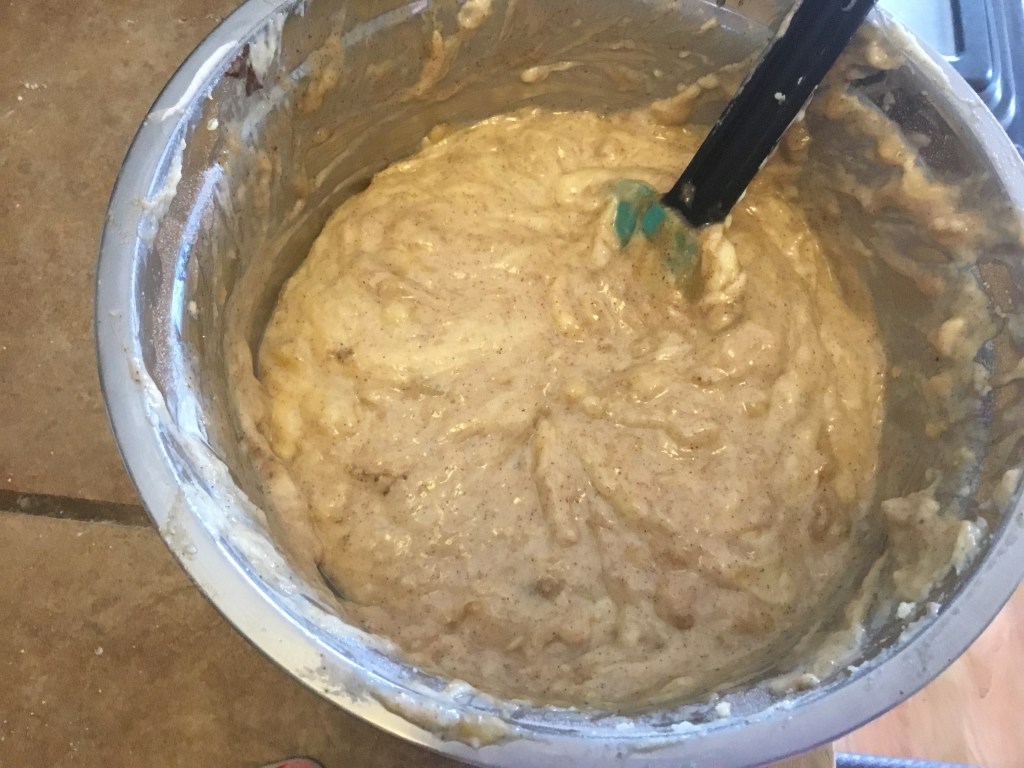
Then sift in flour, baking soda and salt.
Stir until just combined, and add in your sour cream and stir.
Pour in mashed bananas mixture and stir until combined.
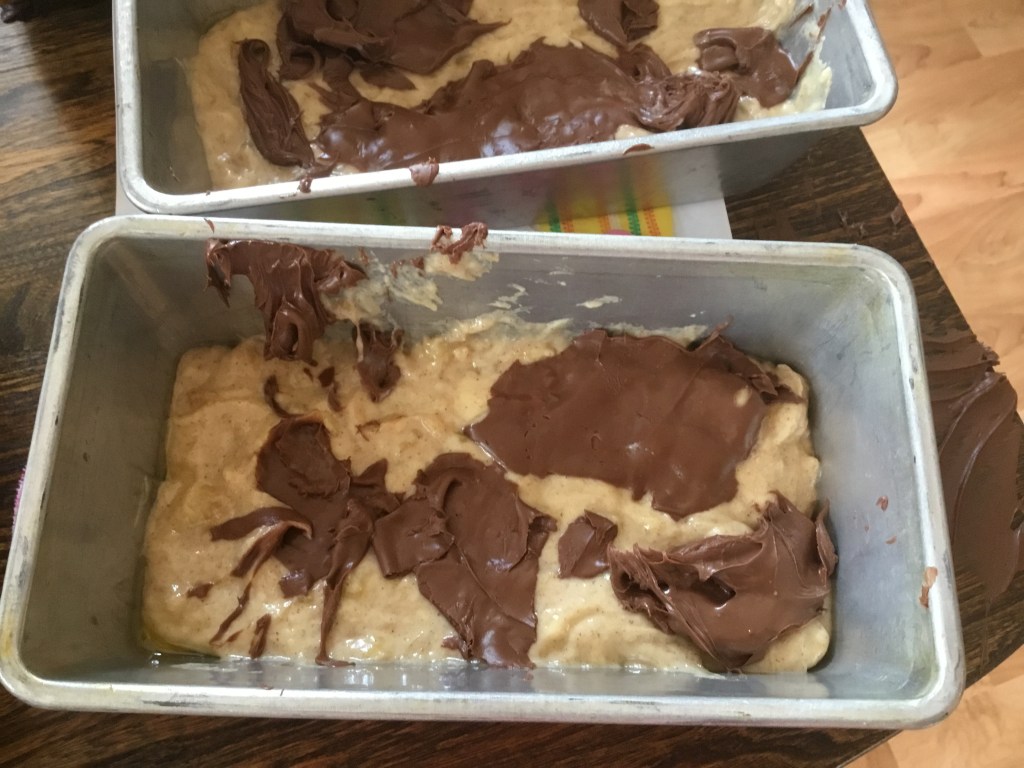
Pour half of batter into greased pan.
Now this part is where it gets exciting! Take small spoonfuls of Nutella and dollop them on the batter. You can use a toothpick or knife to marble it thru the batter. Then pour remaining batter on top.
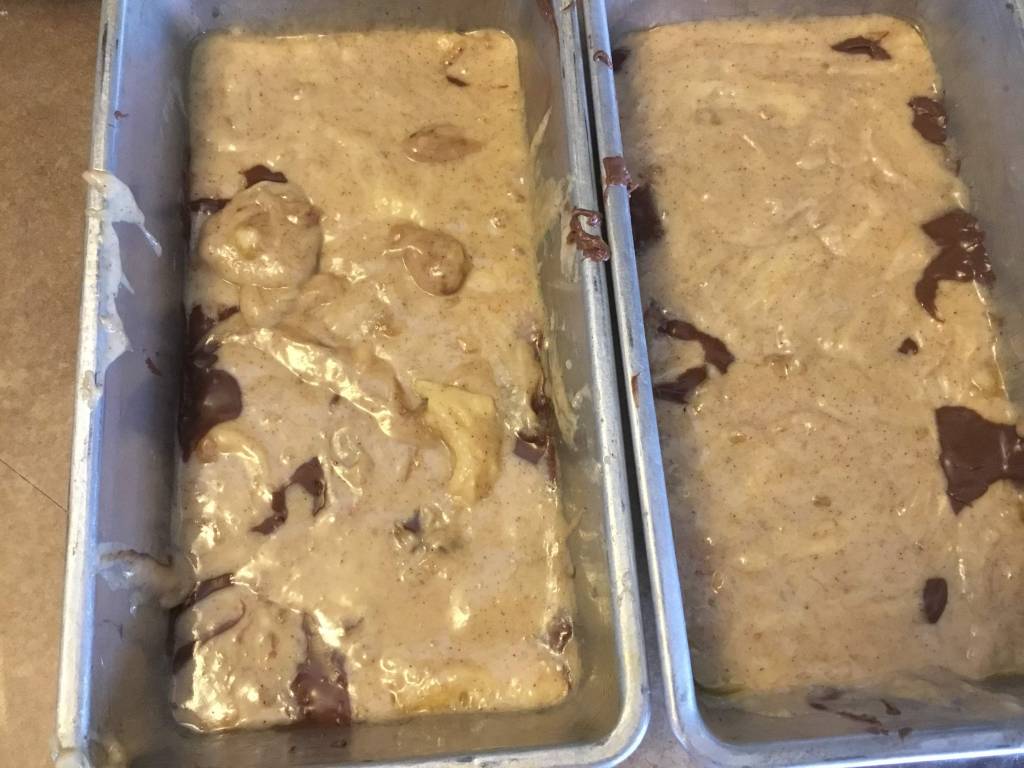
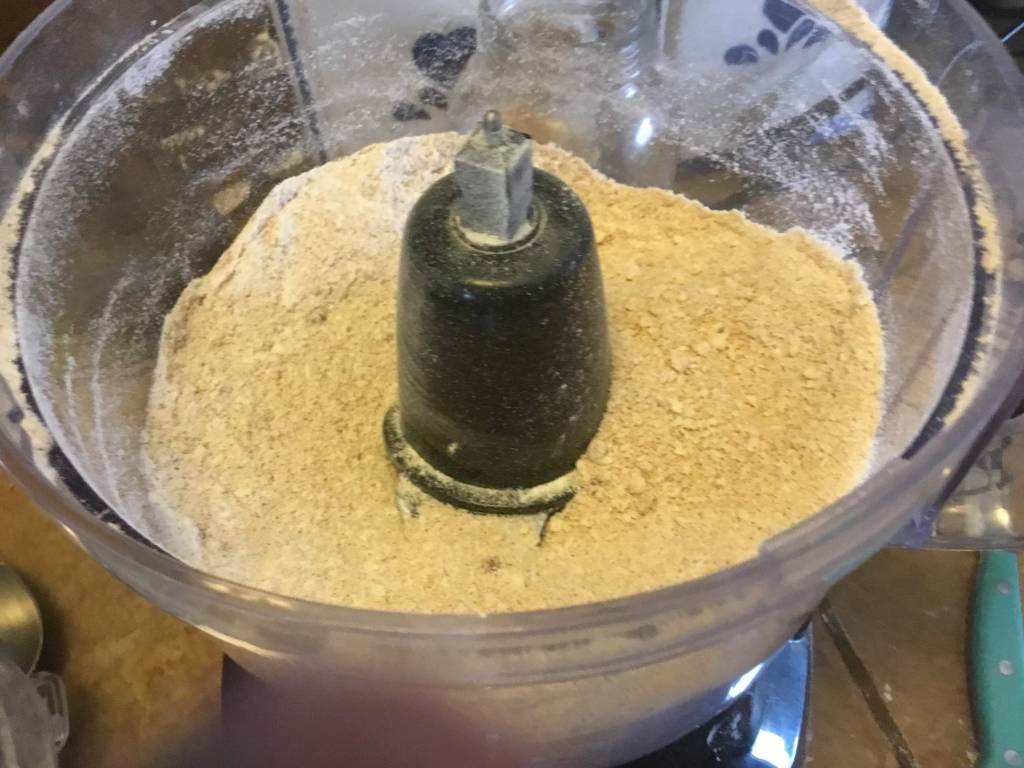
Make crumb topping by combining cinnamon, flour, sugar and butter with a pastry cutter or food processor and mix until it looks like course crumbs. Sprinkle over batter evenly between both pans.
Now bake for 35-40 minutes or until done. (It may take a little longer with the Nutella in the center.)
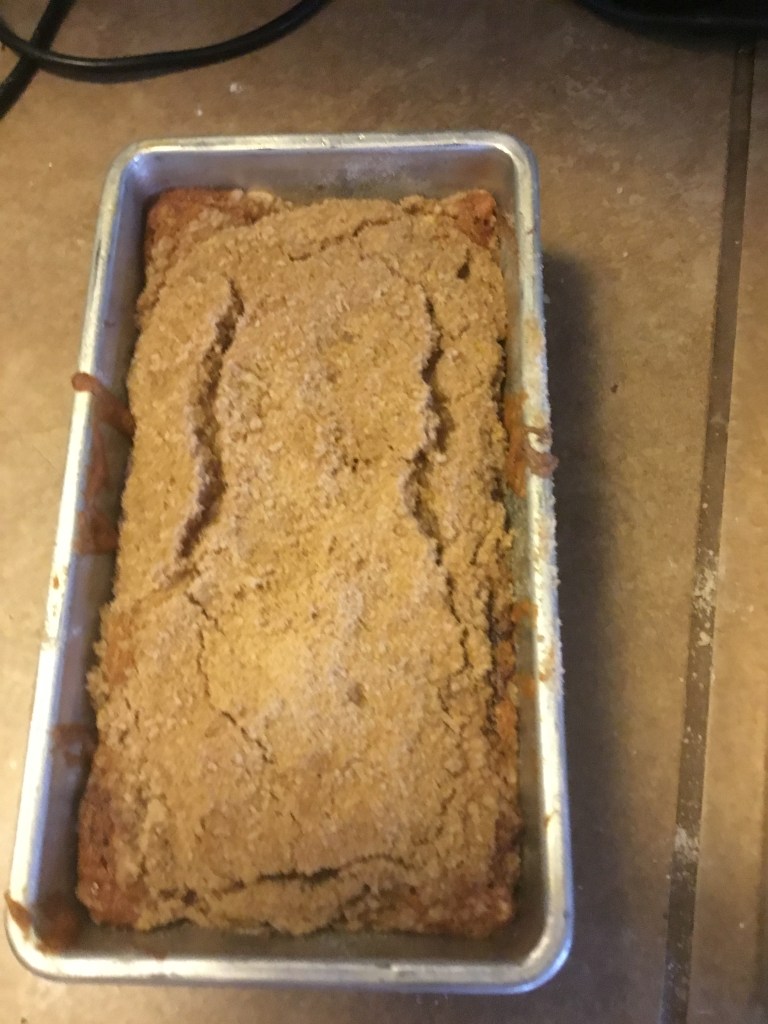
When you take it out you will want to let it cool completely. The wait will be worth it!
OMG!! This looks so good!!
I absolutely loved this recipe! Some times in baking you need to branch out and take a risk. In this case, it was a delicious risk! Thank you for reading my blog, if you want to see what I make next time, please follow me and check in regularly. Stay sweet!
Hey guys, I am so sorry I haven’t been able to write in a while, I have been pretty busy. I’m in fifth grade so I have my school work and even though I do it from home I get tired and just want to take a break sometimes. I also help my mom around the house and like to cook dinner once a week so I am not always able to do my blog. So I have decided to write as much as I can but not necessarily every week, that way its not too much pressure. So make sure to follow my blog so you get notifications when I post a new recipe. Now let’s talk about this new recipe. Today I’m going to make a surprise cake. I saw a video for it on Pinterest and it was for a New Year’s Cake, I decided to put my own special twist on it though to make it girly and fashionable. If you want to make this cake for a party or something you will want to make this a day or two in advance because this takes quite a while. I’m super excited so lets get started!
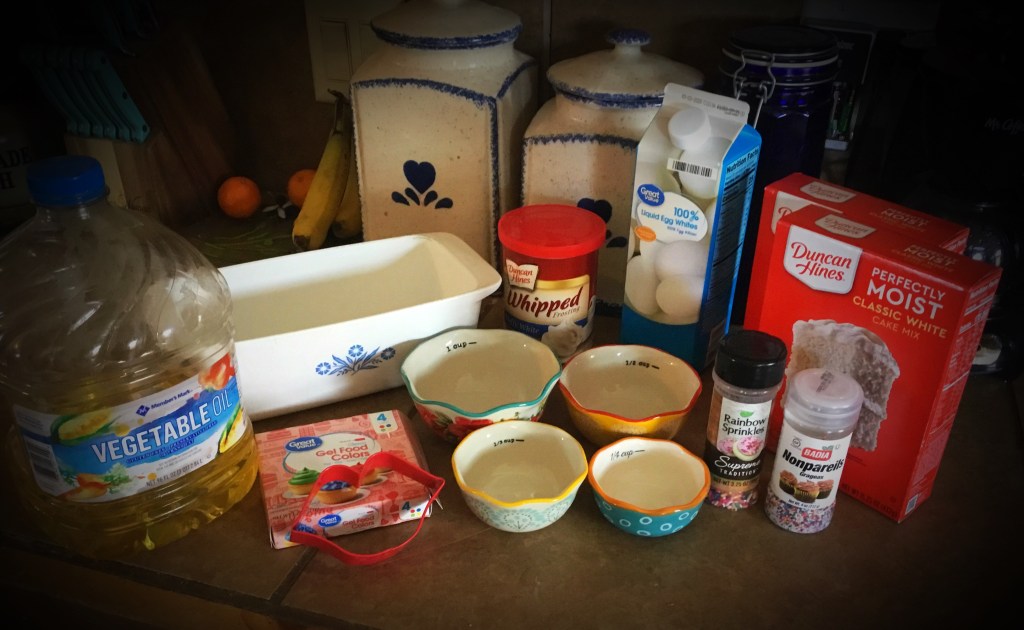
Ingredients (For First Cake)
3/4 cup water
1/3 cup oil
3 egg whites
1/2 cup flour
1 box white cake mix (16.25 oz)
gel food coloring (I used red)
Cookie cutter of your choice
Ingredients (For Second Cake)
3 egg whites
1 cup water
1/3 cup oil
1 box white cake mix (16.25 oz)
1/2 cup rainbow sprinkles
1 16oz jar of Frosting
Instructions (For First Cake)
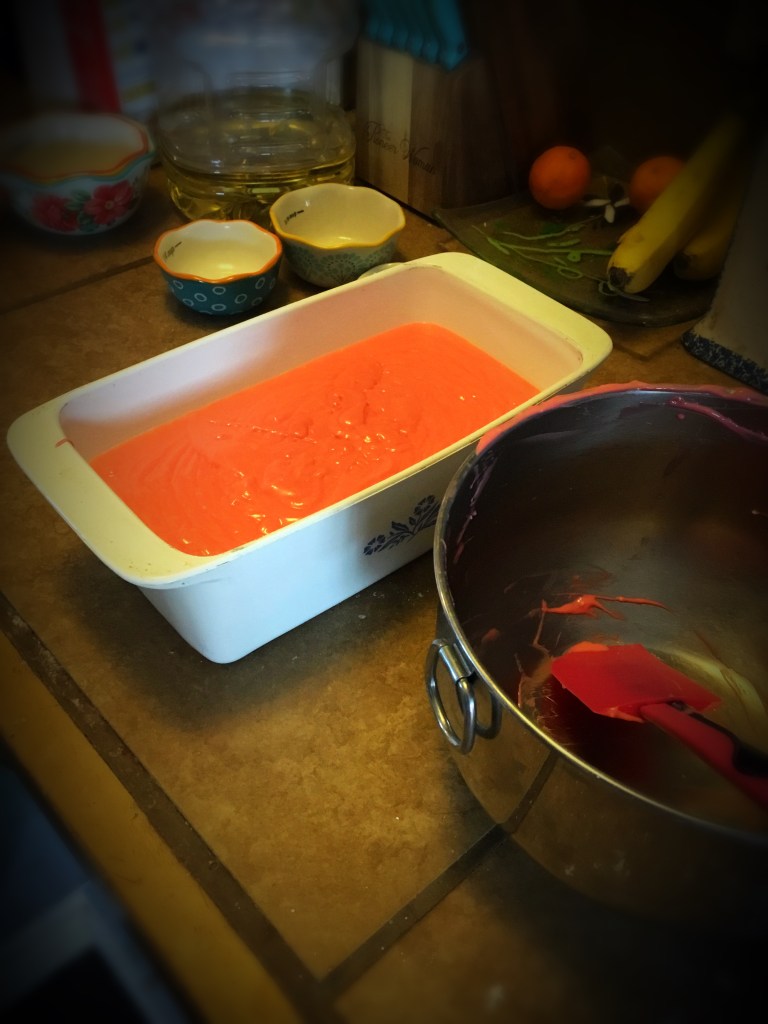
Mix water, oil, egg whites, (I used store bought egg whites so that we didn’t waste the yolks) flour, and cake mix.
Once its blended well add food coloring, start with 1/4 tsp and add more to get your desired color
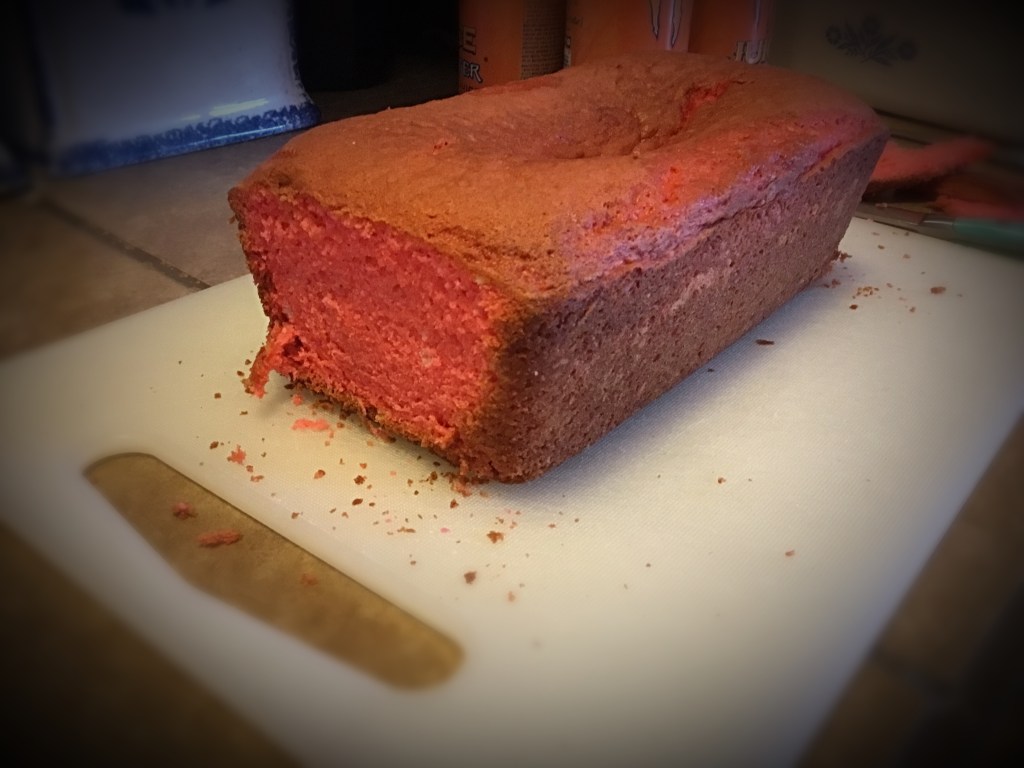
Pour mix in loaf pan and bake @ 350 for 45-50 minutes
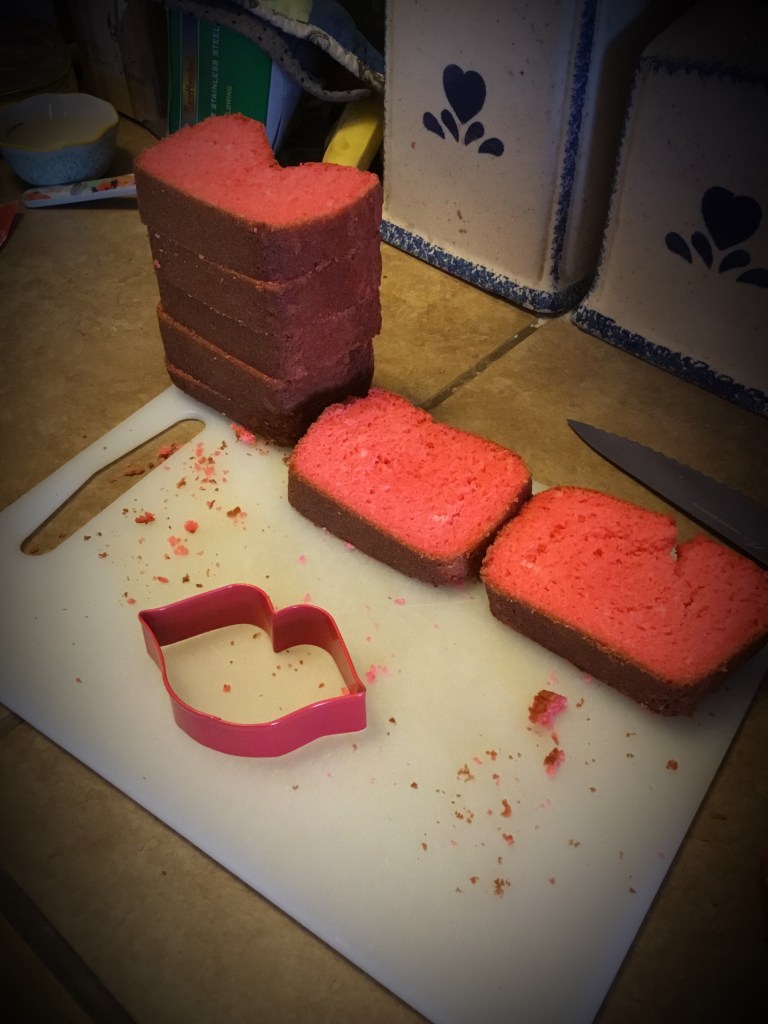
Cool cake completely. Then cut off the ends and take your cookie cutter (I used lips) and measure the thickness of it to get the size slices. Once you have all the slices done cut out the shape with your cookie cutter from the middle of each slice.
Put shapes on a cookie sheet and brush with egg whites and then freeze them for 6 hours or overnight.
Instructions (For Second Cake)
(Start this cake only after your shapes from the first cake are frozen and ready)
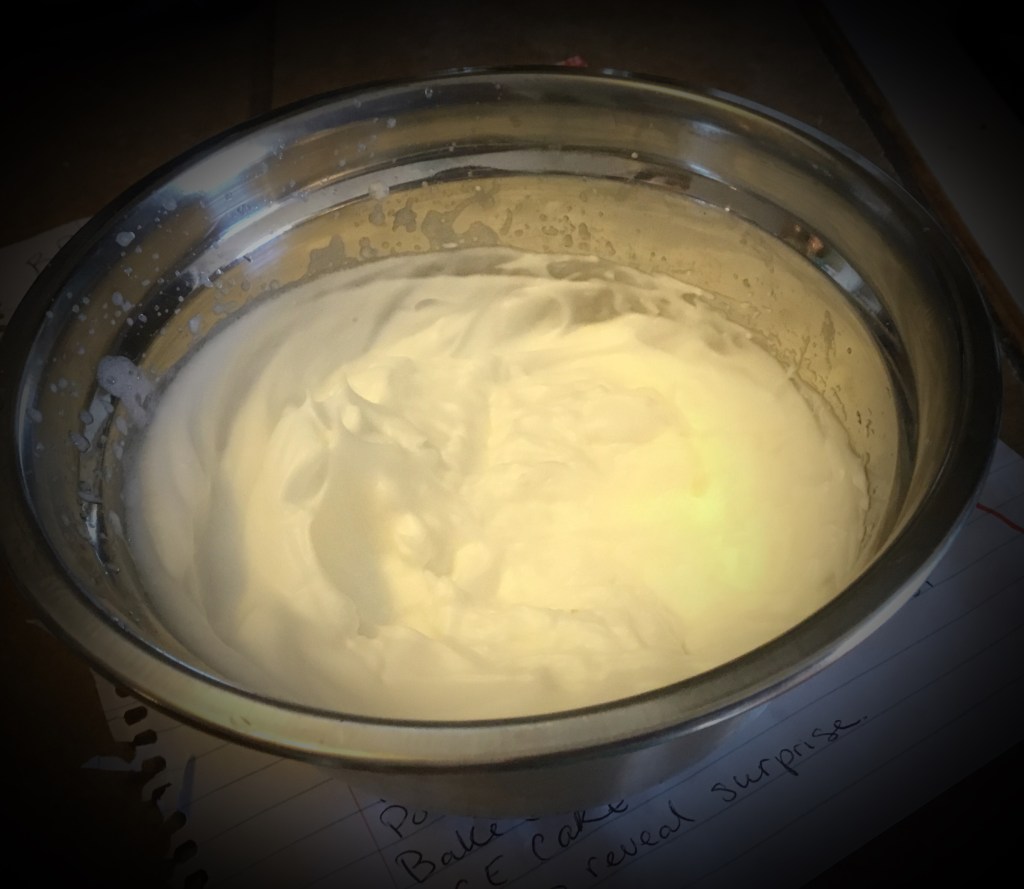
Put 3 egg whites in a bowl and beat until soft peaks form. Set aside.
In a separate bowl mix water, oil, cake mix and sprinkles.
Add egg whites and fold in gently to cake mix.
Pour about 1/3 to 1/2 of batter into a greased loaf pan.
Then set frozen cake shapes in a line down the center, matching them up till they are all added. (I got so excited that I totally forgot to take a picture of these steps, sorry!)
Gently pour the rest of your cake batter over the top. (I had cake mix left over so I made some mini cupcakes)
Bake @ 350 for 40-50 minutes. Check to see if it’s done with a toothpick. Make sure it comes out clean.
Cool cake completely
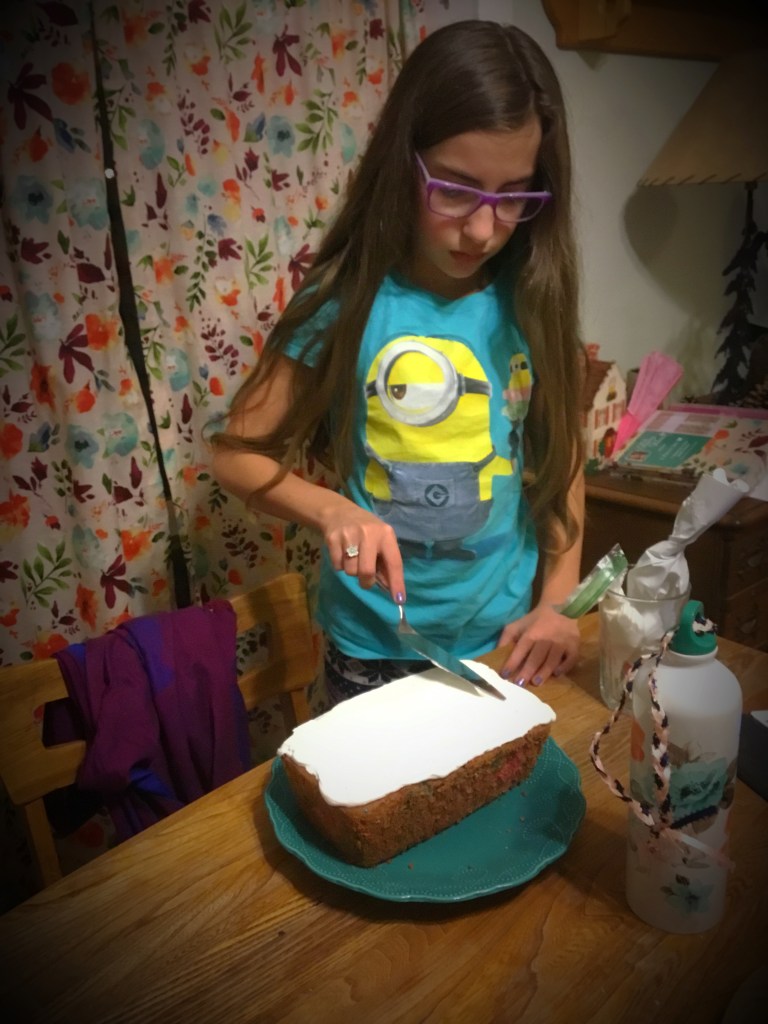
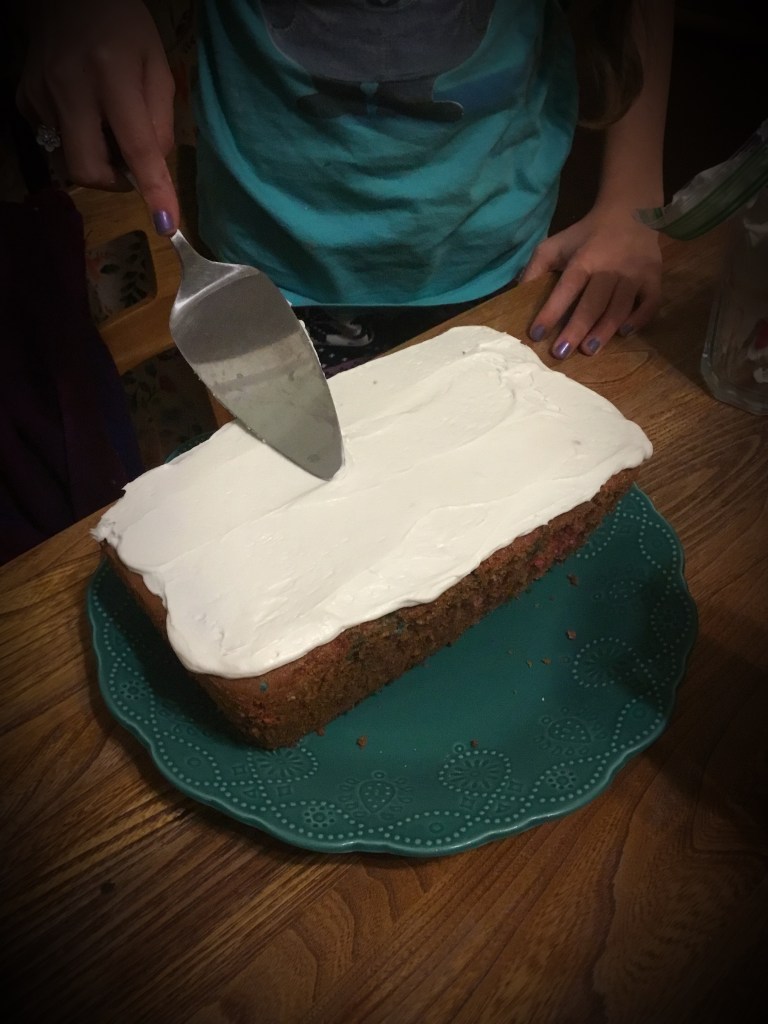
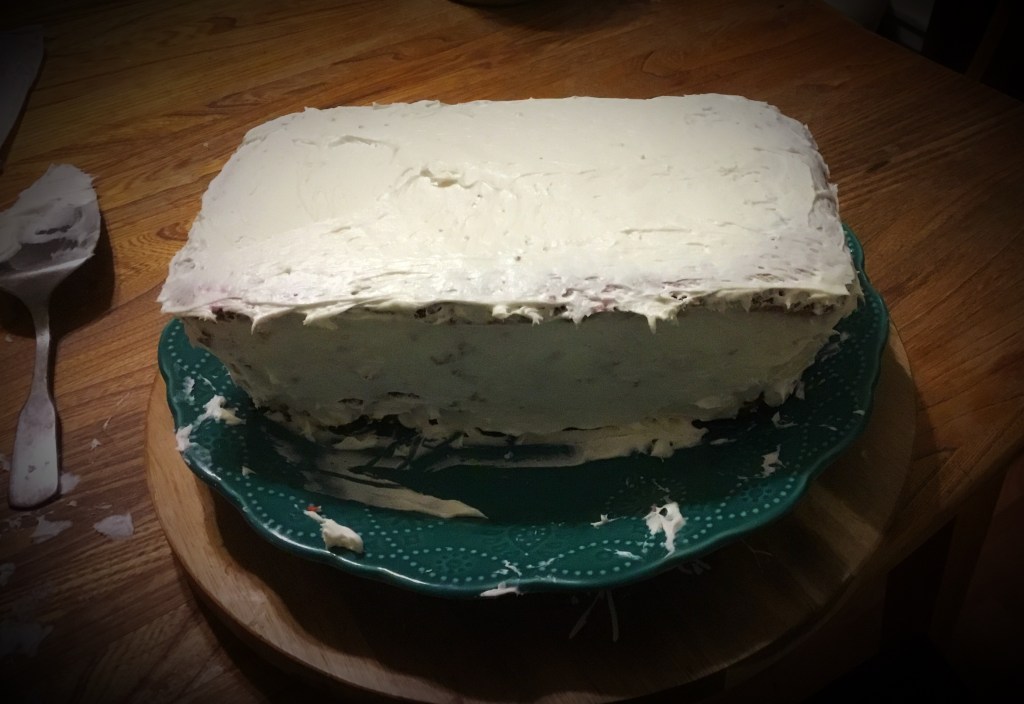
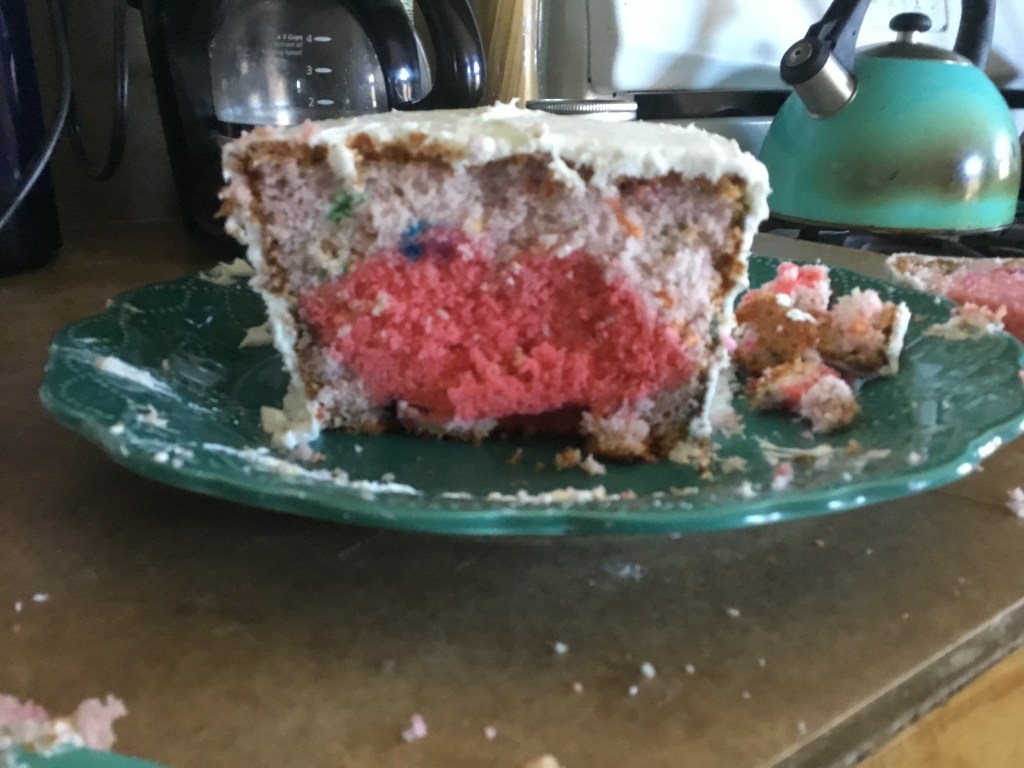
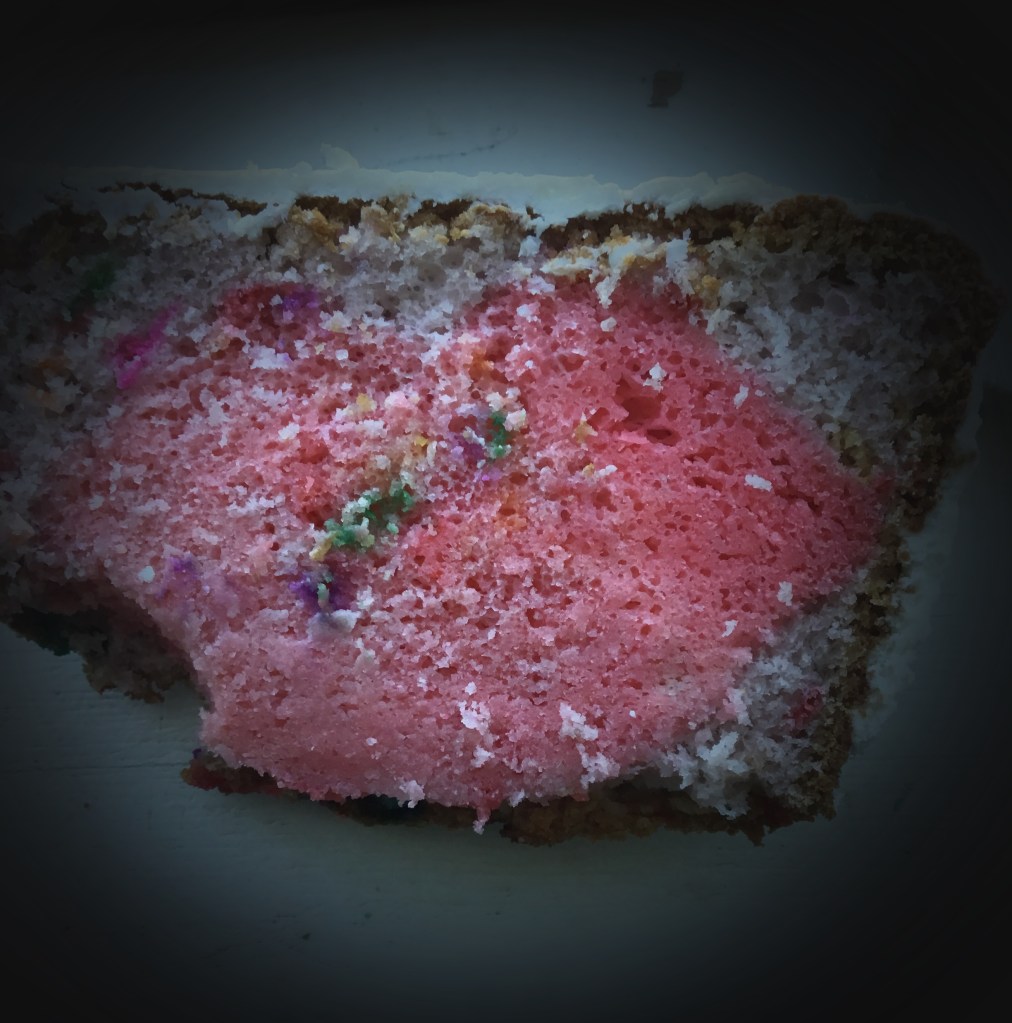
Frost cake and decorate if you want. When you slice it you will see the shape you used in the middle of the cake. SURPRISE! Its a lot easier to frost if you have the cake on a flat surface, I learned this the hard way! But I wanted to put it on a cute plate so I used one of my mom’s Pioneer Woman plates.
I got impatient and took a bite before I took this picture.
I wasn’t joking about my mom’s love of Pioneer Woman stuff. In that one picture you can see her plate, water bottle and curtains from #ThePioneerWoman and that’s not even half of what she has. LOL
Even though this cake took me two days to make and it didn’t come out perfect, I still really enjoyed making it and it was so delicious!! I hope you guys love this cake as much as I do. Thanks so much for reading and stay tuned for more favorite foods of a hummingbird!
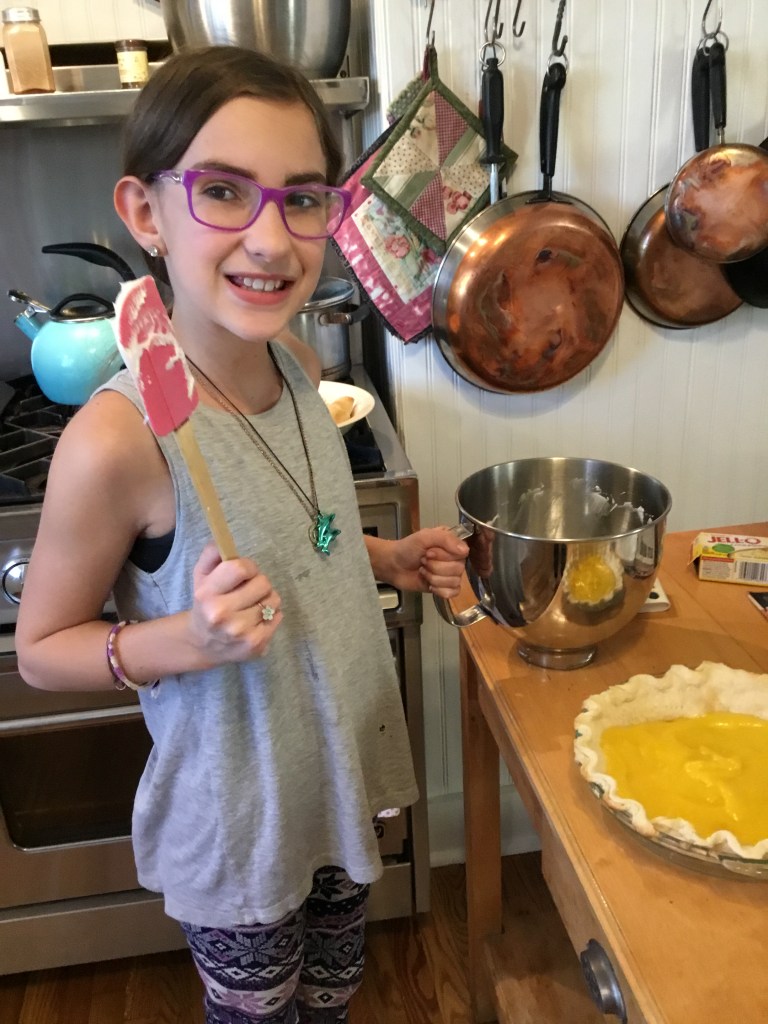
Hey guys, so I have some explaining to do. I have been super busy and kept having to push my blog out of the way so I couldn’t write last week. But I’m back with another yummy recipe. Today I’m going to make Lemon Meringue Pie! This was my Great Grandma Marian’s favorite dessert! She taught my mom how to make them when she was a kid and now my mom taught me. My mom told me stories about visiting her Grandma and Grandpa and how they would make a Lemon Meringue pie together each time she went. She said they would cut it in 4 pieces and each have one for dessert and then fight over the last piece. LOL Thankfully we have four people in our family so we won’t have to fight over the extra piece. I can’t wait to continue this tradition. I’m so excited, so let’s get started!
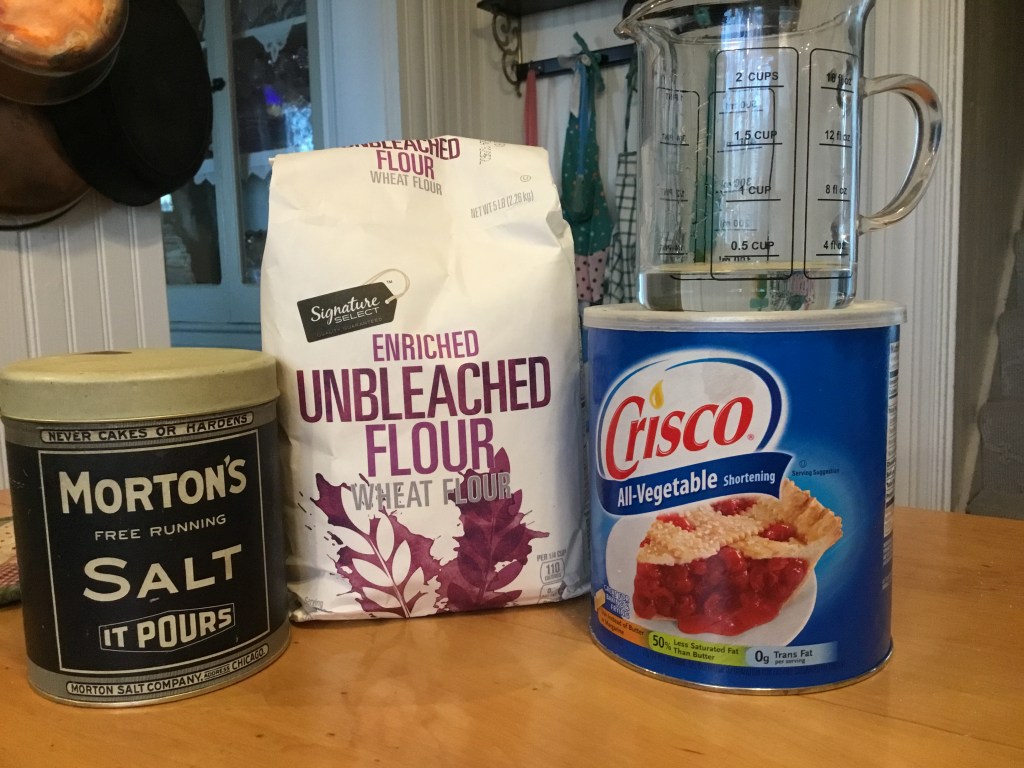
Ingredients For Pie Crust
1 1/2 Cups all purpose flour
1/2 teaspoon salt
1/2 cup shortening
4 to 5 tablespoons cold water
Ingredients For Meringue
3 egg whites
1/2 teaspoon vanilla
1/4 teaspoon cream of tarter
6 tablespoons sugar
Ingredients For Lemon Filling
JELL-O Cook & Serve Lemon Pudding Mix
2 Egg Yolks, Beaten
1/2 cup Sugar
1/4 Lemon Juice
2 cups Water
Instructions For Pie Crust
Mix flour and salt in bowl.
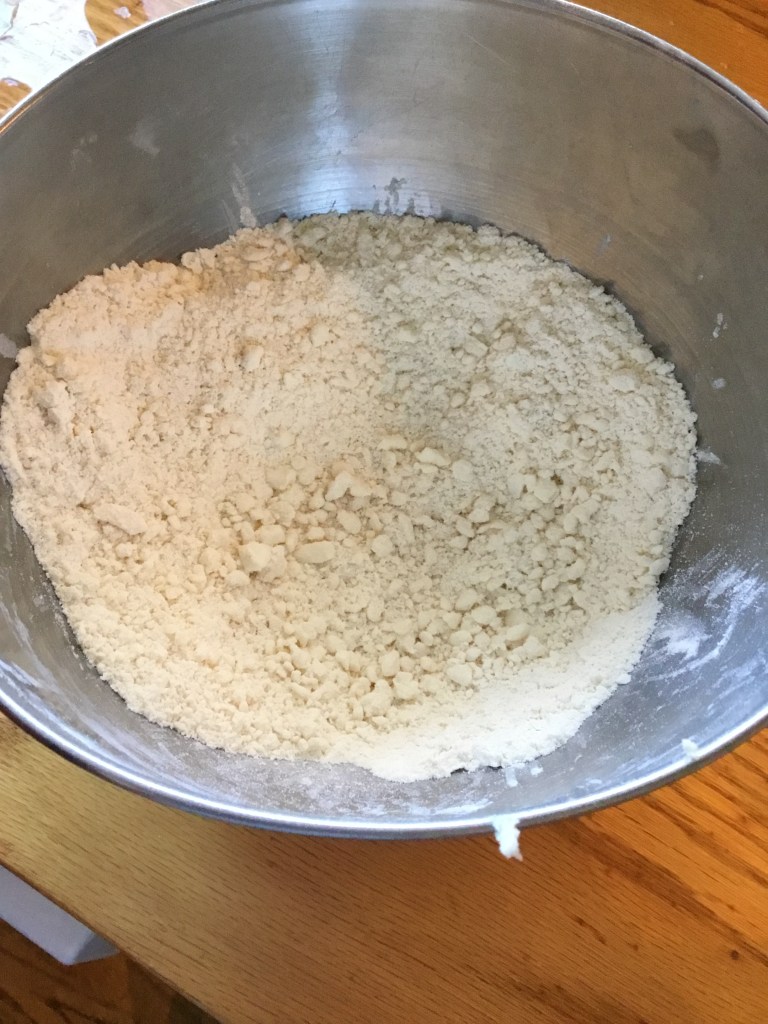
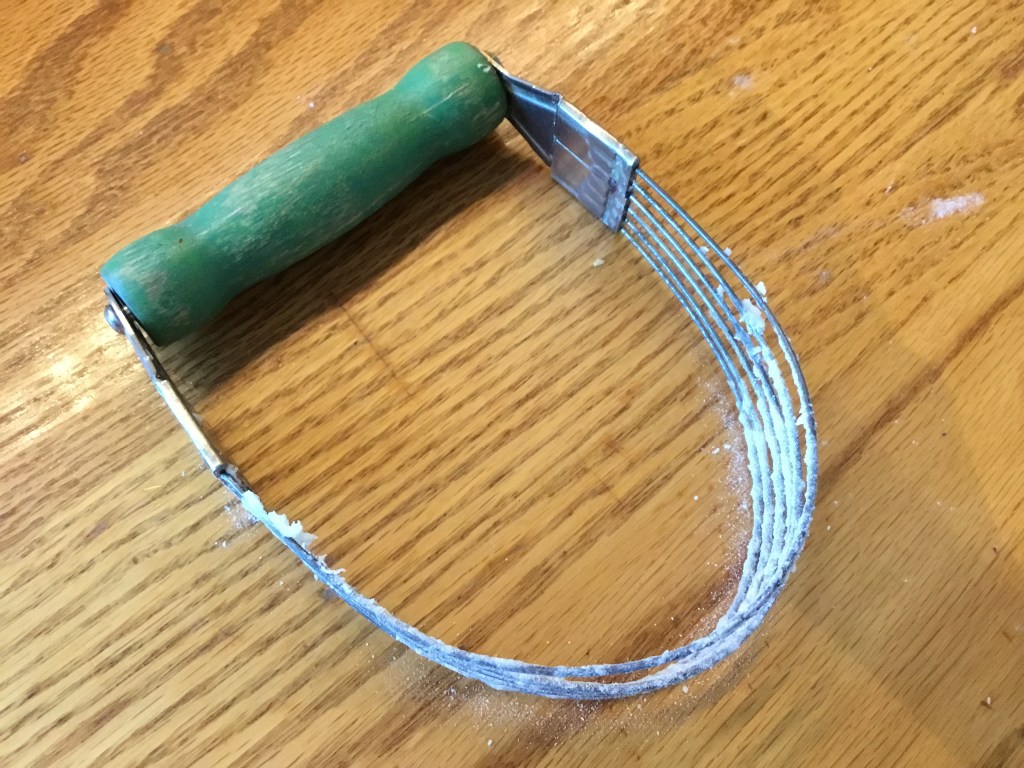
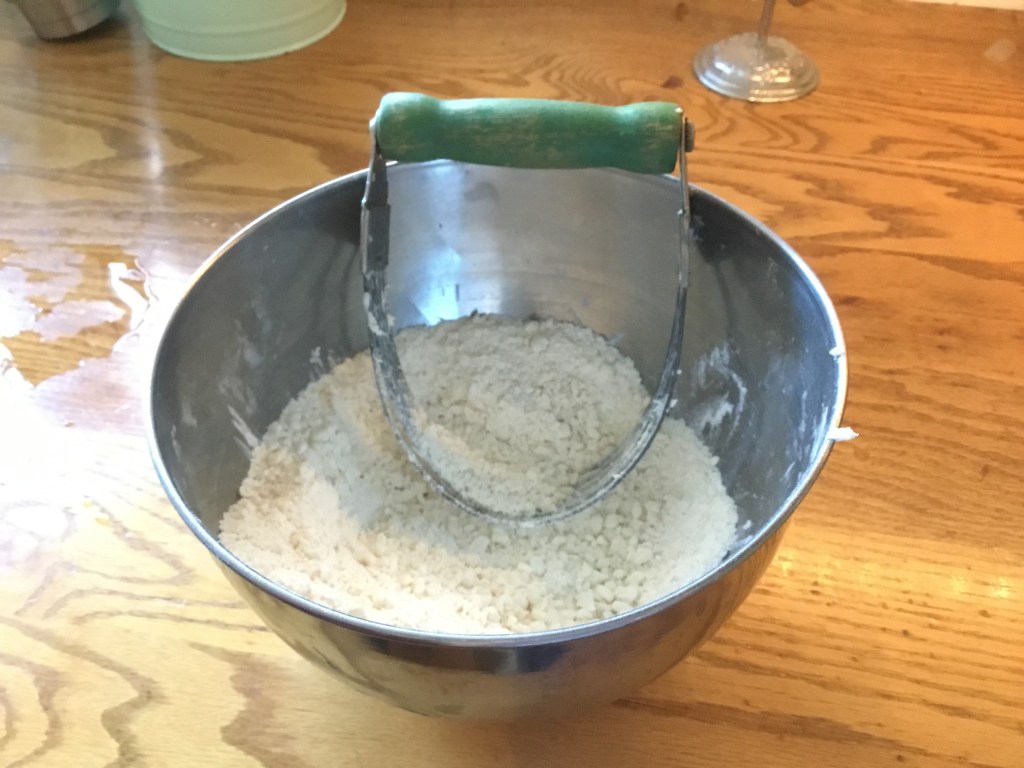
Add shortening and cut in with a pastry blender until its crumbly.
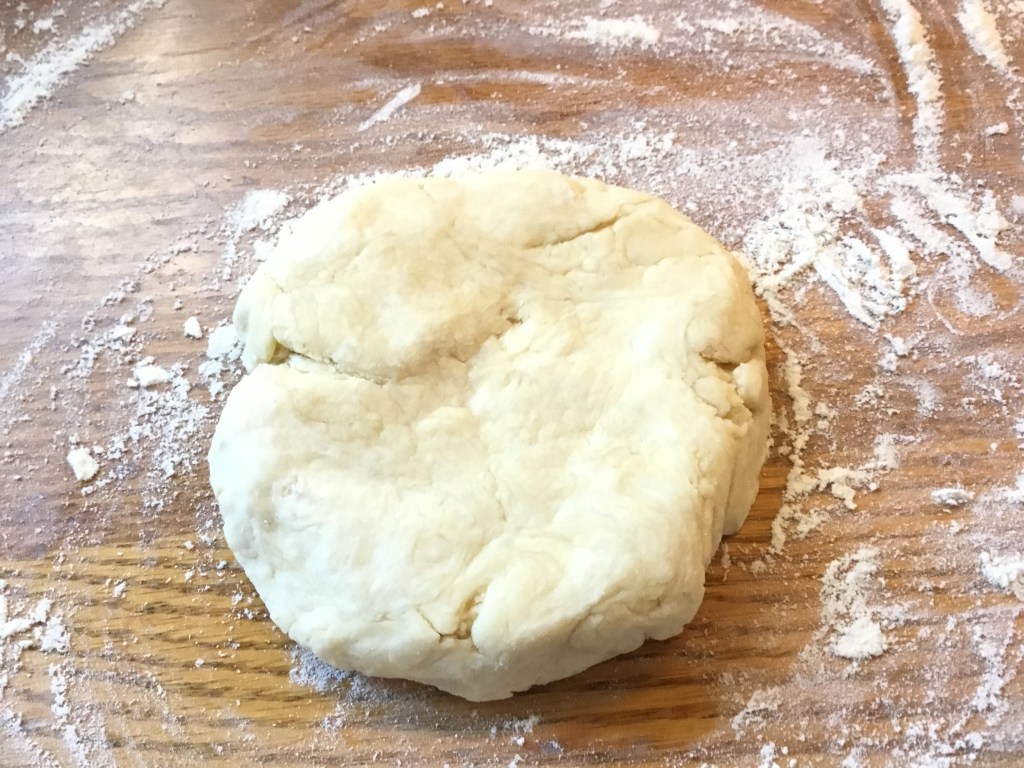
Gradually add water and mix until a dough forms
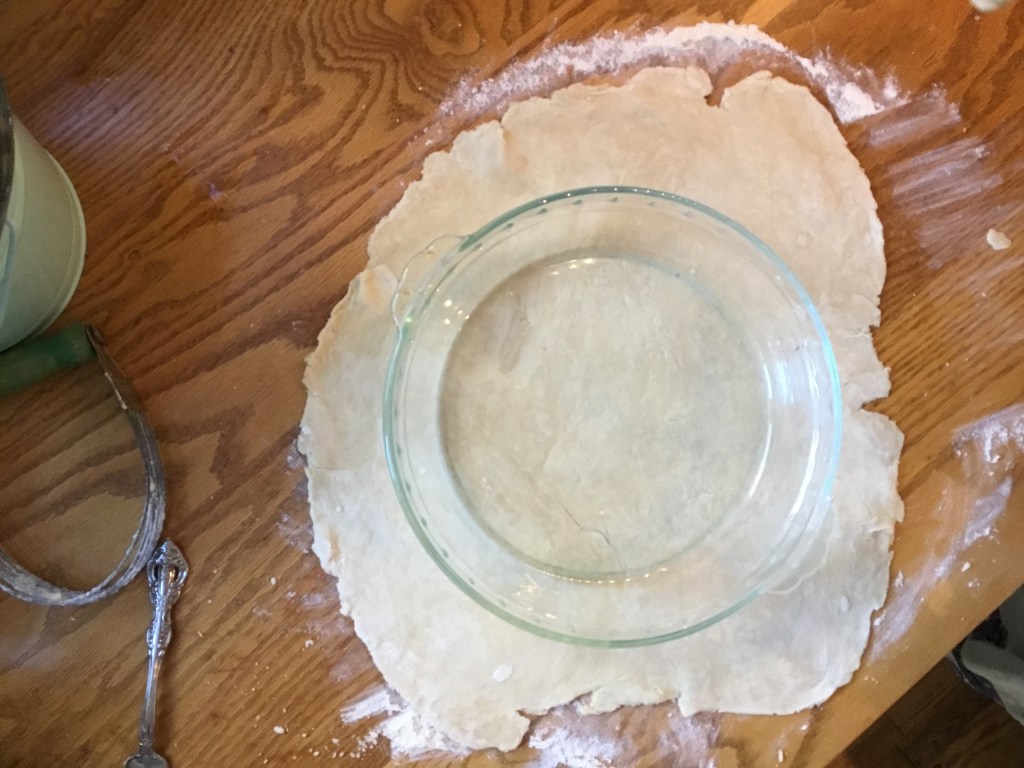
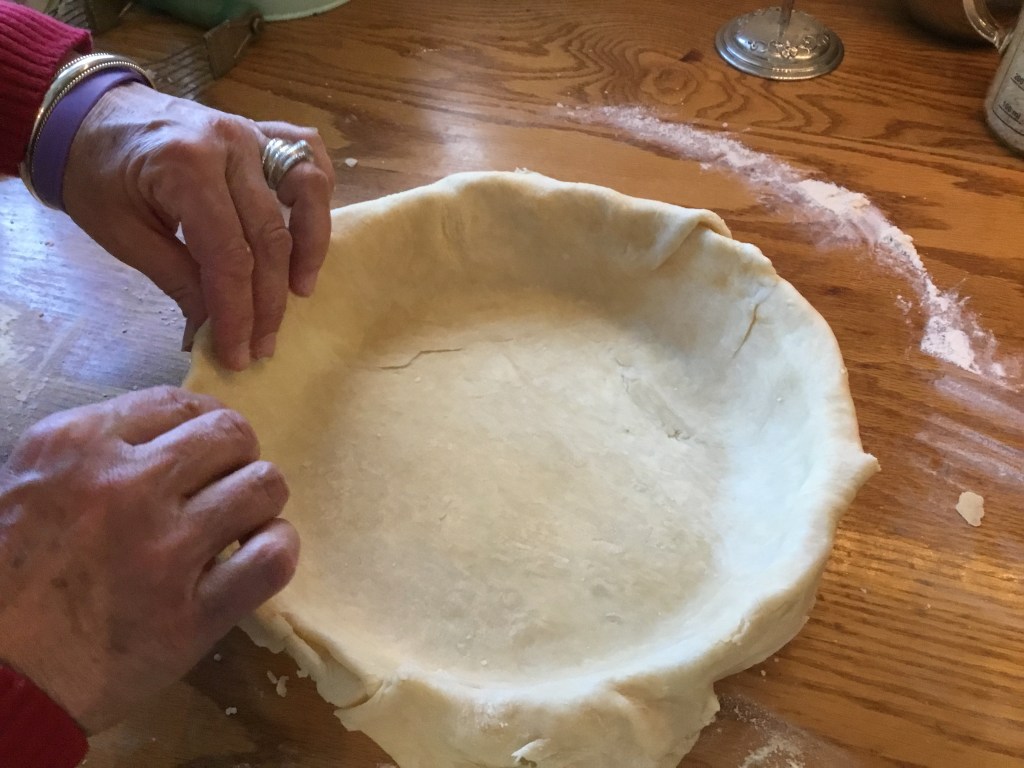
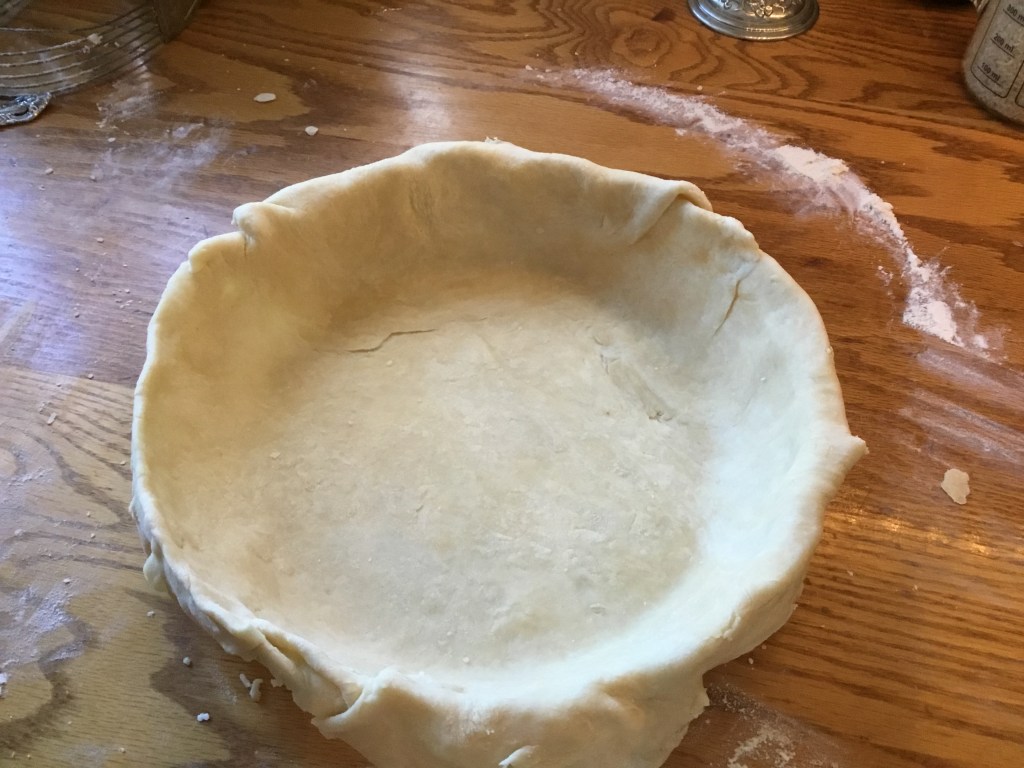
Take half of the dough and roll it out until big enough. A little trick my Mamy (my dad’s mom) taught me is to put the pie pan on top of the dough and that will help you make sure its big enough.
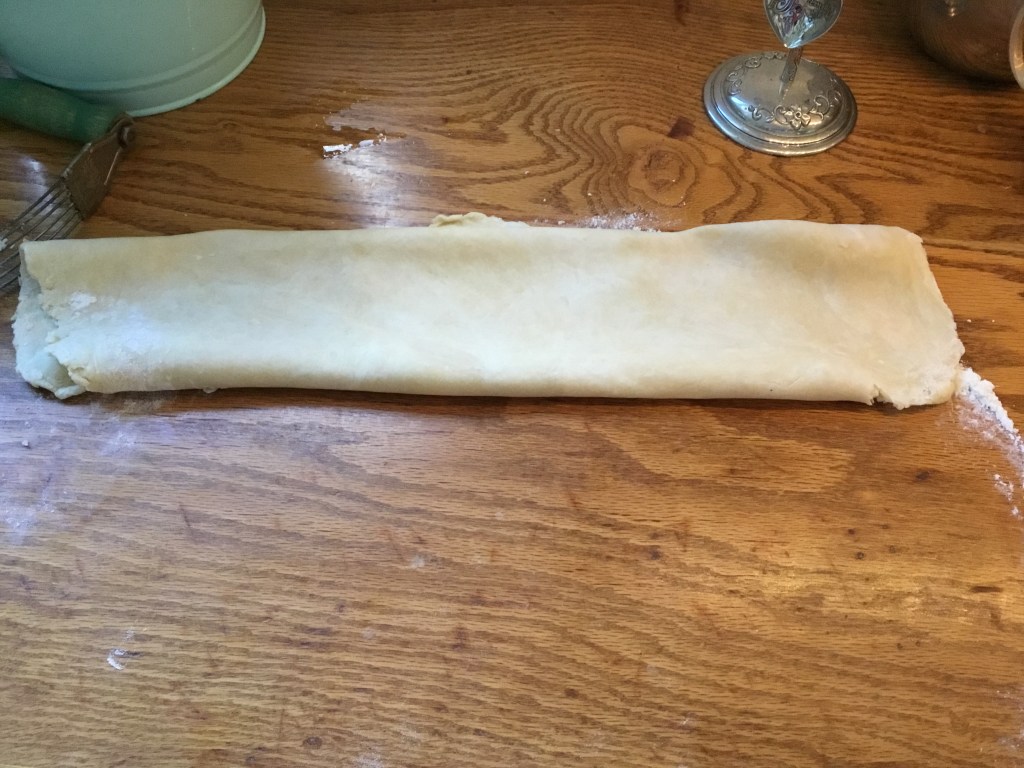
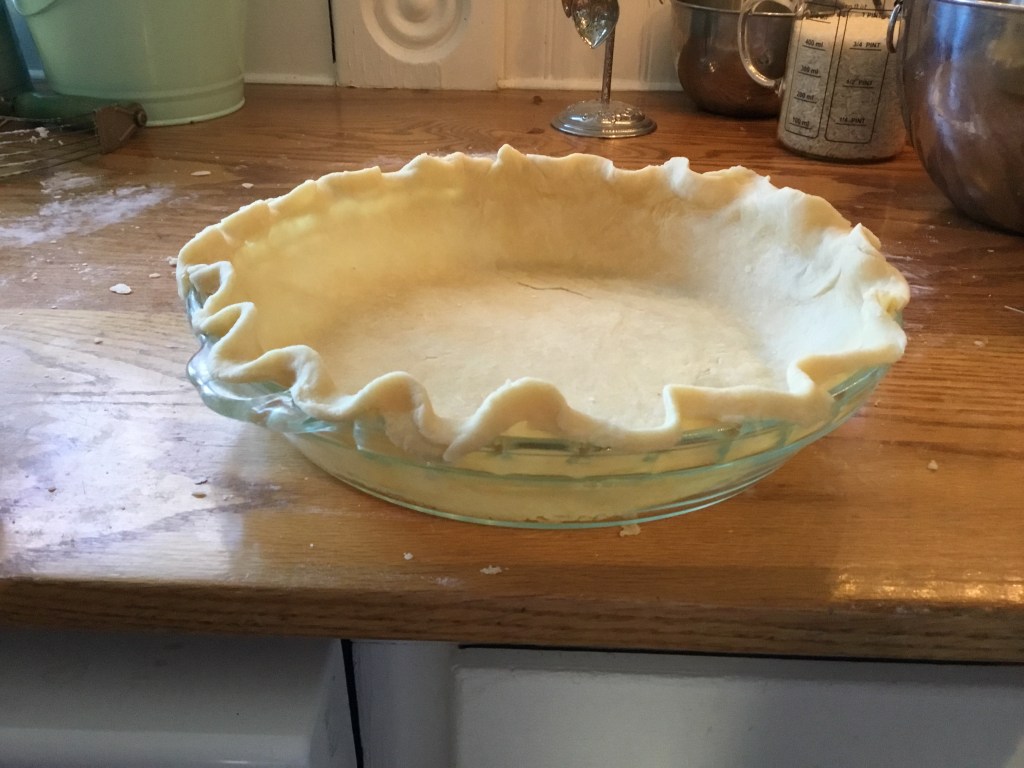
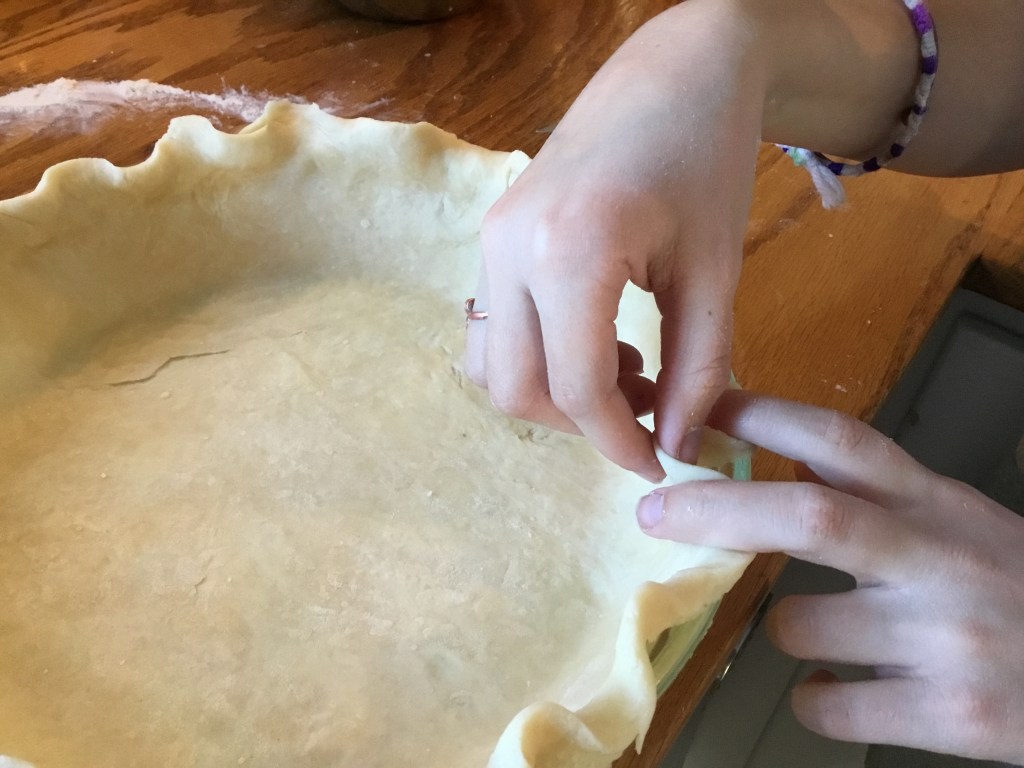
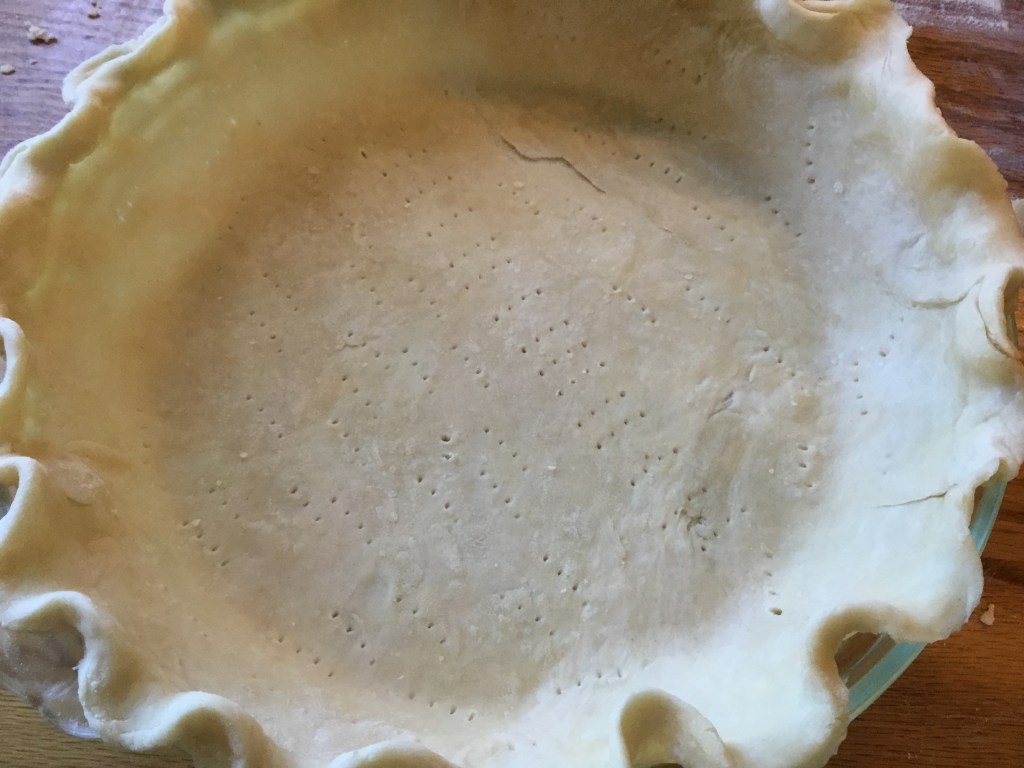
Put the crust in your pie pan. Trim off the excess and crimp the edges.
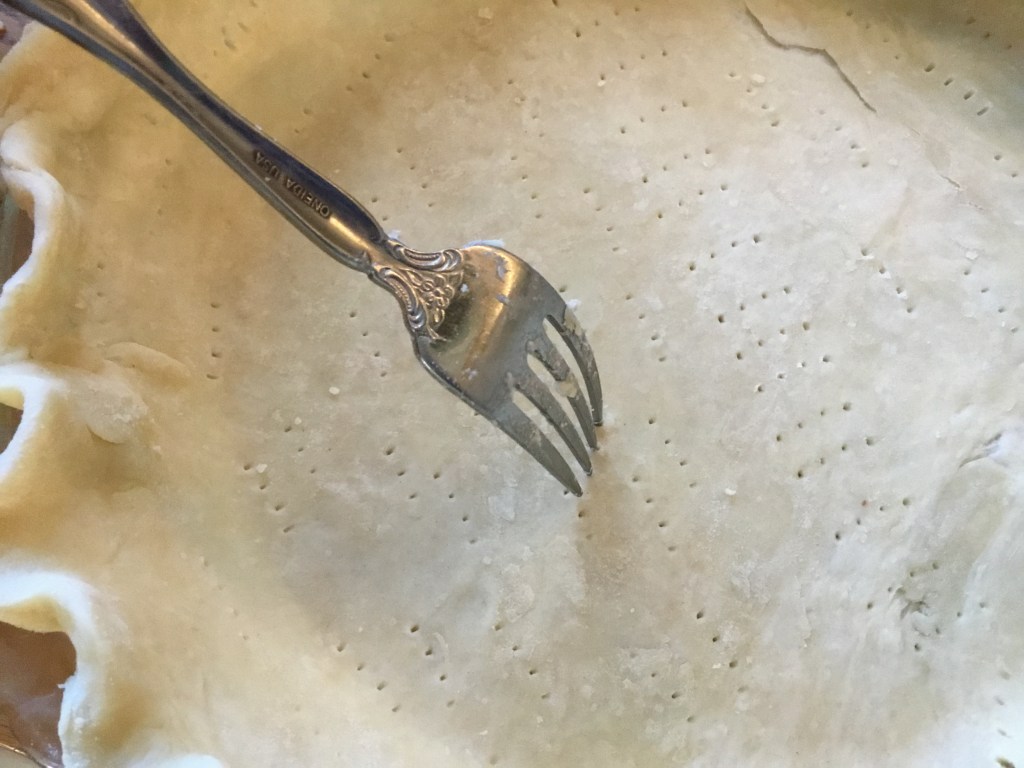
Poke holes with a fork all around the bottom of the crust to avoid the crust from bubbling.
Put in the oven at 400 degrees for 12-15 minutes.
Let cool while you make the filling.
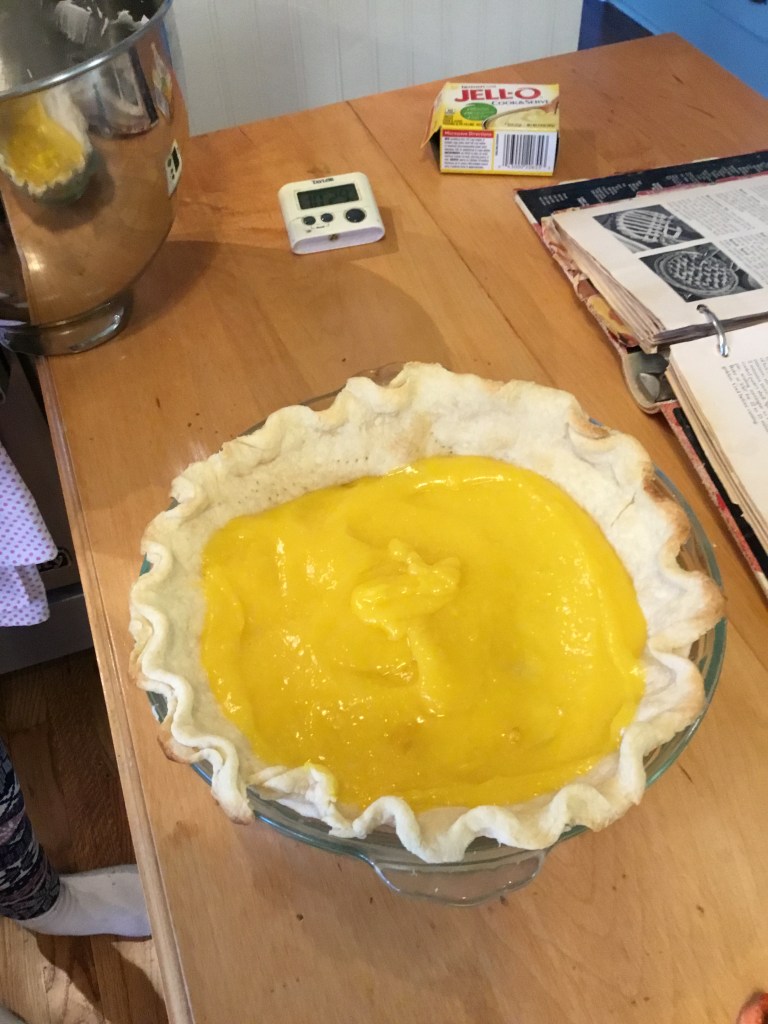
Now make your pudding. Follow the instructions on the box. To make your pie extra tangy replace the 1/4 of water with 1/4 cup lemon juice. This was my Grandma’s secret that made her pies extra delicious! Once your filling is done, pour it into your baked pie shell.
*We used the 2.9 oz box of filling and it made a thin layer. If you want more filling use two boxes. My mom realized later that her and my Grandma used to use a bigger box.
Instructions For Meringue
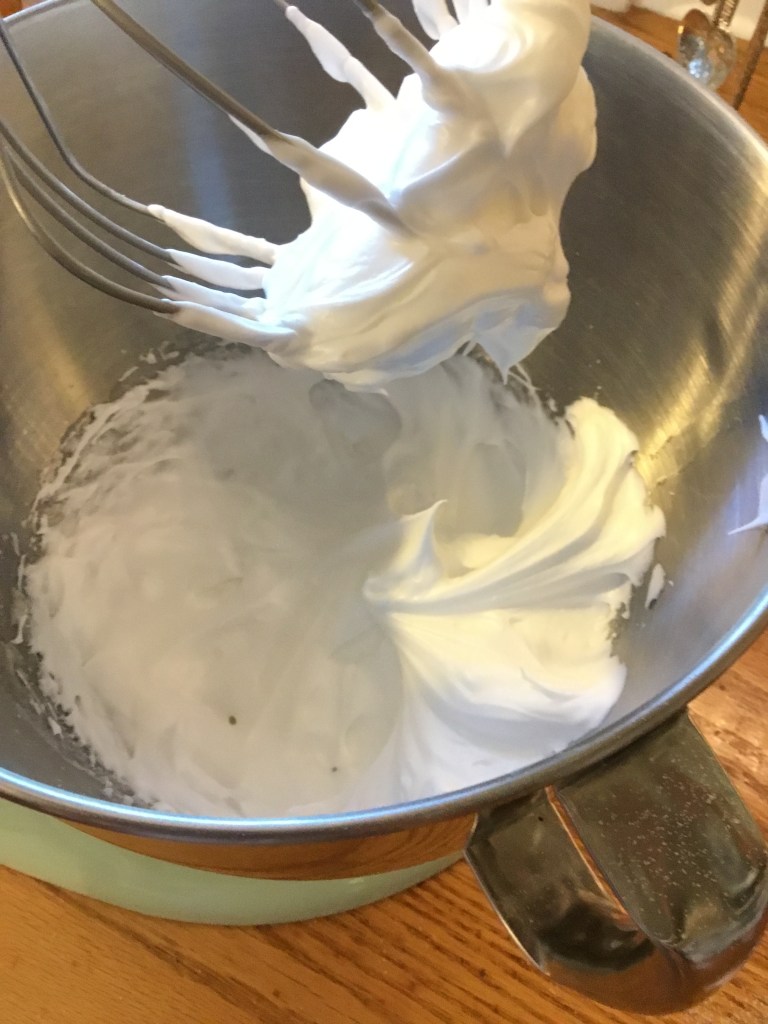
Whip the egg whites until soft peaks form
Add vanilla
Add cream of tarter
Gradually add sugar (make sure you add it slowly, not all of it at once)
Keep whipping until stiff peaks form
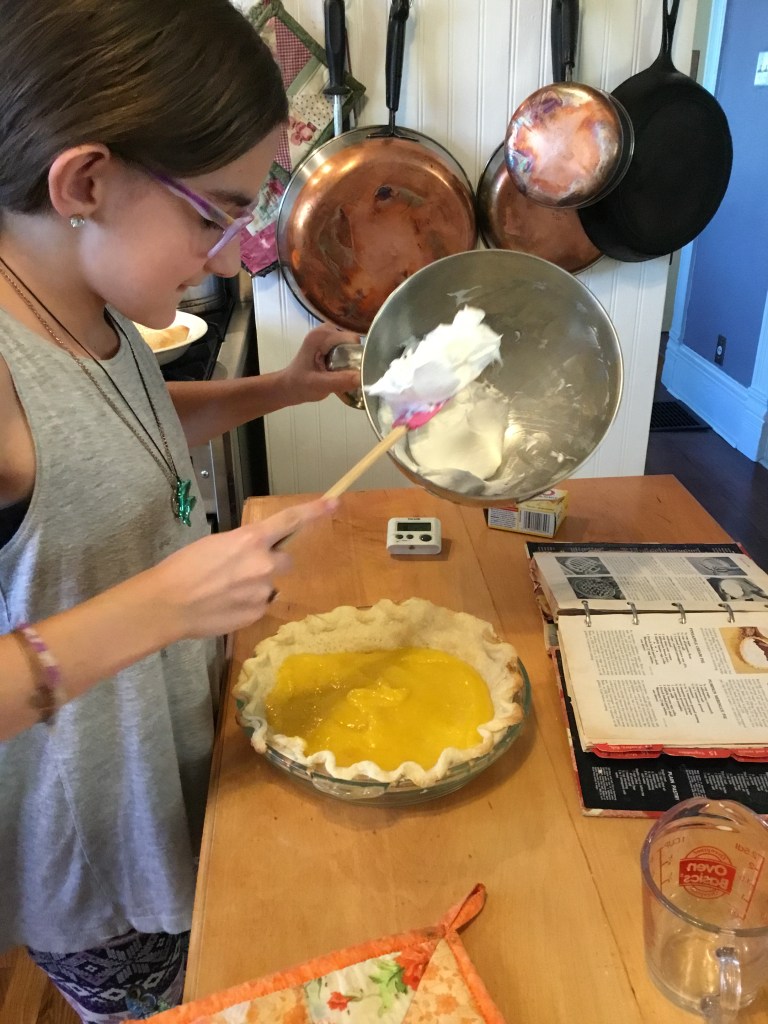
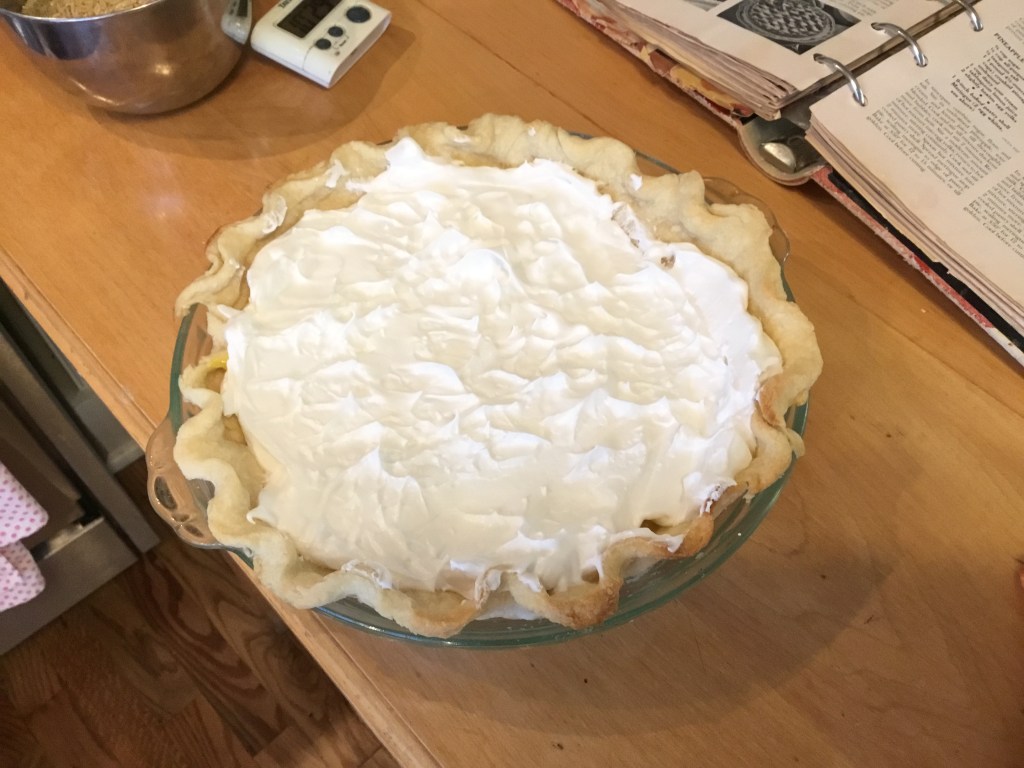
Spread meringue over pie filling. Use your spatula to make little peaks
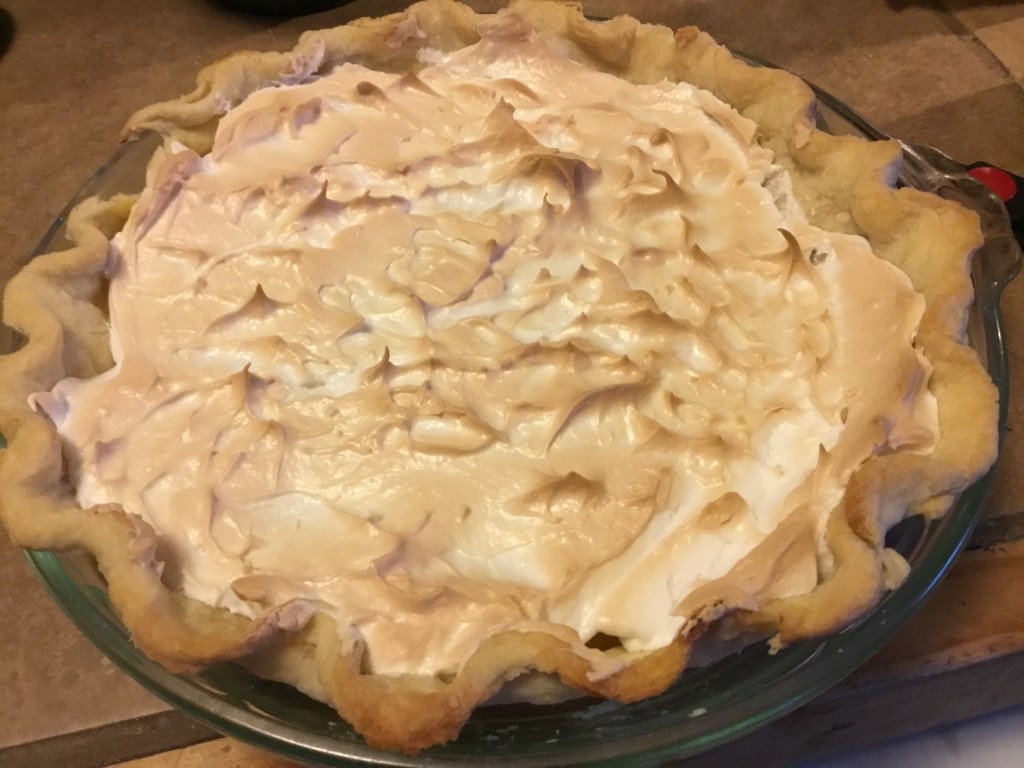
Bake pie at 350 degrees for 10-15 minutes until the meringue is lightly browned. Then let it cool.
Now slice into 4 pieces and enjoy! LOL
Just like that we’re done. I love this pie so much because its sweet but sour and it makes me think of my Grandma. I hope you like it too. Shout out to my Mamy for helping me this week with my pie. I love her so much. Thanks for reading and don’t forget to come back for more favorite foods of a hummingbird!
Do you have a favorite family dessert that you have memories of making with your Grandma or other family? If you do please share it in the comments!
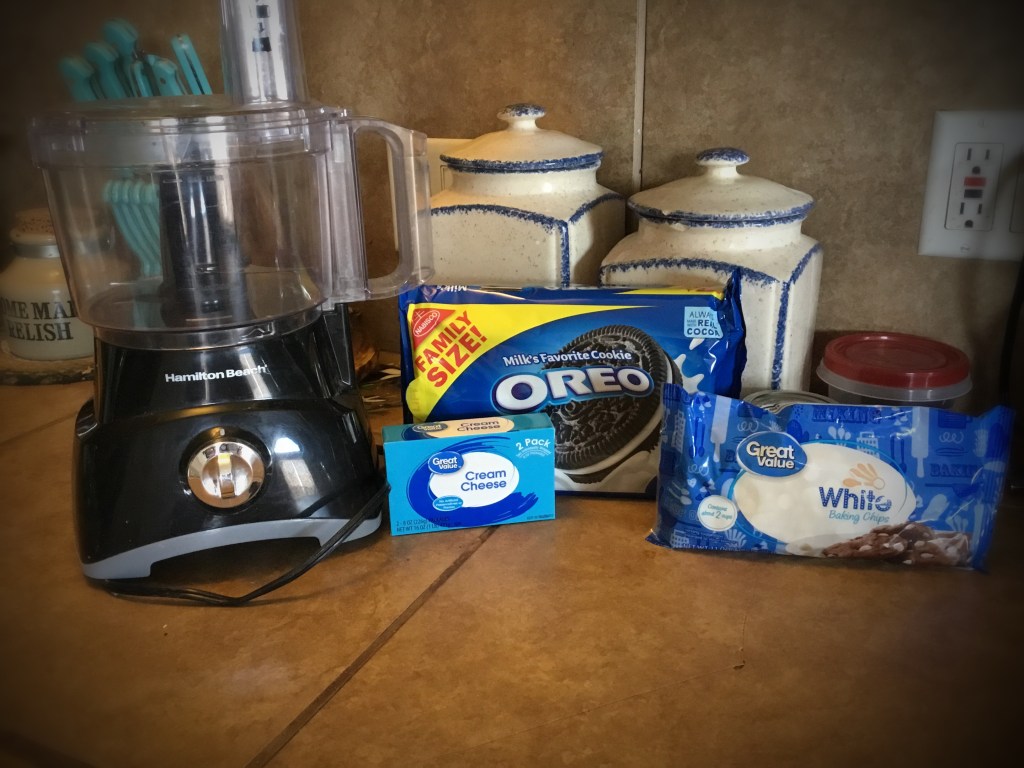
Hey guys, welcome back! I don’t know how you guys feel but I feel like it was only yesterday that I made my red velvet cupcakes and cake pops. It was crazy to wake up and remember that I’m doing my blog today! Last week was a lot more complicated than I thought it would be so this time I decided to do a really easy and simple recipe. We are making another delicious dessert, Cookies and Cream Truffles! This recipe only has three ingredients and comes together really quick. It is so easy that you could make it quickly for unexpected guests or a party on short notice. I’m super excited so lets get started!
Ingredients
36 Oreo cookies (or other chocolate sandwich cookies)
8 ounces cream cheese (softened)
12 ounces white chocolate (melted)
Coconut oil (optional)
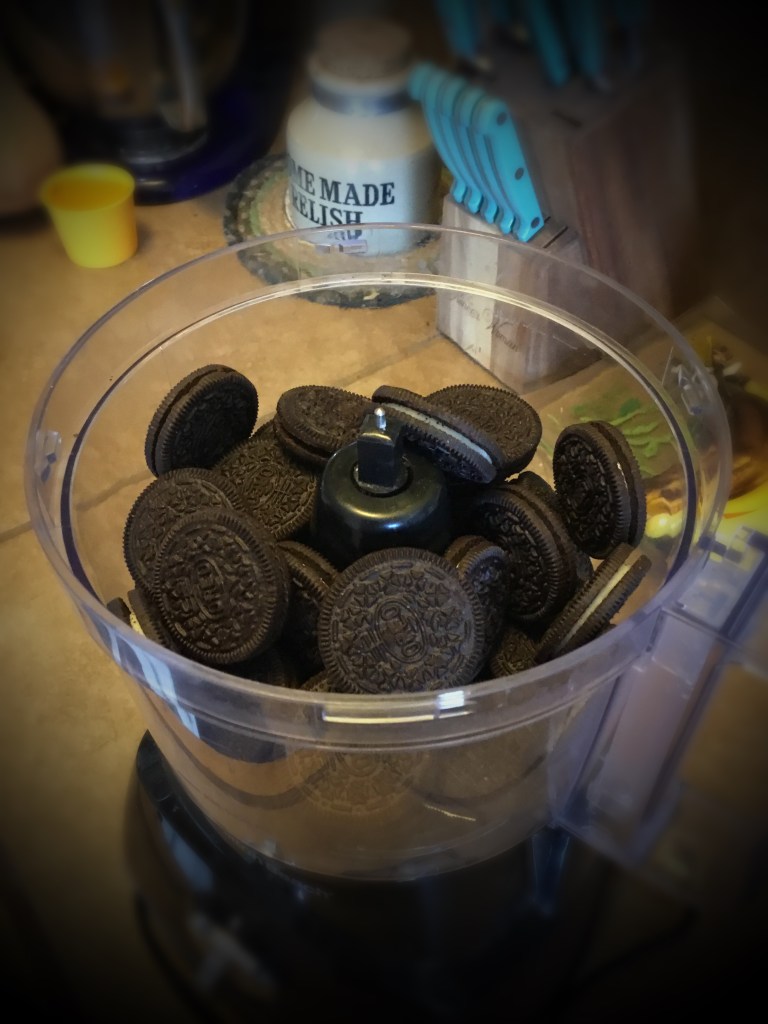
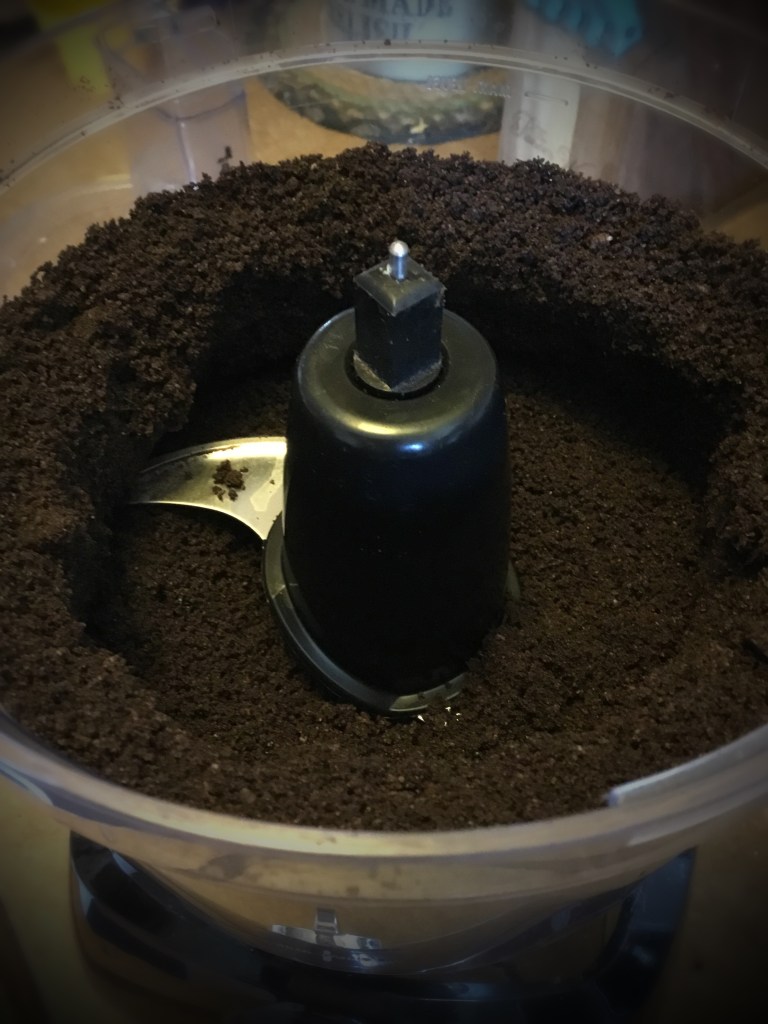
Put the Oreos in a food processor and crush until very fine. (Save a little bit of the crumbs to sprinkle on the truffles later.)
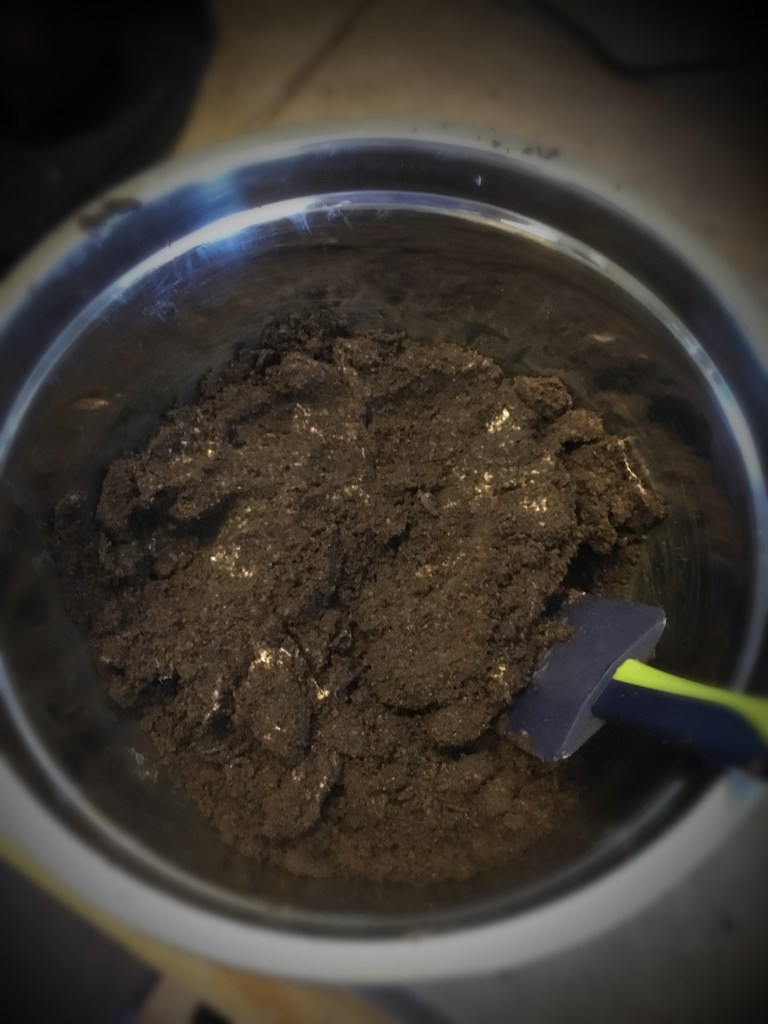
Combine Oreo crumbs and cream cheese in a mixing bowl. (Make sure its completely combined)
Put in fridge until cold and easy to form into balls
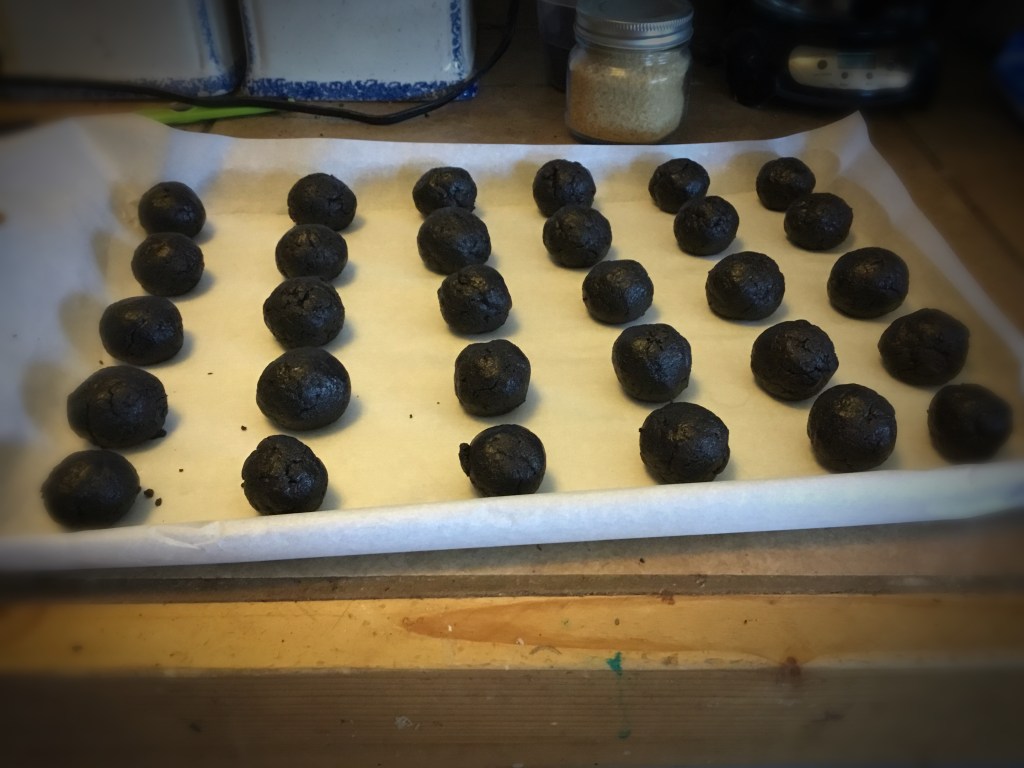
Roll in to balls and put on a parchment paper lined tray (I did about a tablespoon worth for each)
Once they are all rolled and on the tray, put them back in the fridge while you prepare the chocolate.
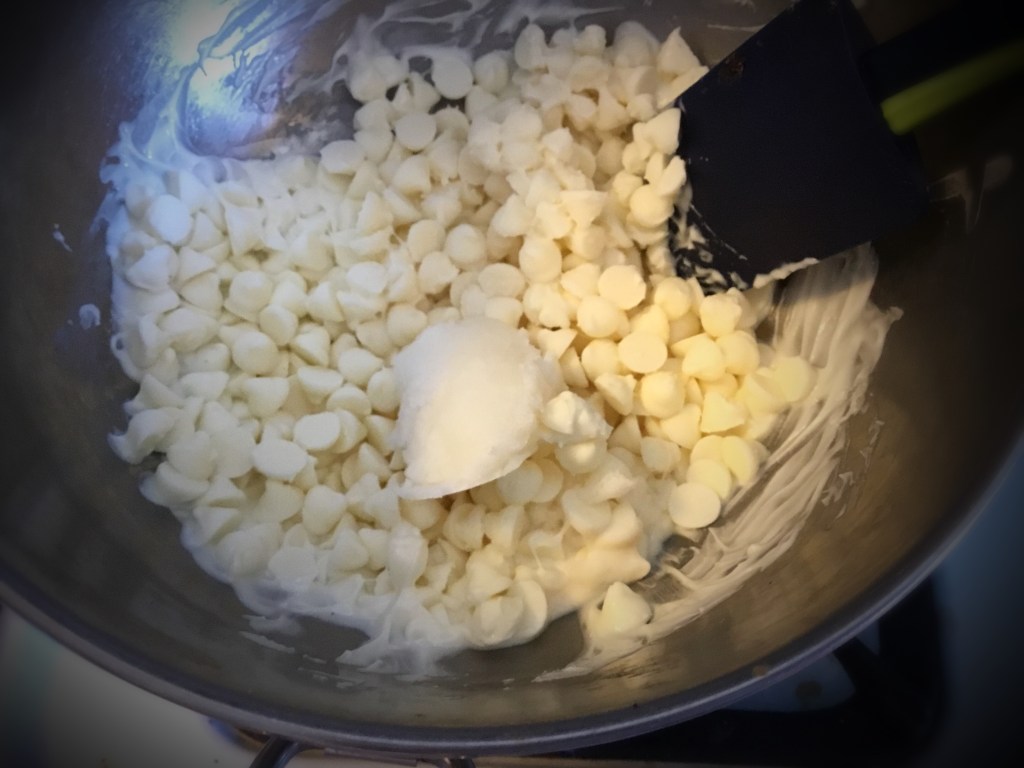
Melt white chocolate chips in double boiler. I added a bit of coconut oil to make it smoother and easier to cover the truffles.
Dip the balls in the chocolate using a fork to dip them straight down and then pull up. Wipe off the extra on the side of the bowl and set on the parchment paper.
Sprinkle with cookie crumbs and chill until hardened.
These are amazing! They are sweet and rich. I love them and really hope you like them too. Thank you so much for reading! See you next time for another Favorite Foods Of a “Hummingbird.”
*Sorry I posted two days late, I made them on Wednesday but got really busy and forgot to post it. See you next Wednesday!